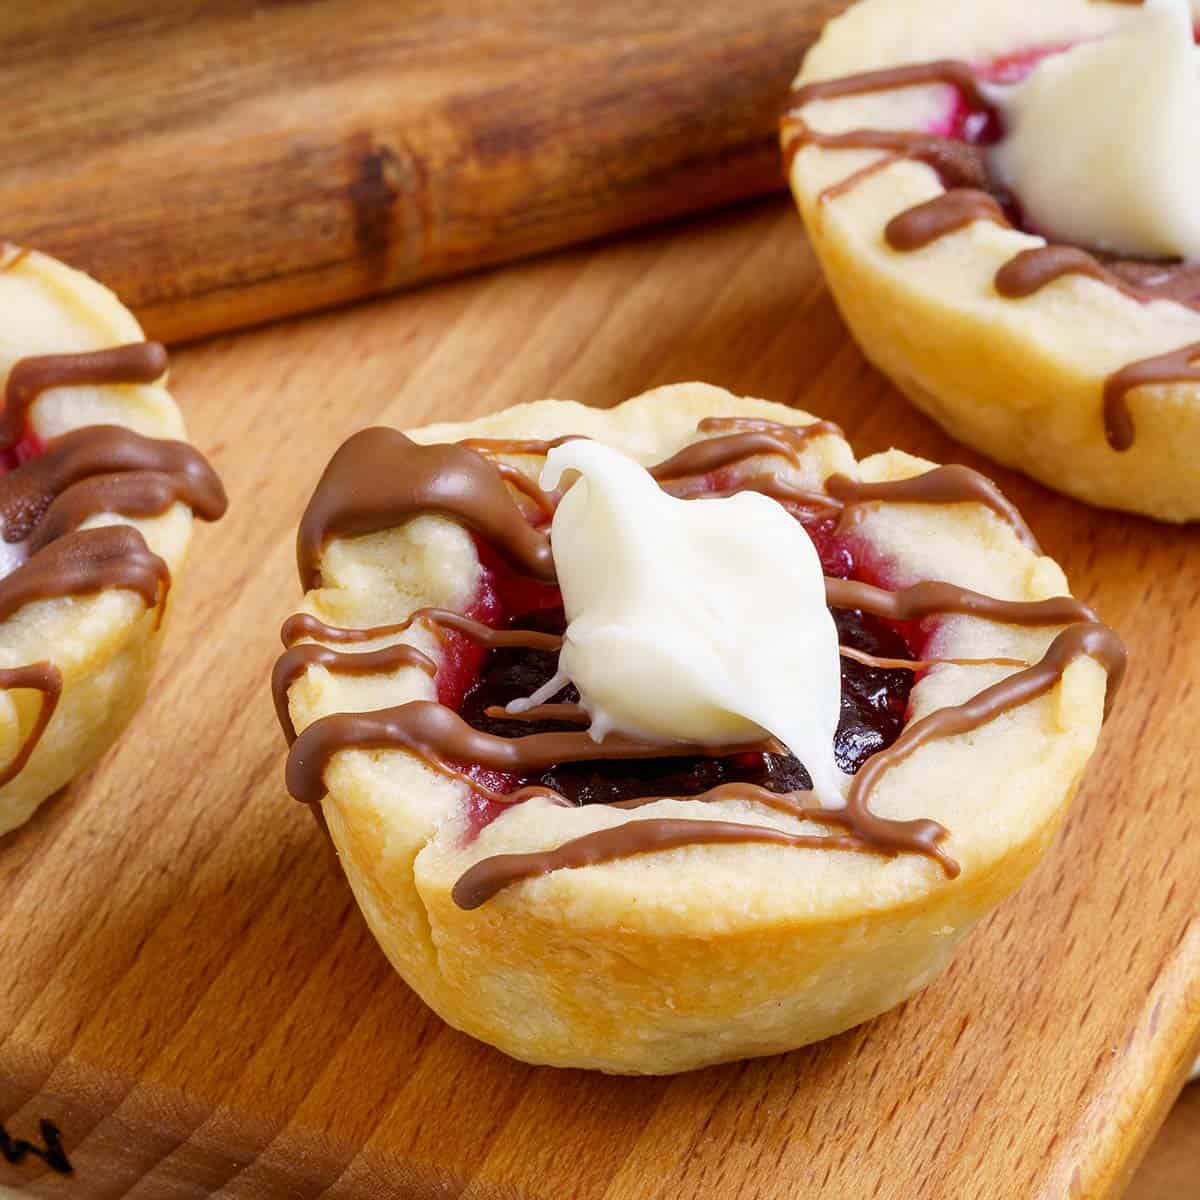
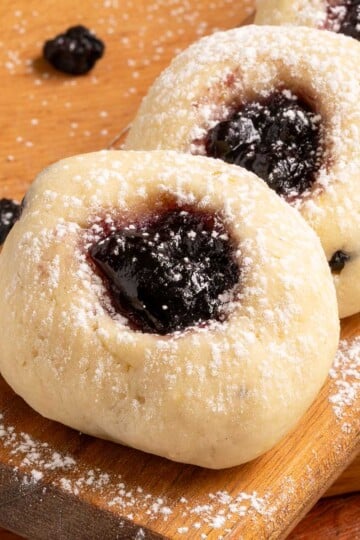
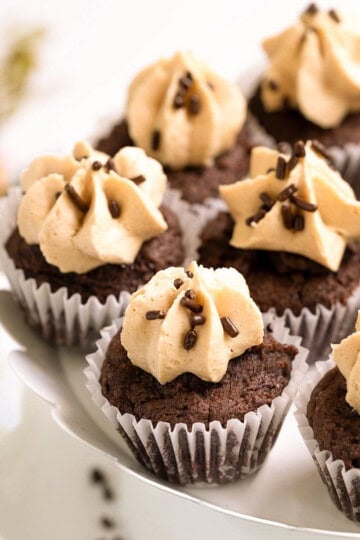
These Raspberry Chocolate Cookie Cups combine the richness of a soft cookie cup with the sweet-tart burst of homemade raspberry jam in every bite. Baked in mini muffin tins and finished with a drizzle of melted chocolate, there're bite-size, visually stunning, and perfect for gifting, parties, or a romantic dessert tray.
This recipe has a lot of parts if you are making the homemade raspberry jam for the filling in your cookie cups. If you are using store-bought raspberry preserves, use the Advanced Jump To links to jump to the sections for making the cookie cups.
Jump to:
Why You'll Love These Raspberry Cookie Cups
- A sturdy cookie cup you can carry around
- Tangy raspberry jam filling
- Great for gifting, trays, or romantic desserts
- Choice of homemade or store-bought jam
Making Homemade Raspberry Filling
You have a choice for the filling of the cookie cups. You can make your own or purchase a quality preserve at the store. If I am buying from the store, my go to brand is by Bonne Maman.
If you would like to try your hand at making your own raspberry filling, here is an easy recipe to try. You can also find this recipe for Raspberry Jam as a swirl for my Raspberry Swirl Cheesecake.
Ingredients
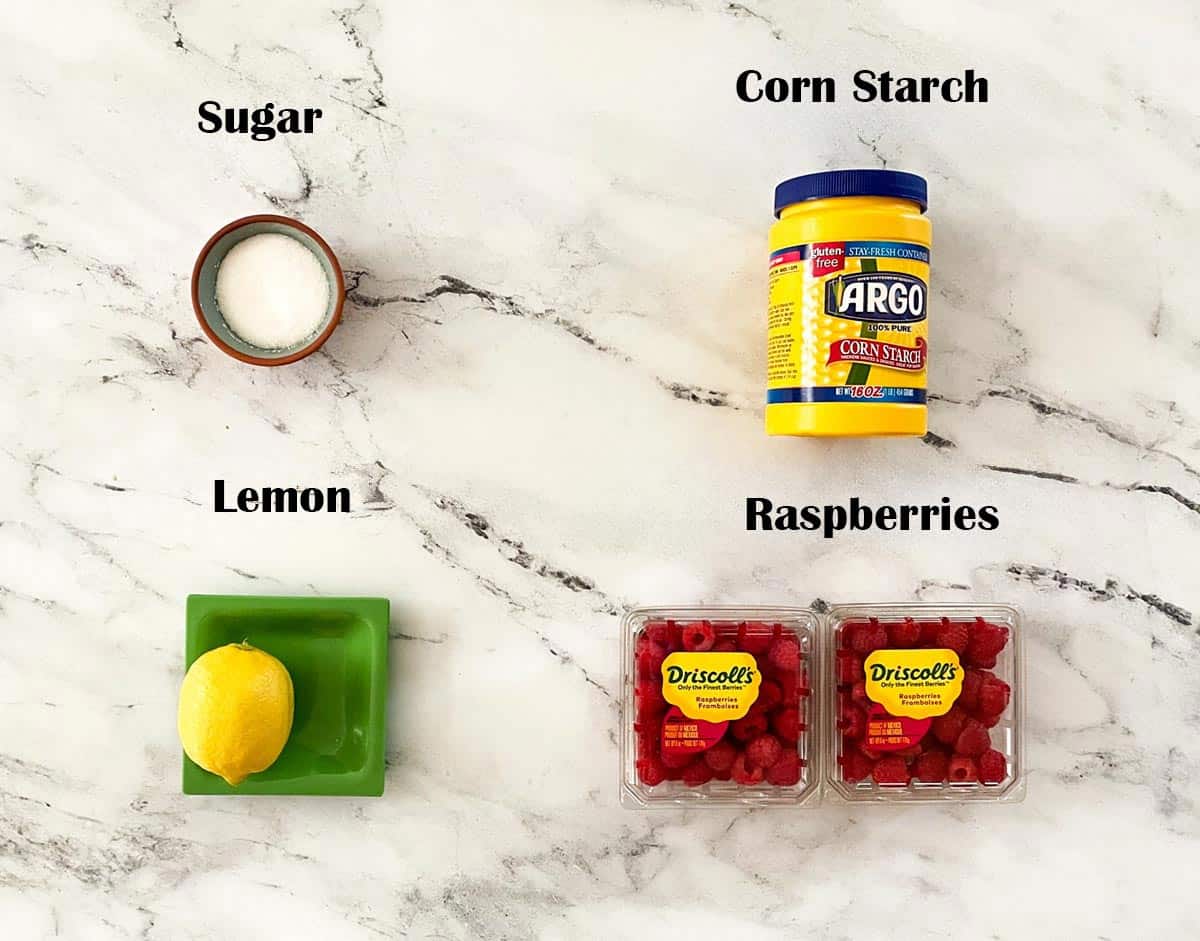
- Raspberries
- Sugar
- Lemon zest
- Lemon juice
- Corn Starch
The first thing I do is zest and then juice the lemon.
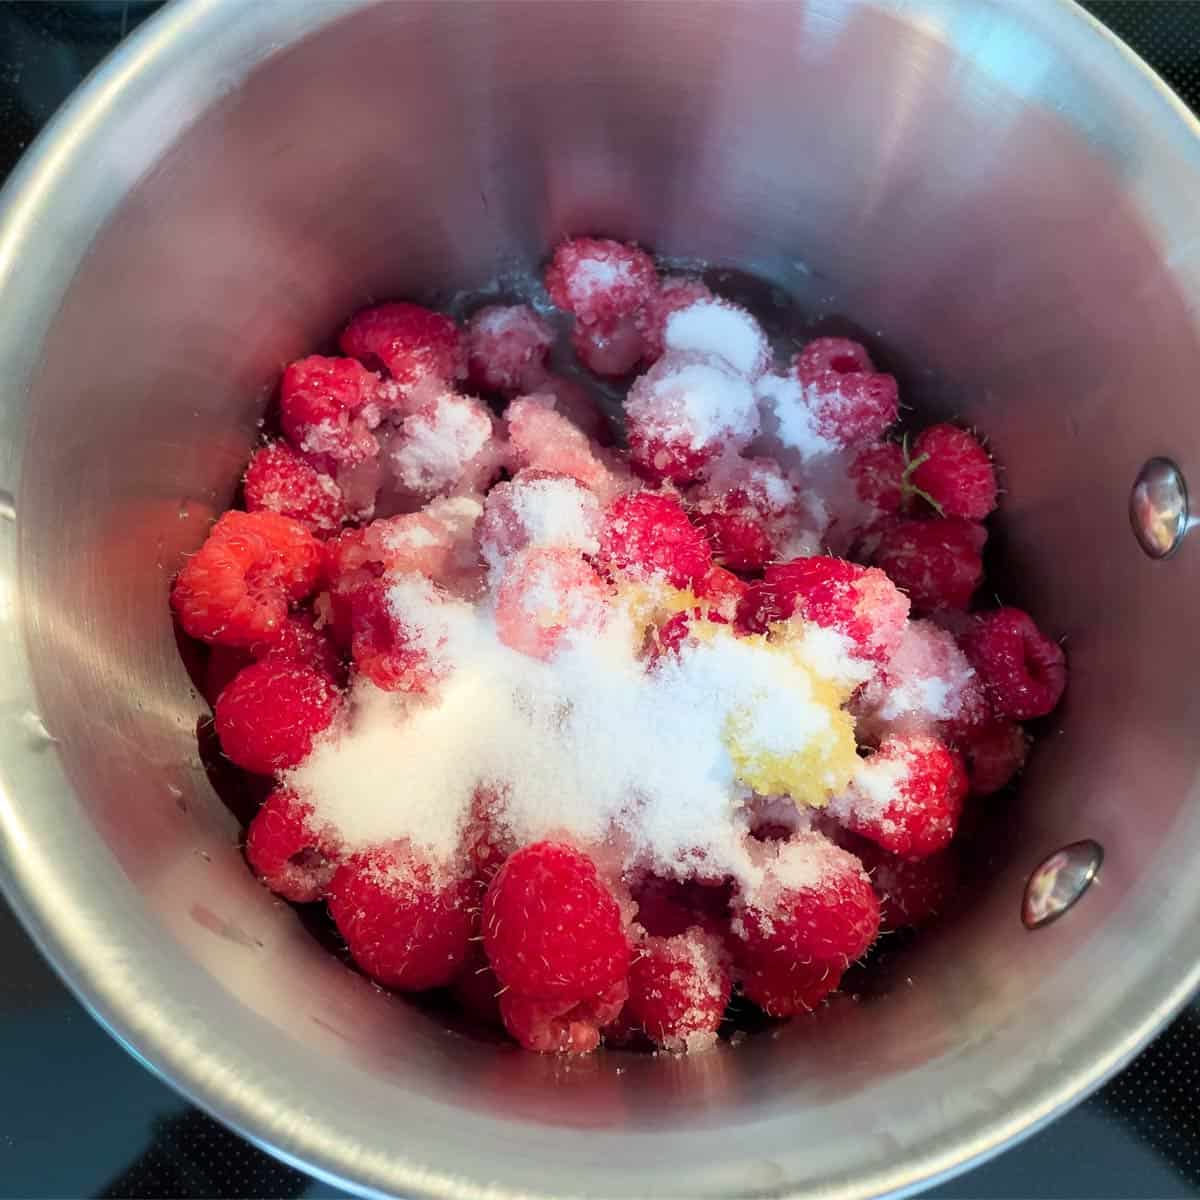
Add the raspberries, sugar, and lemon zest to a saucepan. Bring to a boil on medium high heat stirring so you can dissolve the sugar. Then turn the burner down to medium or to a low boil.
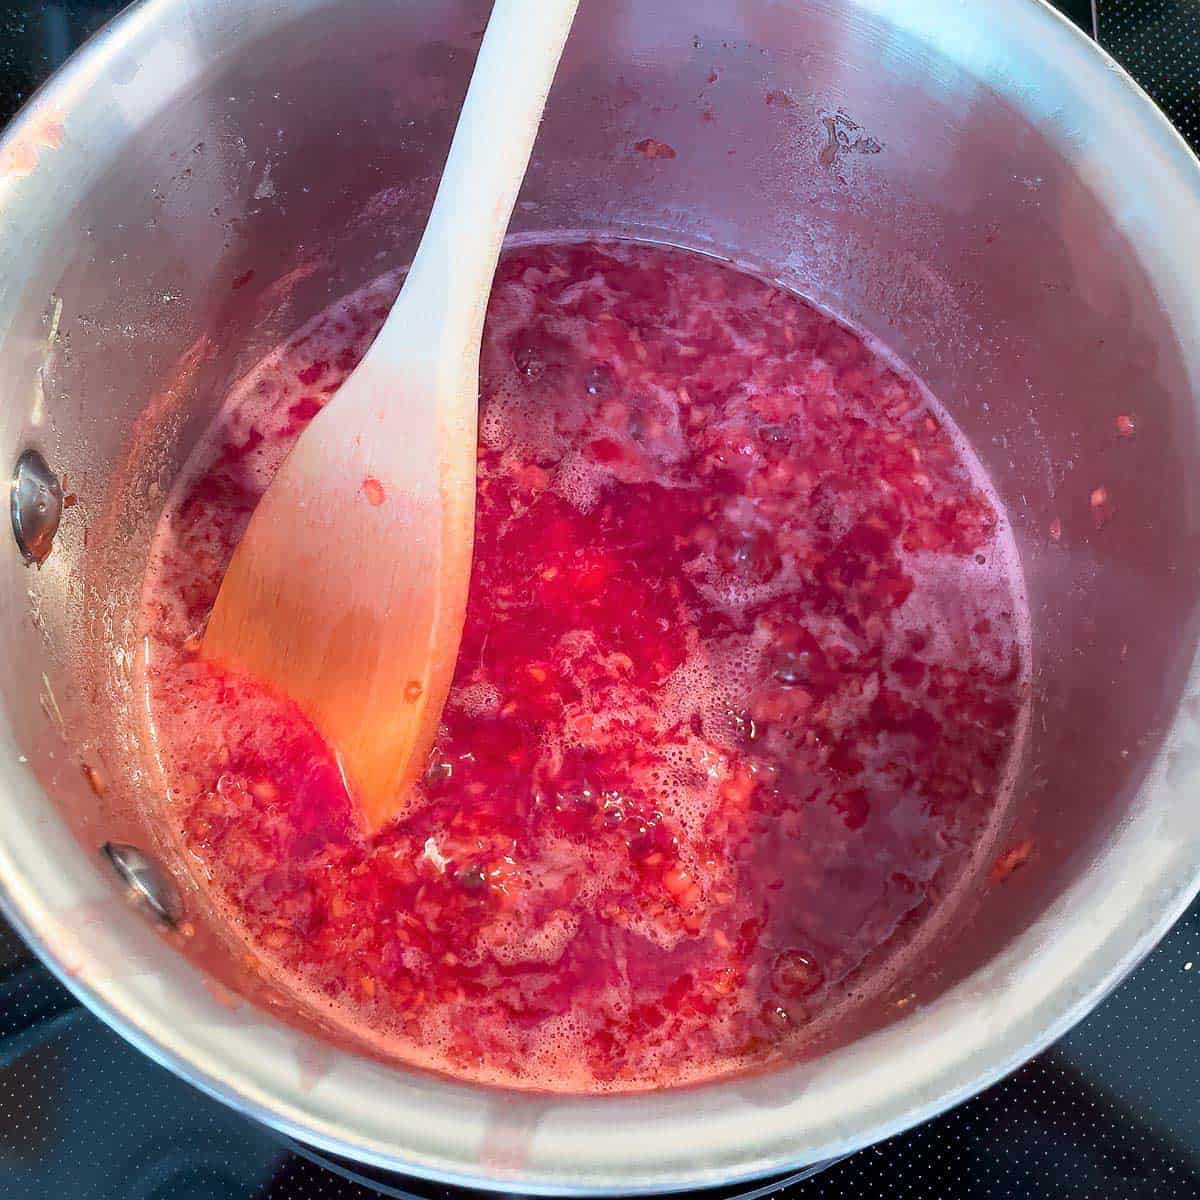
I take the back of a wooden spoon and press the raspberries against the side of the saucepan to break up the raspberries. I continue to do this for about 10 minutes. This gives the extra raspberry juice time to reduce. Mix the lemon juice and cornstarch together and add it to the raspberries. Stir for 5-7 minutes so the jam thickens.
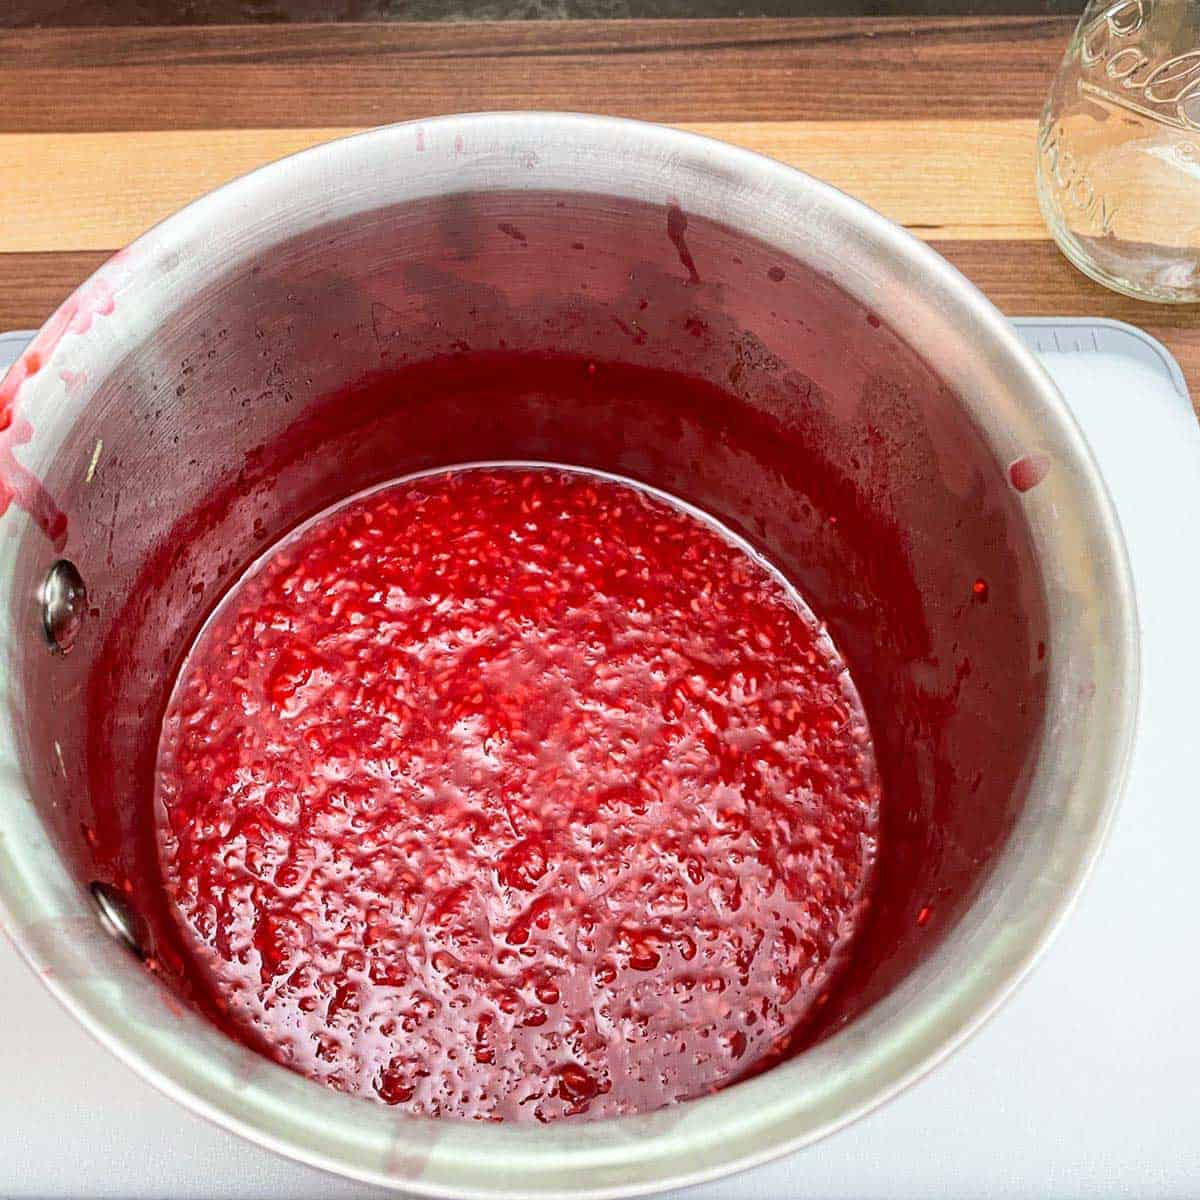
Take it off the heat and let it sit in the pan for 10 minutes to cool.
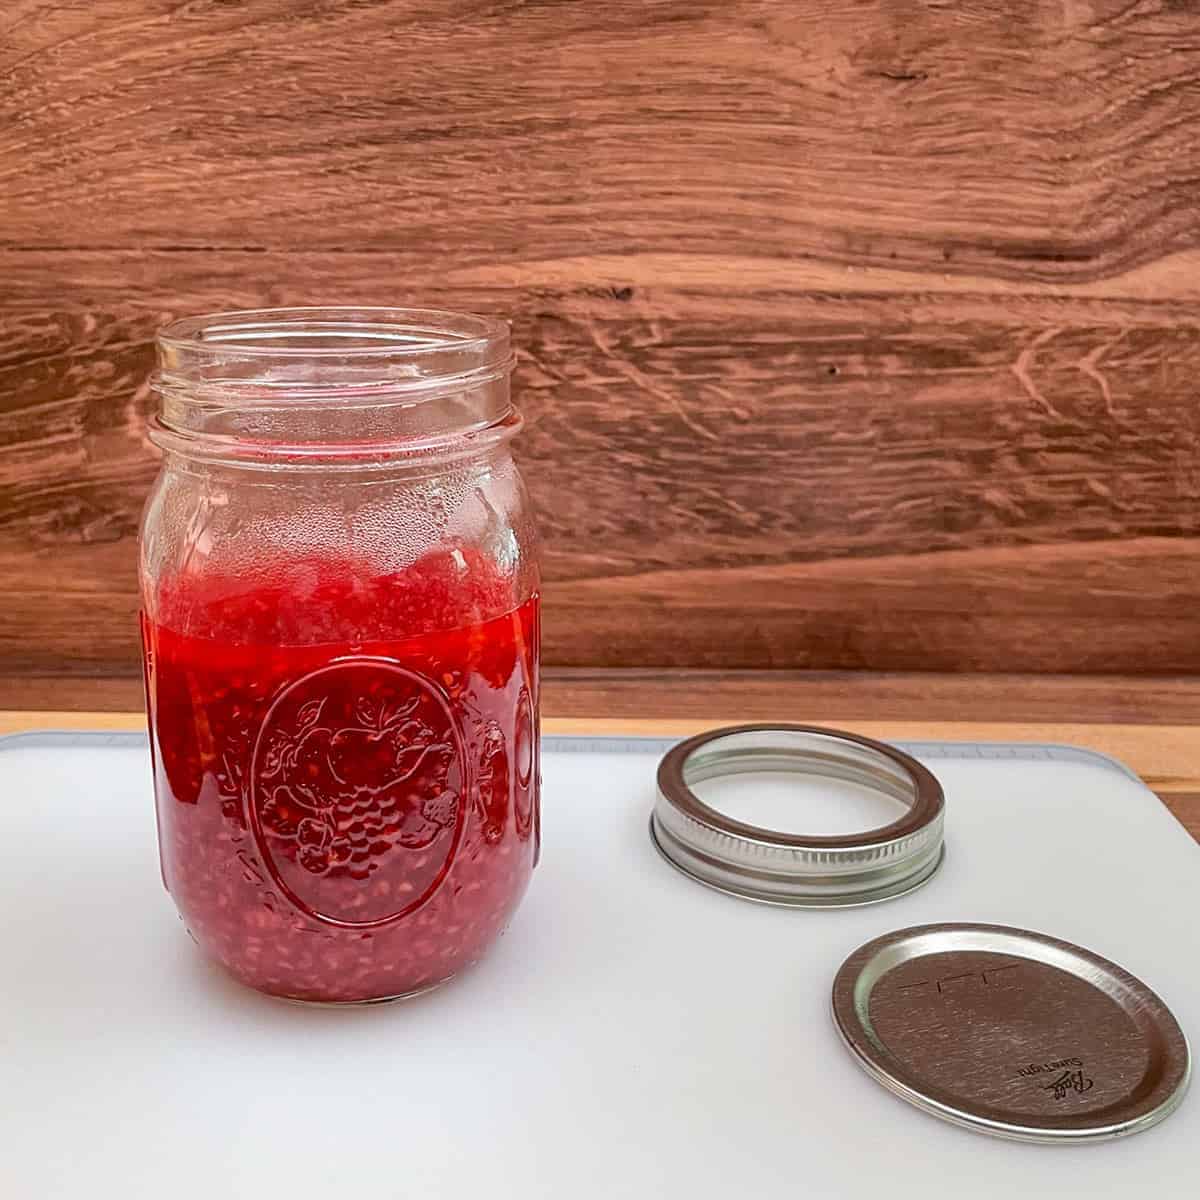
Add to a glass jar and let it sit for 30 minutes, then put a lid on it. I refrigerate overnight for it to set.
Ingredients for Cookie Cups
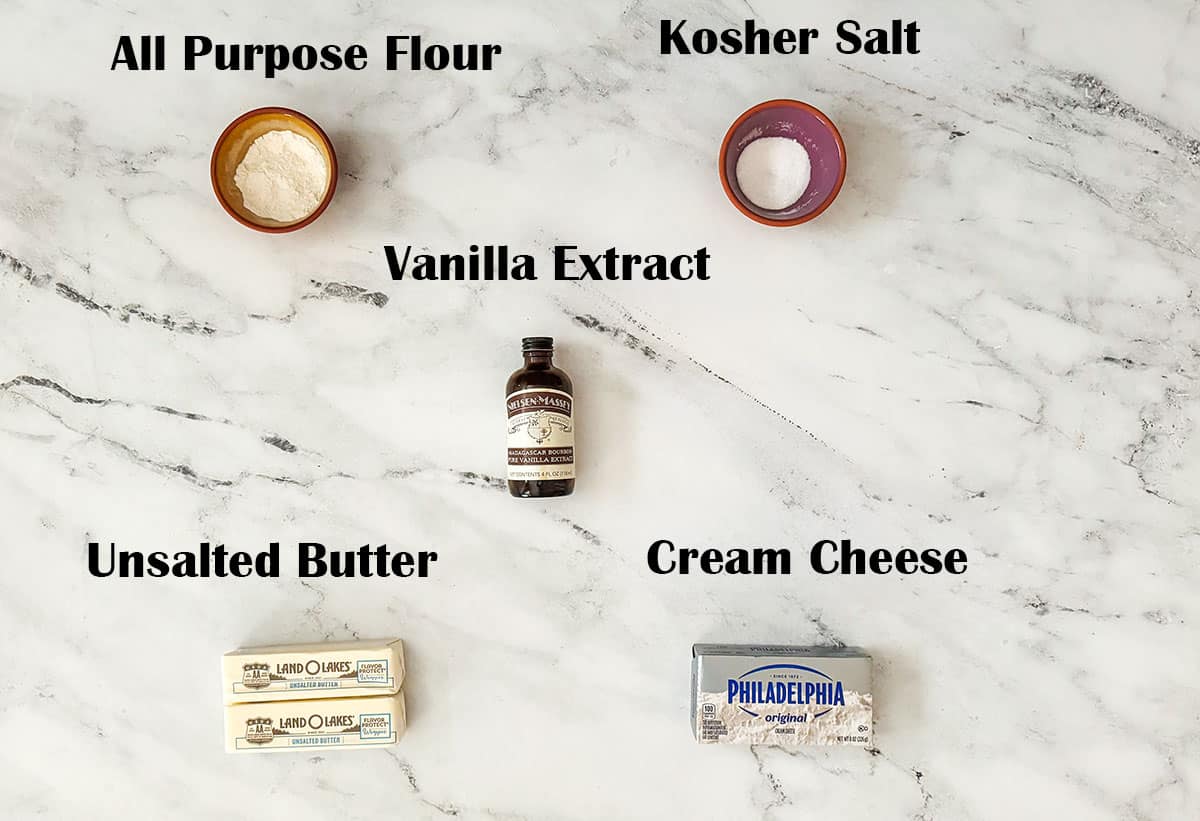
- Butter unsalted
- Cream Cheese
- Vanilla extract
- All-purpose flour
- Kosher salt
Ingredients for Filling and Toppings
You can use all or just some of these fillings and toppings. The choice is up to you. I am giving you everything.
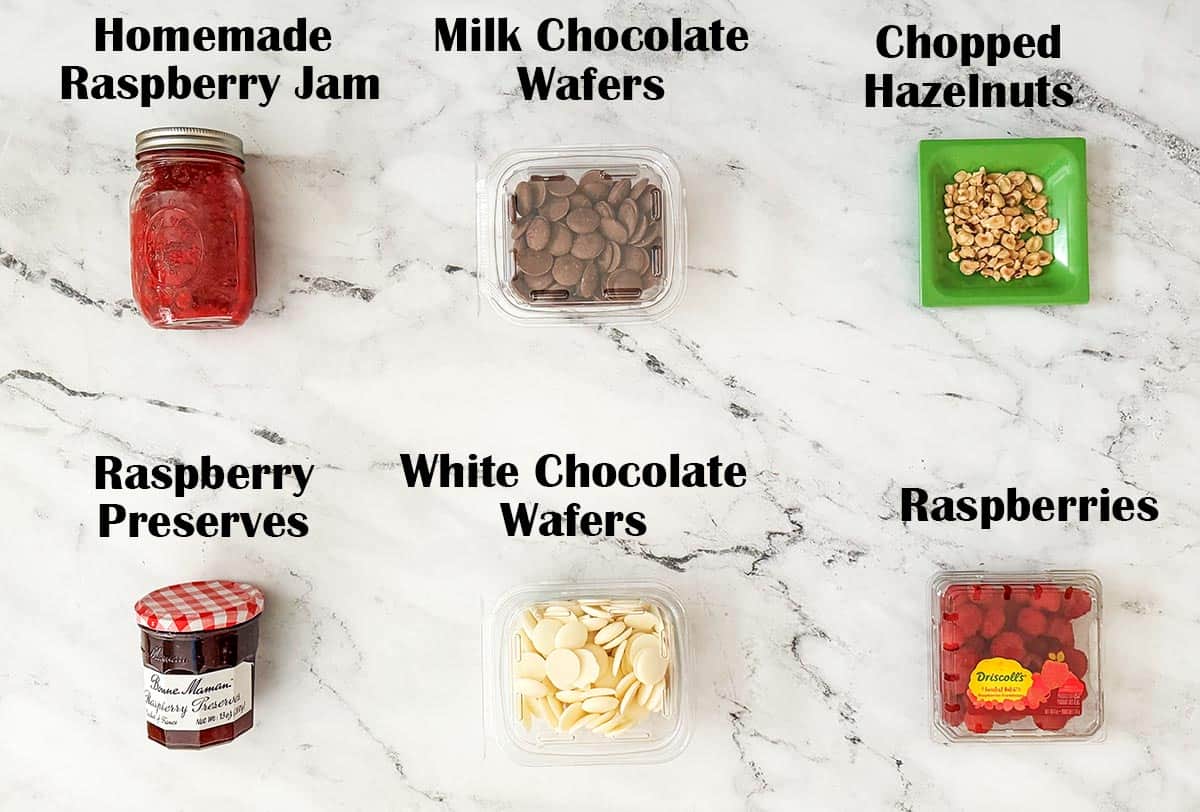
Fillings
- Homemade raspberry jam
- Raspberry preserves
Toppings
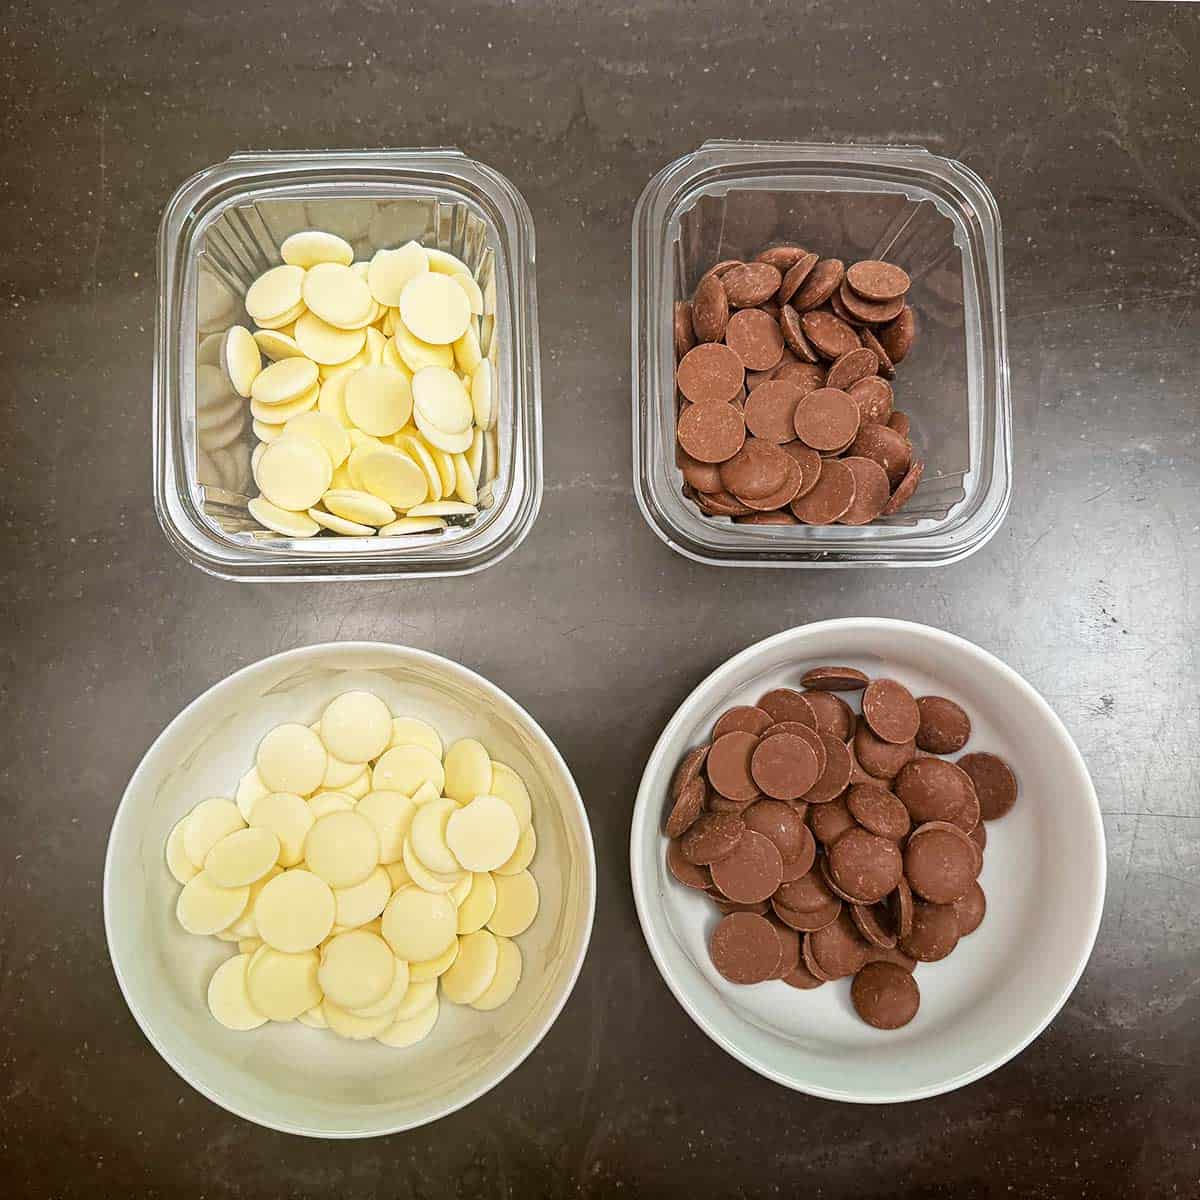
- Milk chocolate wafers
- White chocolate wafers
- Chopped hazelnuts
- Raspberries
Making the Cookie Cups
In a bowl, weigh or measure the flour. I then add the salt and run a whisk through to blend.
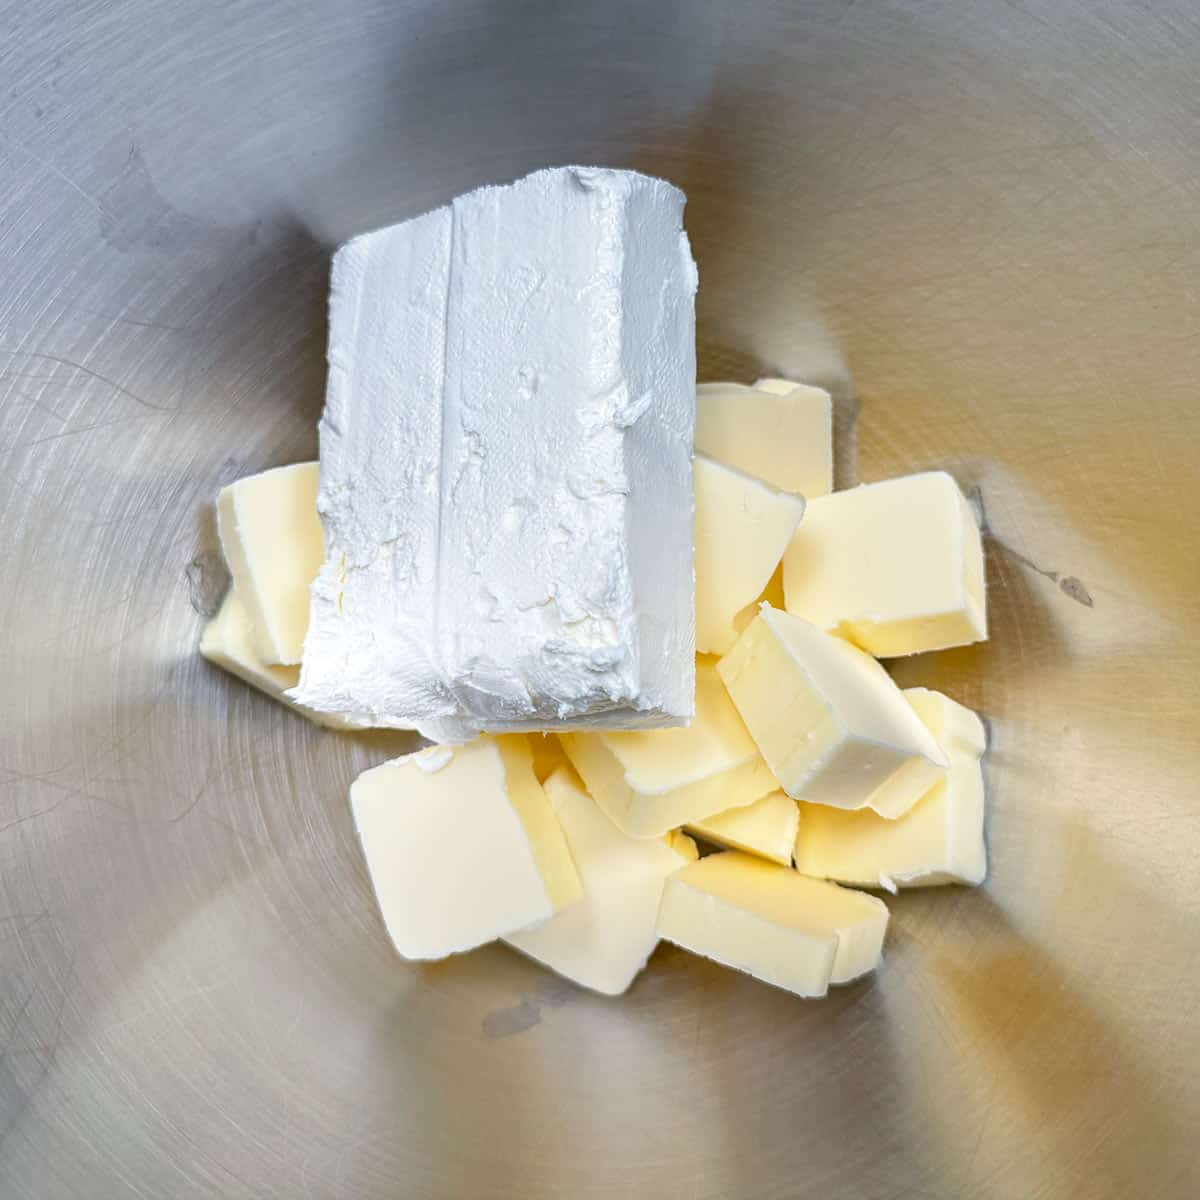
I cube the butter into the mixer bowl and then add the cream cheese block on top. Mix on a medium speed for 3 minutes.
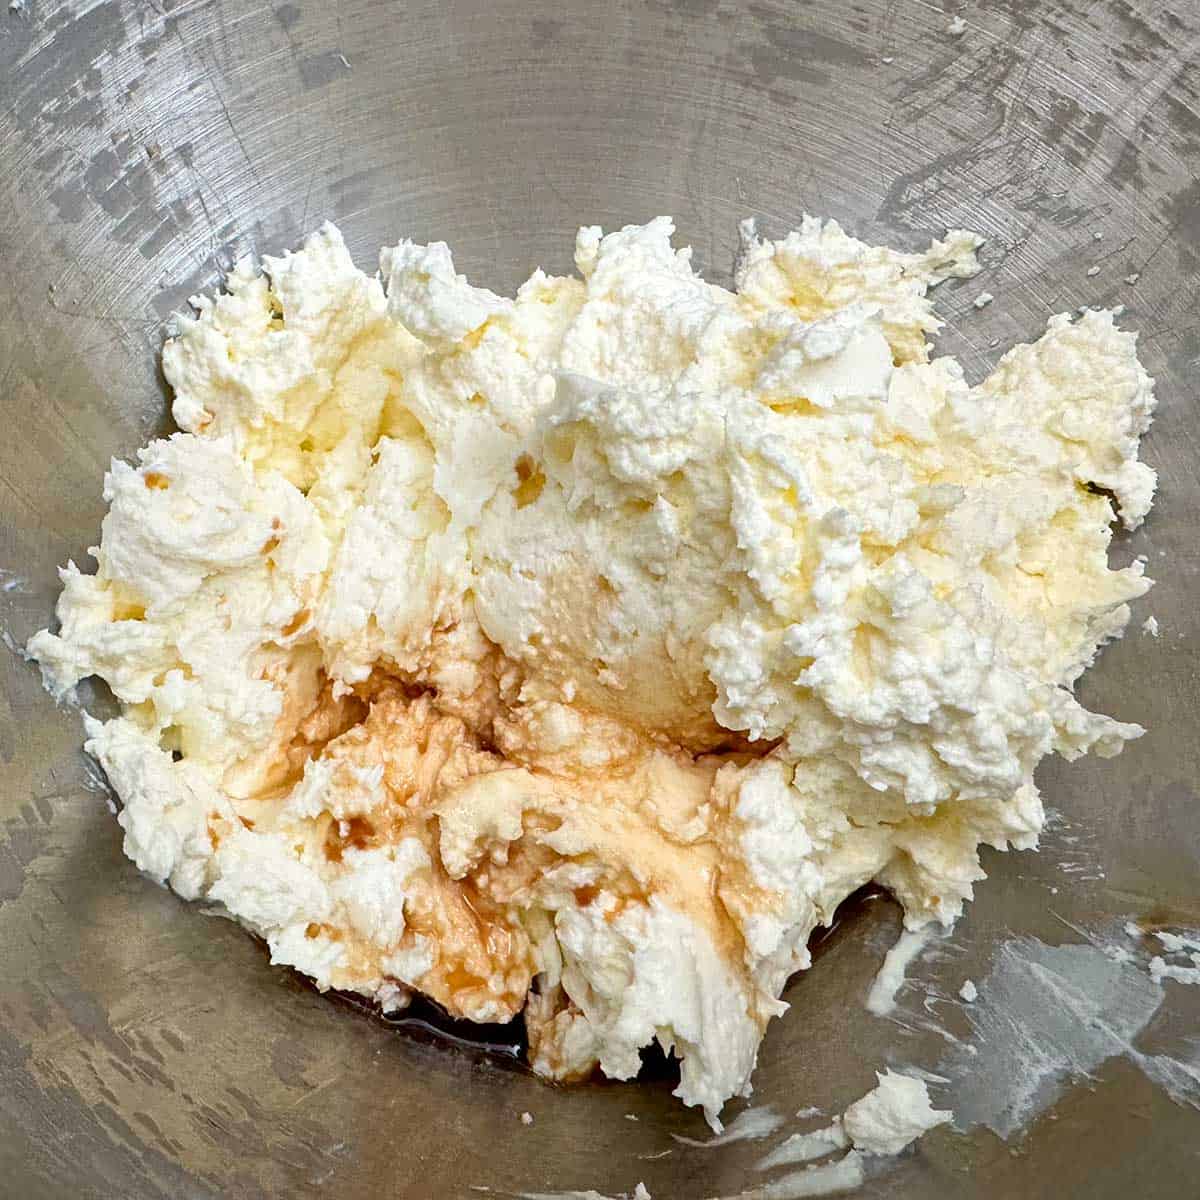
Next, scrape down the bowl sides and add the vanilla extract. Blend everything together.
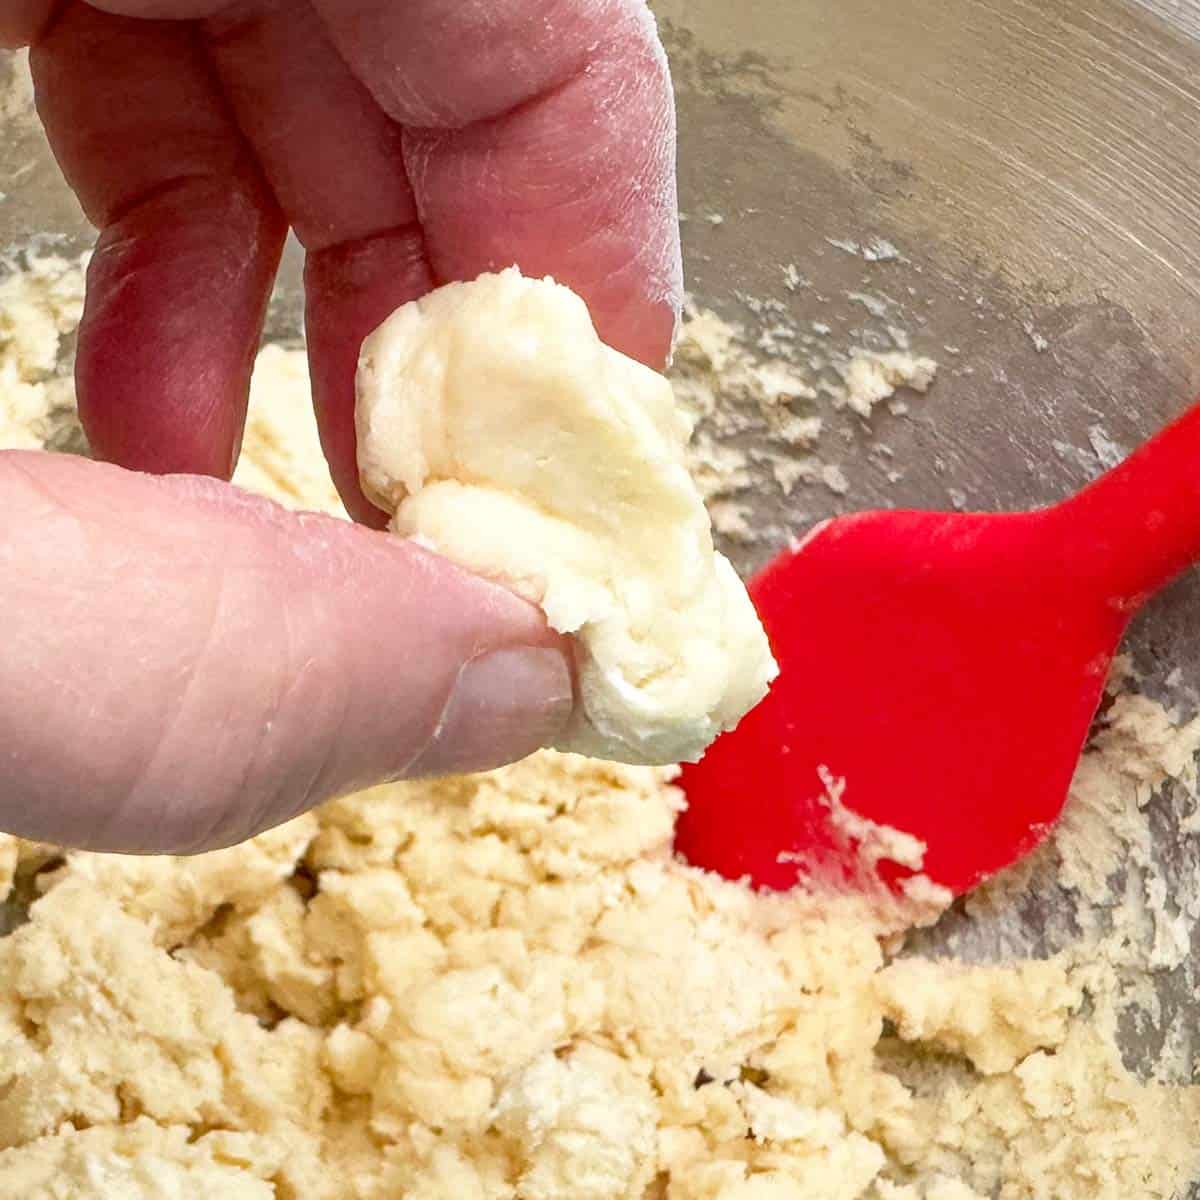
Turn the mixer to a low mixer speed and add the flour mixture about a quarter at a time. This should only take about a minute or less. Don't worry if it looks crumbly. It should have the consistency of Playdough if you put some between your fingers.
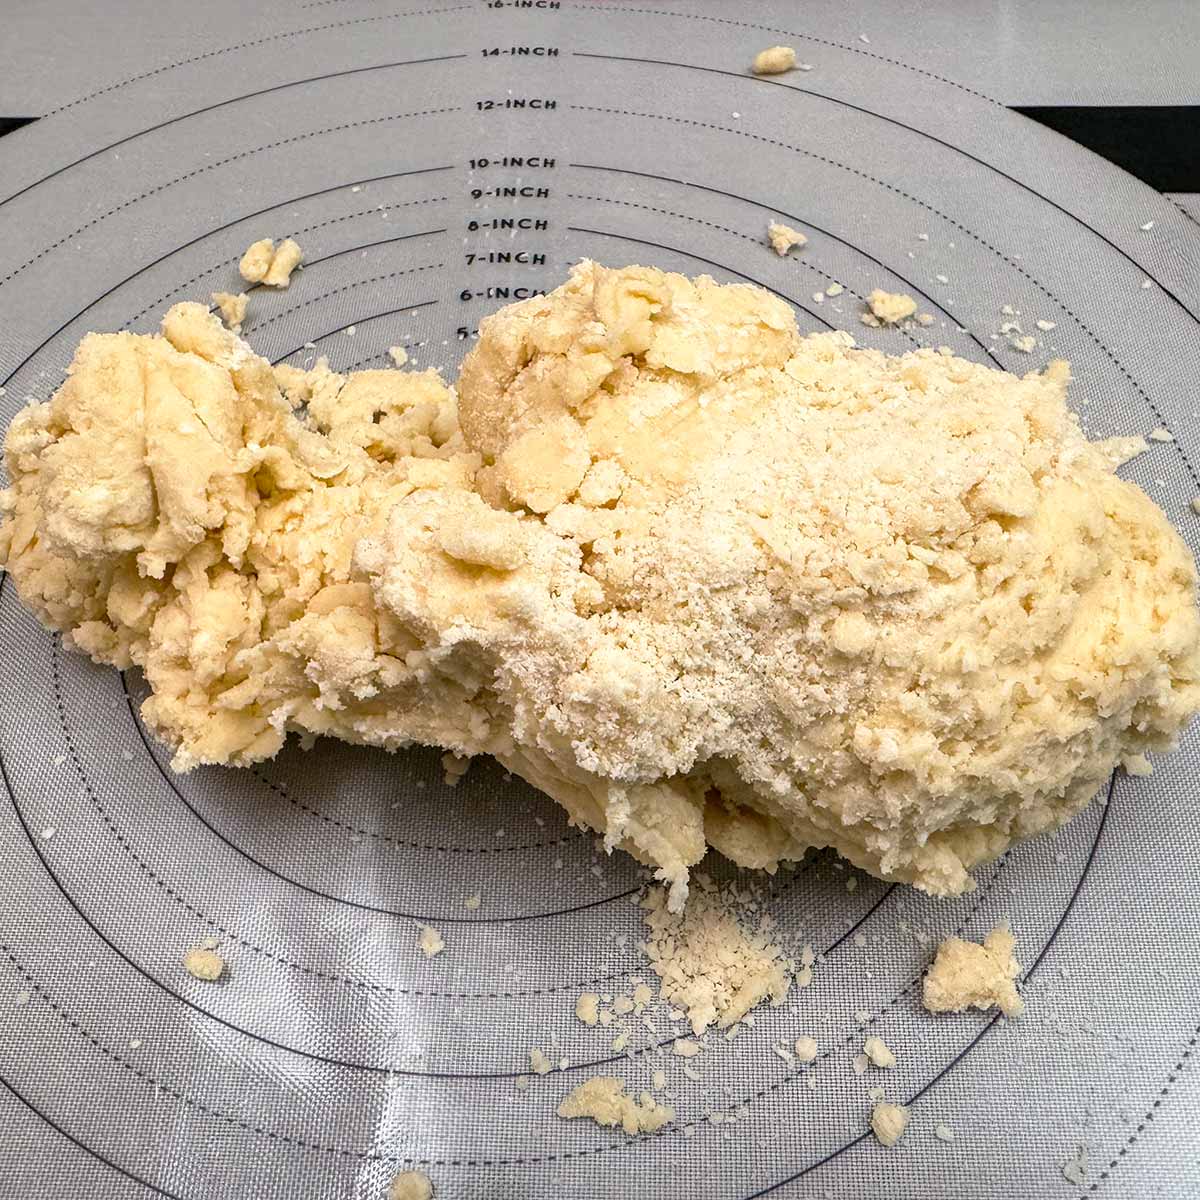
Dump all the cookie dough, including the crumbs onto a pastry mat. You will see what looks like dry crumbs of flour on top from the bottom of the mixer bowl.
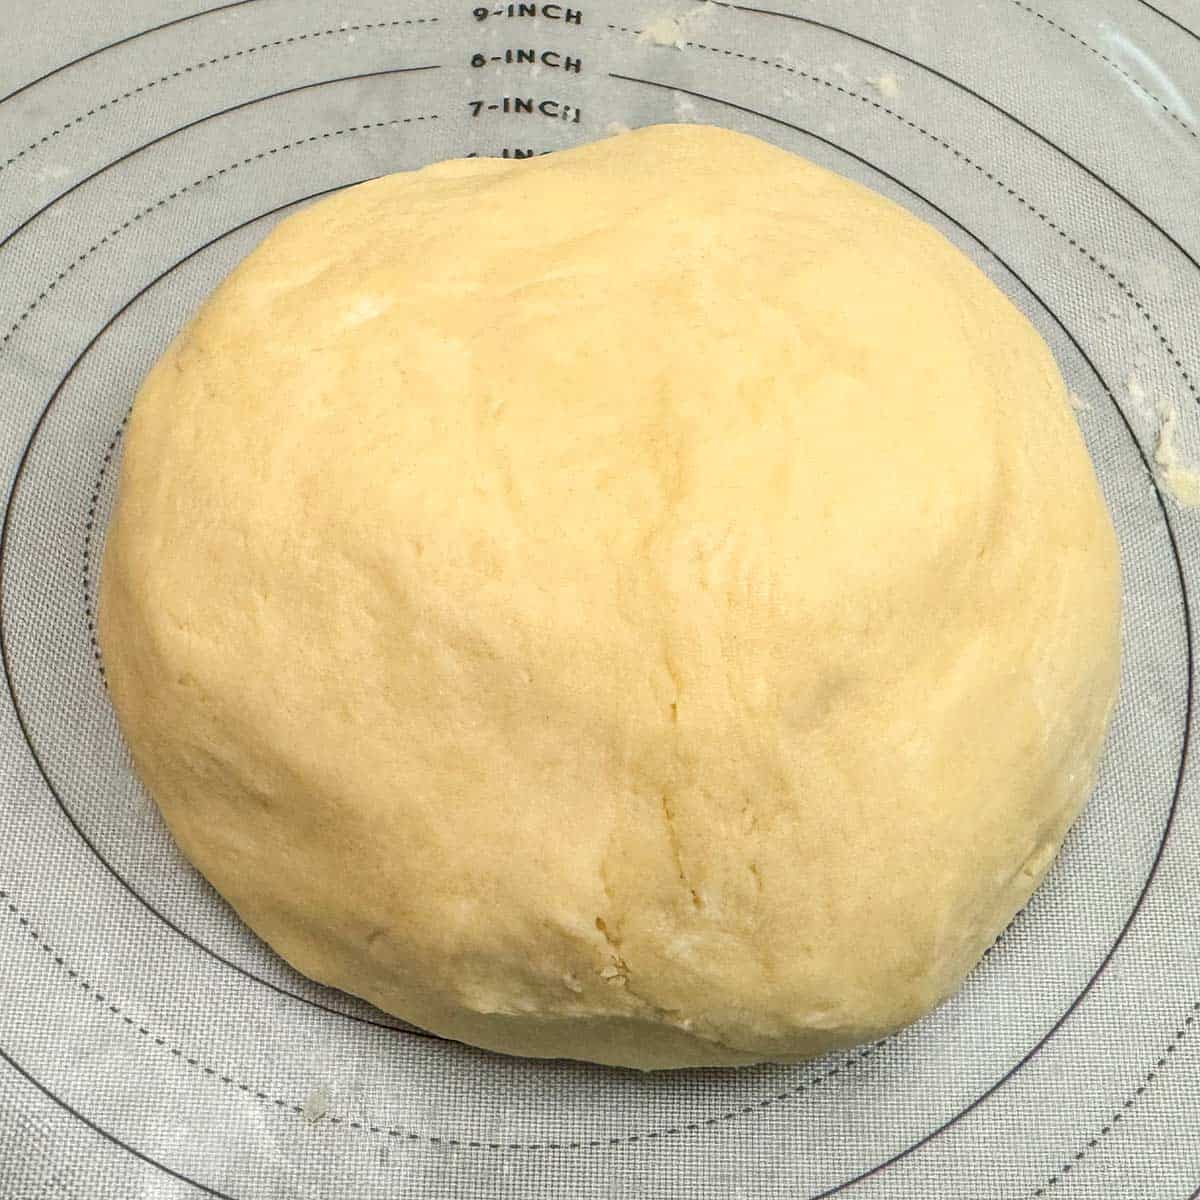
Knead the cookie cup dough and work in all the dry-looking crumbs. What happens is the butter and cream cheese will absorb the flour bits as you knead the dough.
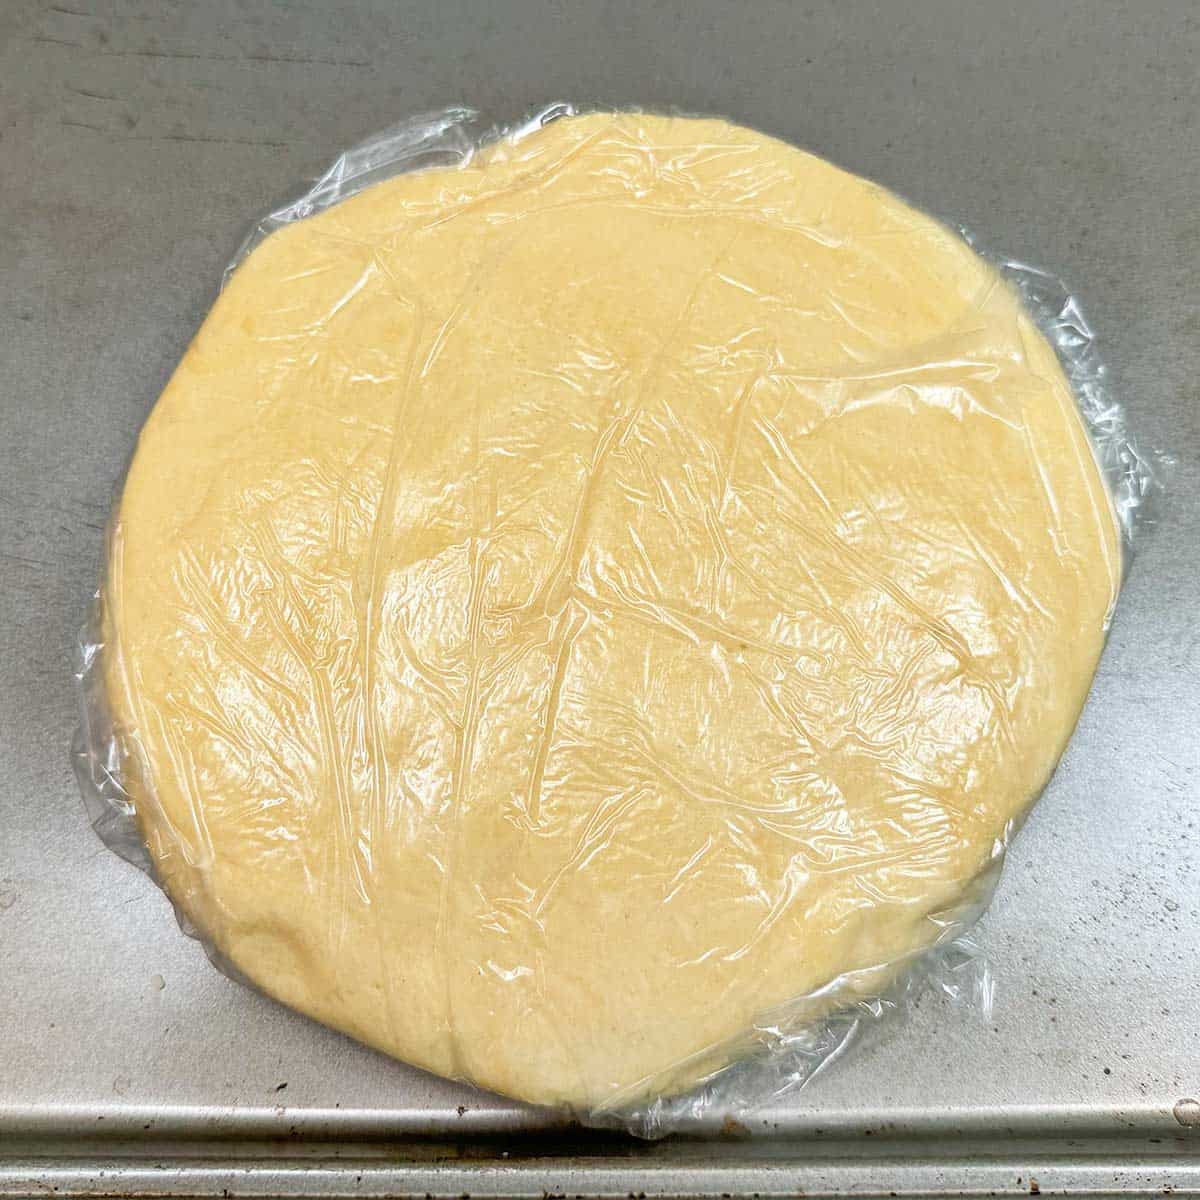
Now you want to flatten the dough ball and wrap it in plastic wrap. Put it in the refrigerator for 2 hours. This will give the fat time to absorb everything and bring it all together.
Roll Cut and Bake the Cookie Cups
Preheat your oven to 350°F (175°C or 180°C). Grab your pastry mat and a rolling pin. I have colored bands on the end of my rolling pin to help my cookie cup dough be evenly rolled out to the thickness I want. I am using ⅛" bands.
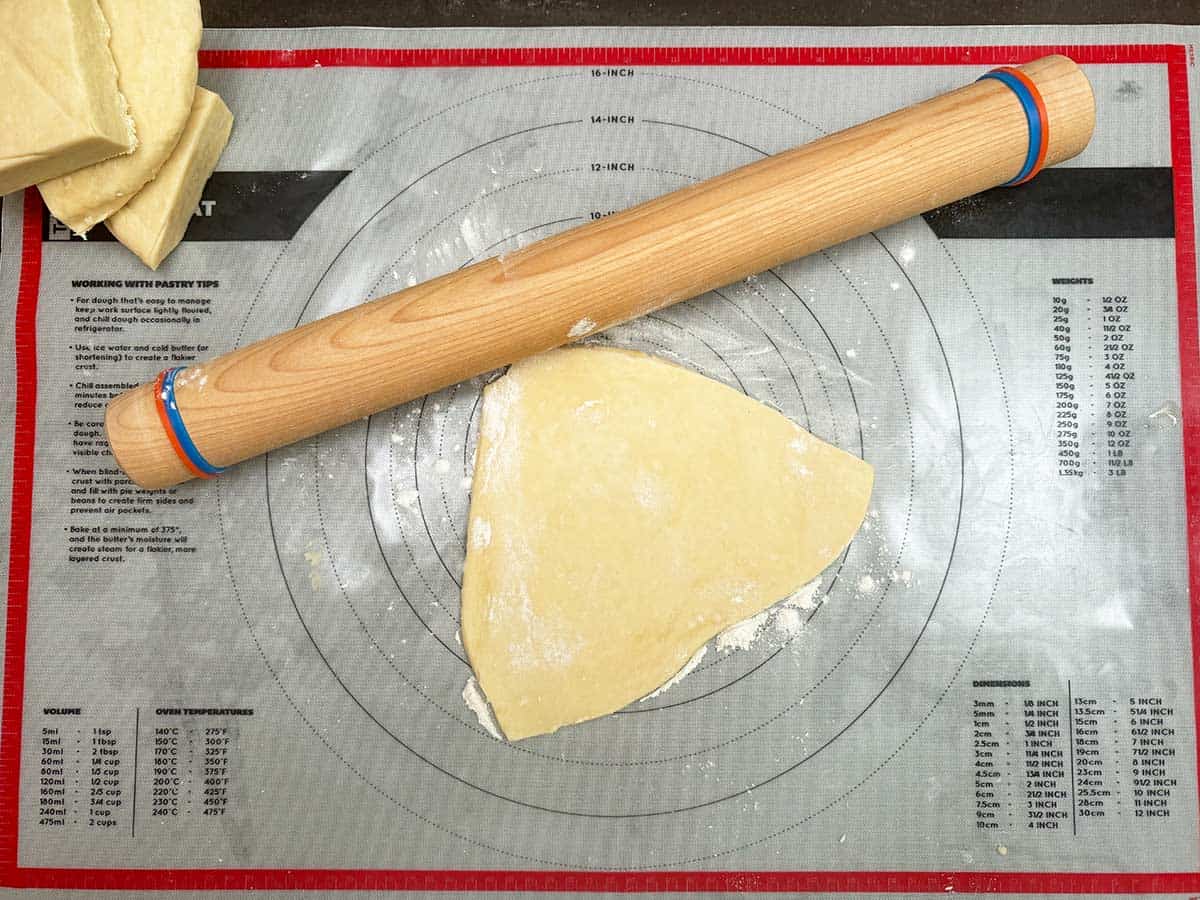
Take the cookie cup dough out of the fridge. Unwrap and cut it into quarters for an easier size to roll out. Add one quarter onto a floured pastry mat or hard surface.
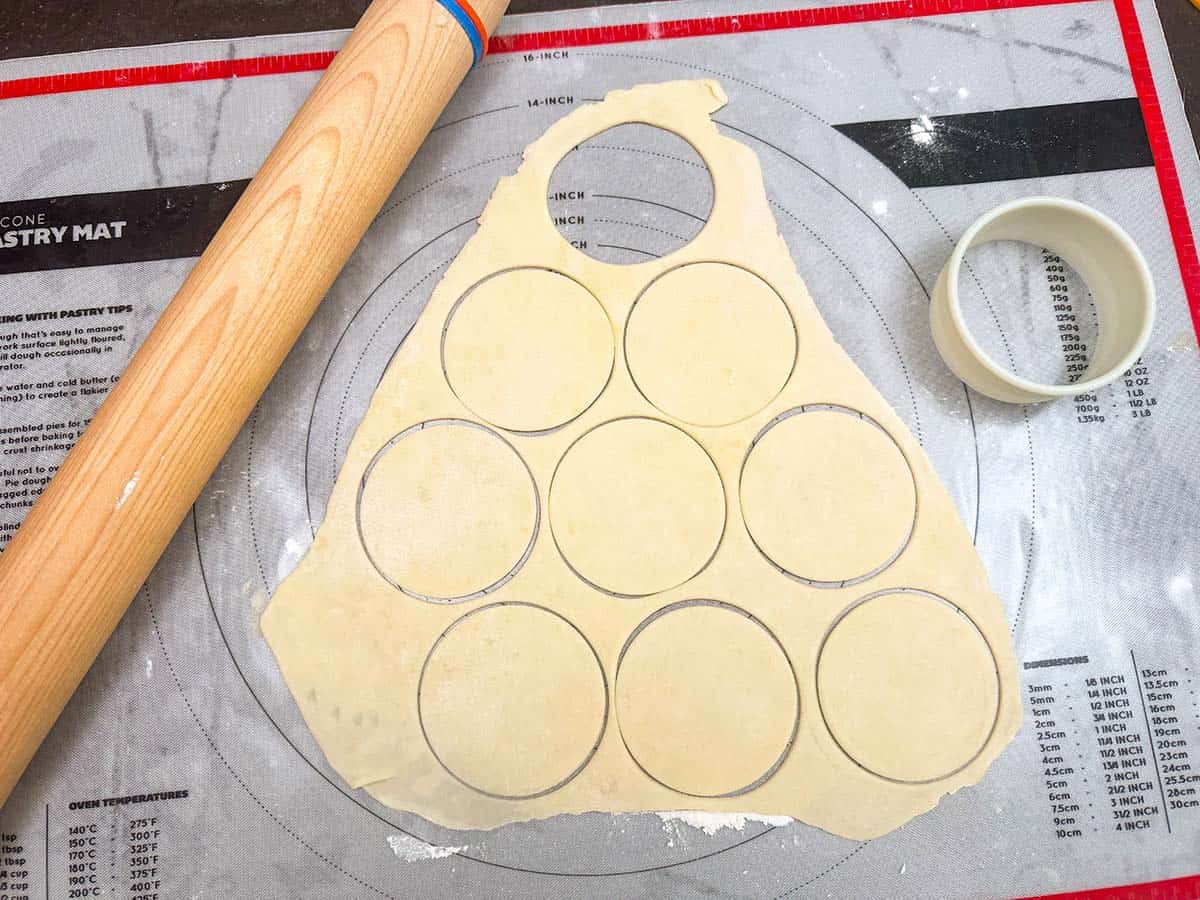
Roll out the dough and using a 3-⅛ circle cookie cutter, cut as many circles as you can. All the cookie dough between the circles will be balled up and rolled out again to get more circles.
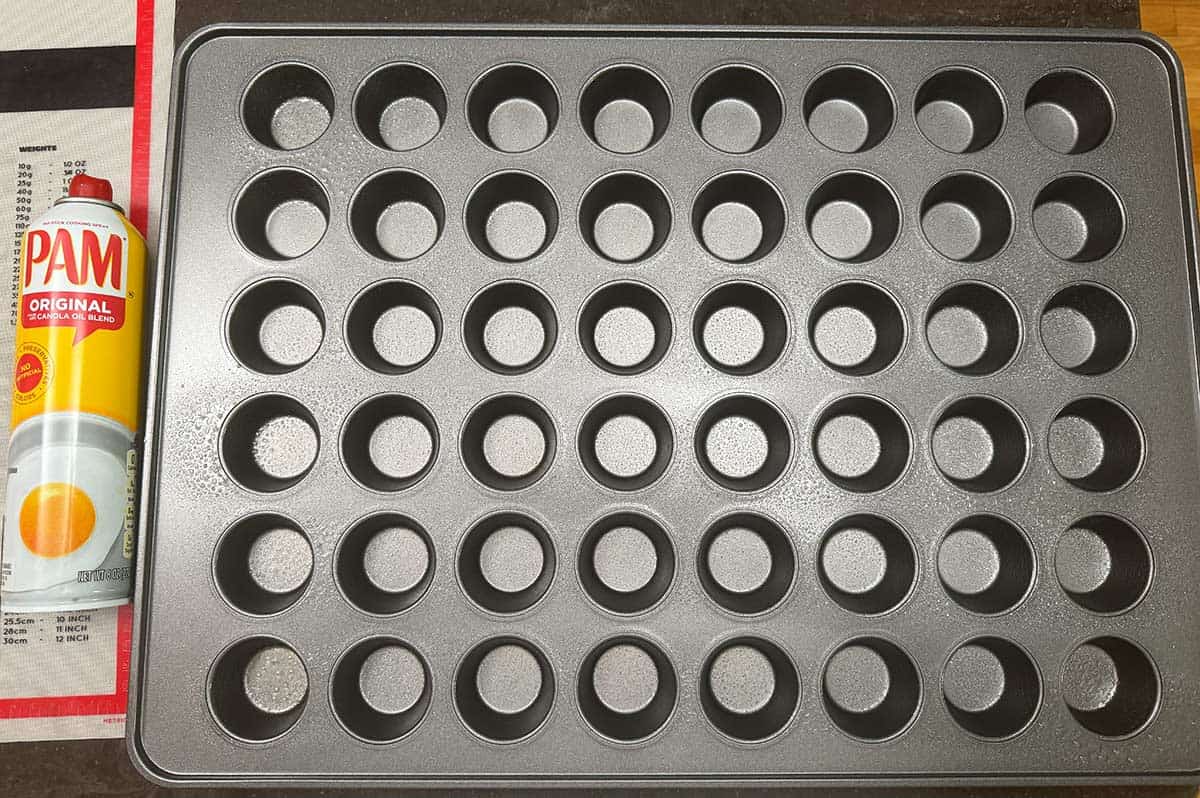
I take Pam and spray the cookie cup pan. Mine is 48 mini cup pan and I fill the whole pan with very little cookie cup dough left.
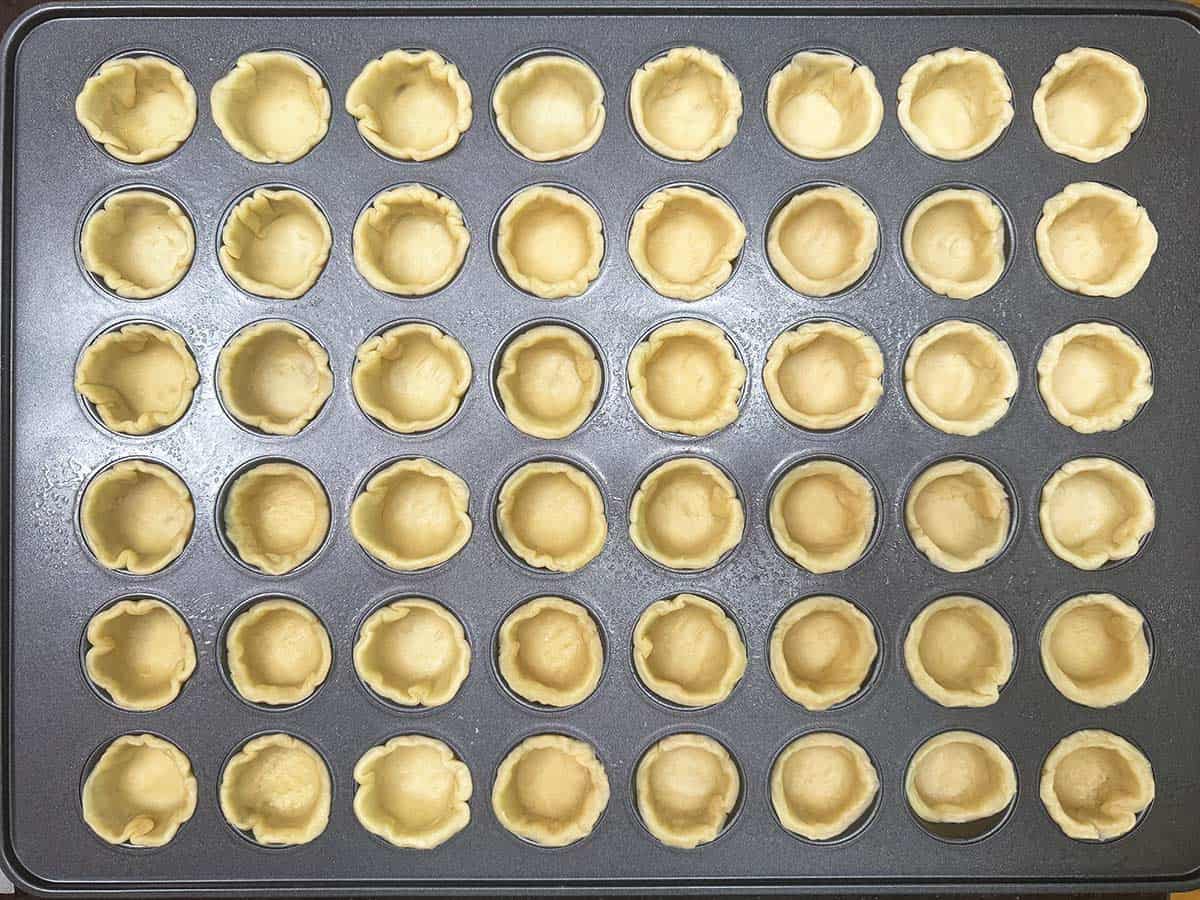
Take the cutout circles of dough and mold them into each cup. Be careful and try not to tear the cough when you are molding it into the cup. If you do, pull it out and add it back to the dough that needs re-rolled.
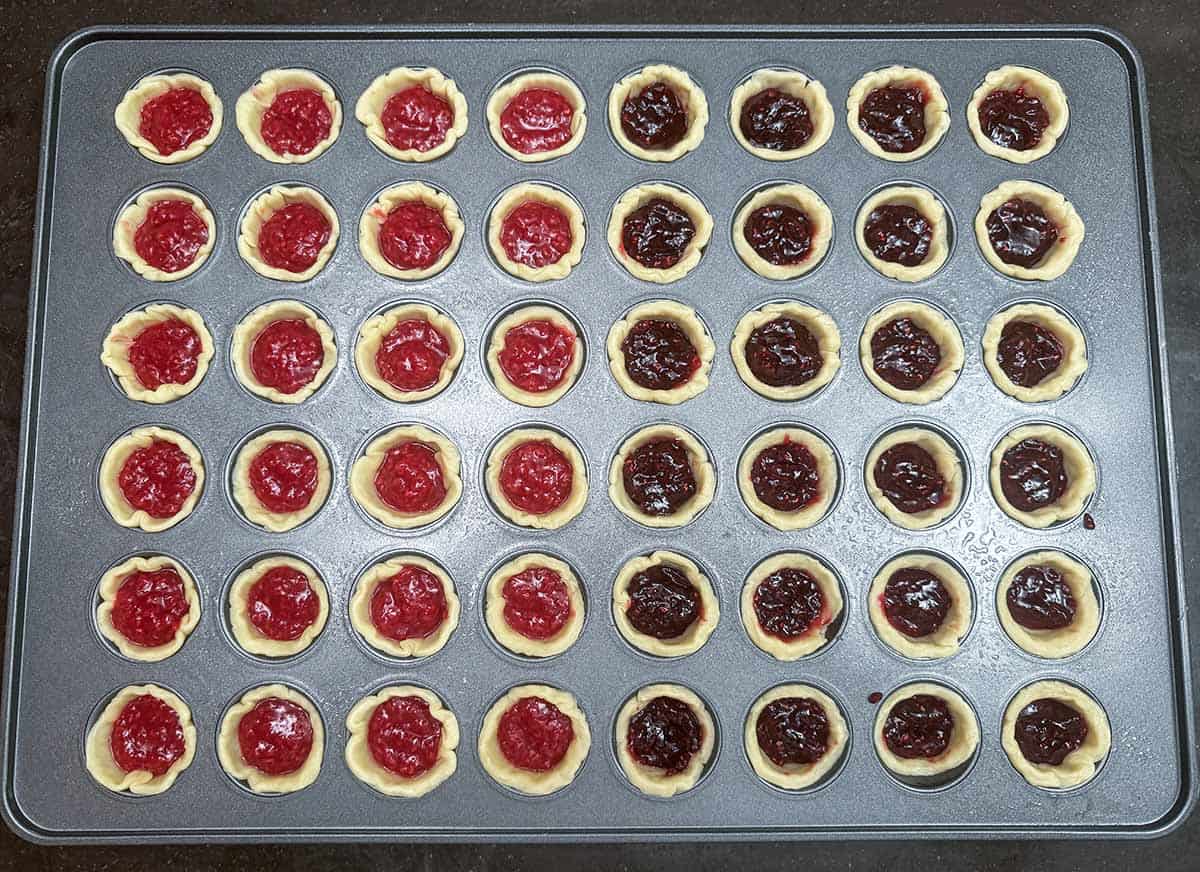
I fill each cup about two-thirds full of either the homemade raspberry jam or the store-bought raspberry preserves. You could also do as I did and use both. As a safeguard, I keep the raspberry preserves on hand in case I run out of the homemade jam.
Bake at 350°F (175°C or 180°C) for 15 to 17 minutes. You want a slightly golden brown on the sides and bottom. Leave them in the pan for 5 minutes, then I take a butter knife and slide it down one side so it comes out of the cup on the other side. This is where the Pam is a life savor. Move to a cooling rack.
Add Toppings
Oh, the toppings! You have so many choices. You can do as I did or make your own creation. Add the white and milk chocolate wafers to microwaveable bowls. Both chocolates will melt in the same amount of time, but they will have different consistencies.
Both chocolates you will heat in the microwave one at a time. Do 30 seconds and then stir the wafers. Heat for another 30 seconds and stir. If there are only some small sizes of the wafers left stir until they have melted. If they are bigger pieces, heat for another 10 seconds. Don't over melt, the chocolate should be shiny and smooth. It if is dull and hard, you will need to start over.
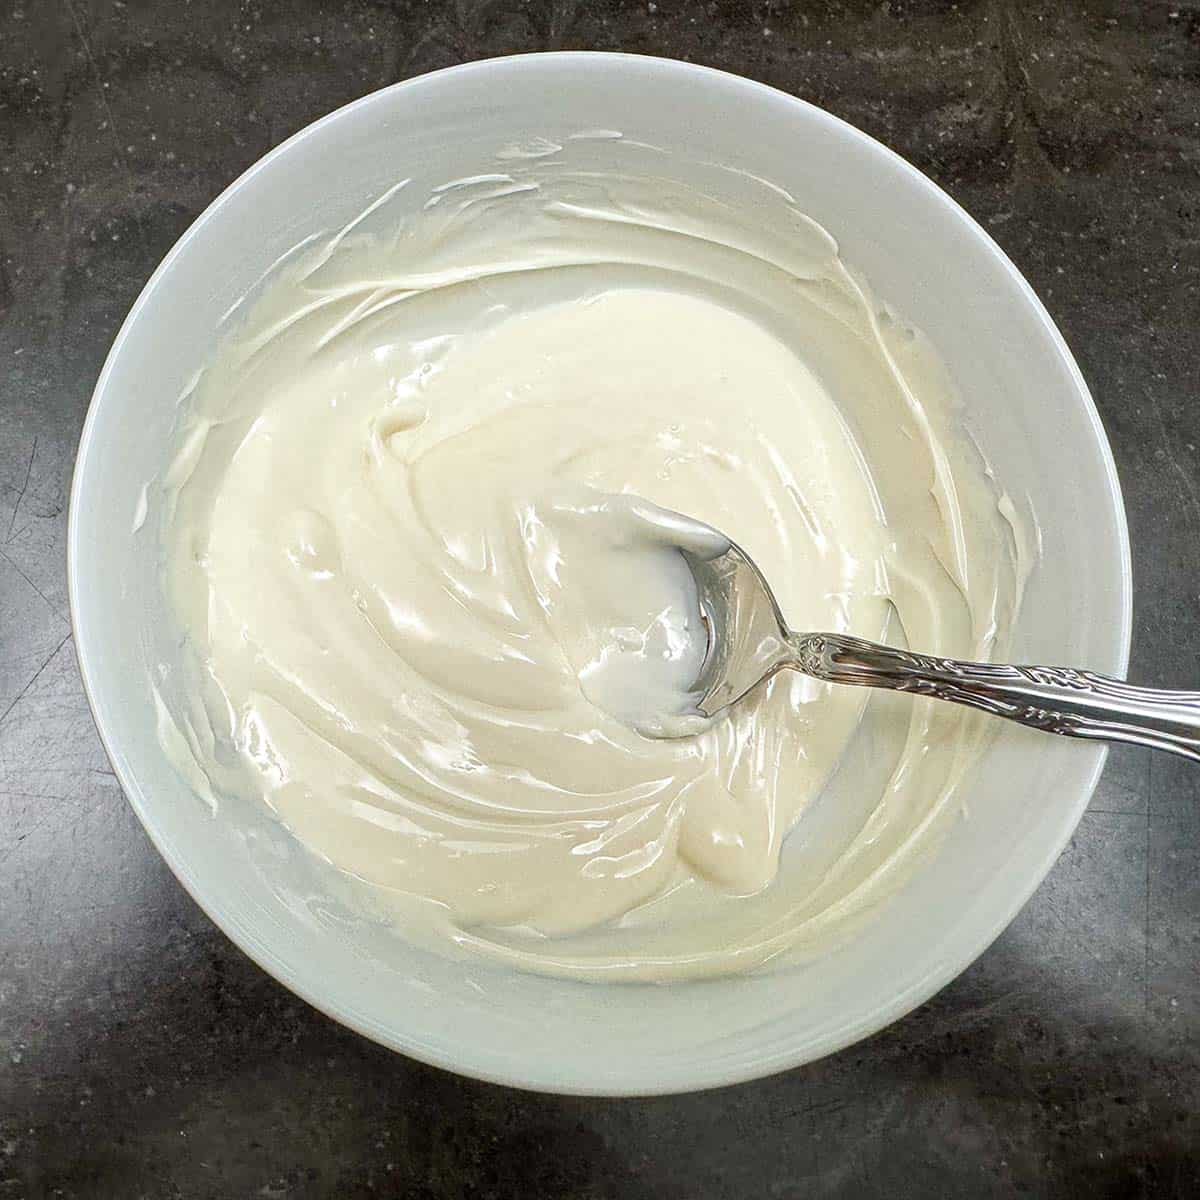
White chocolate, when it has melted, does not get thin enough to do a drizzle. So I used it to create what will look like whip cream on top of the cookie cup.
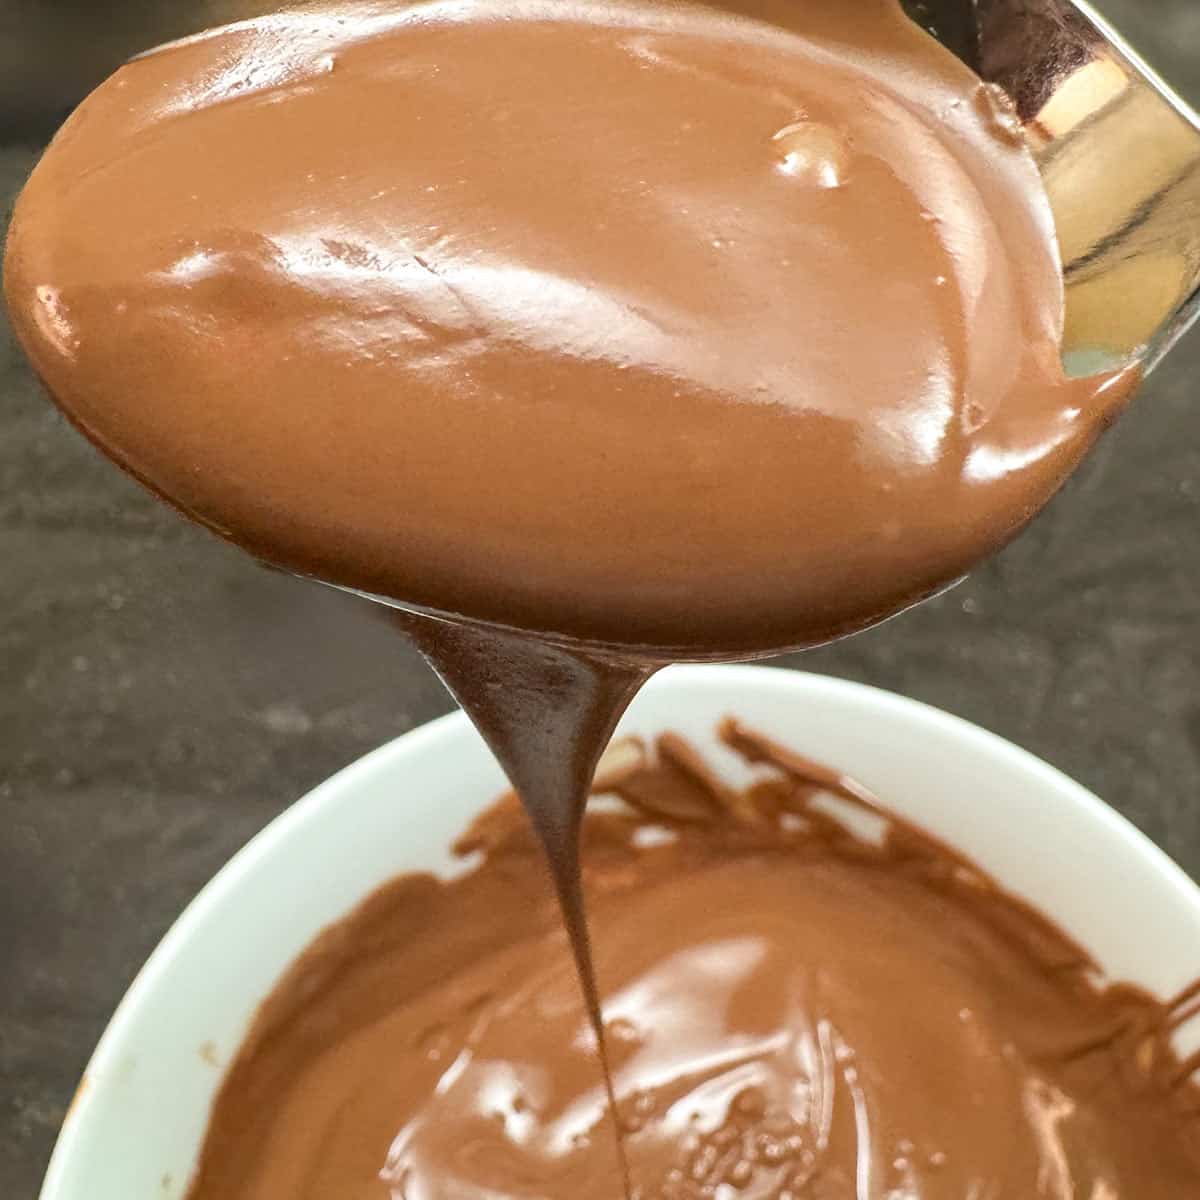
The milk chocolate does become thin enough to create the back and forth drizzle on top of the raspberry filling.
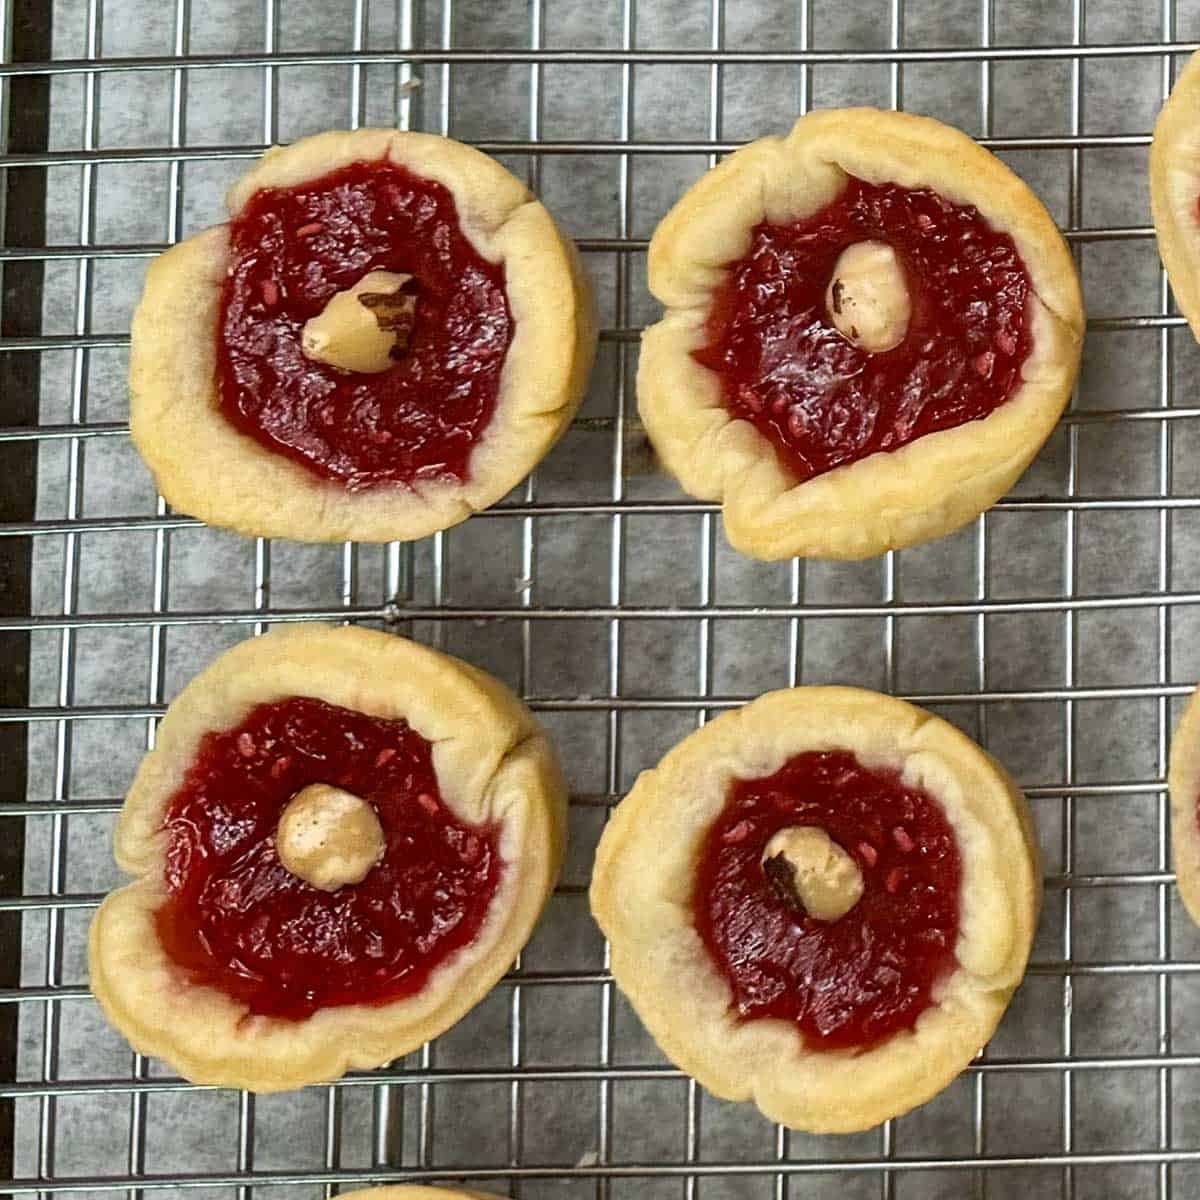
I start by adding a piece of the chopped hazelnut on top of the raspberry filling. Push down on it so it will stay if needed.
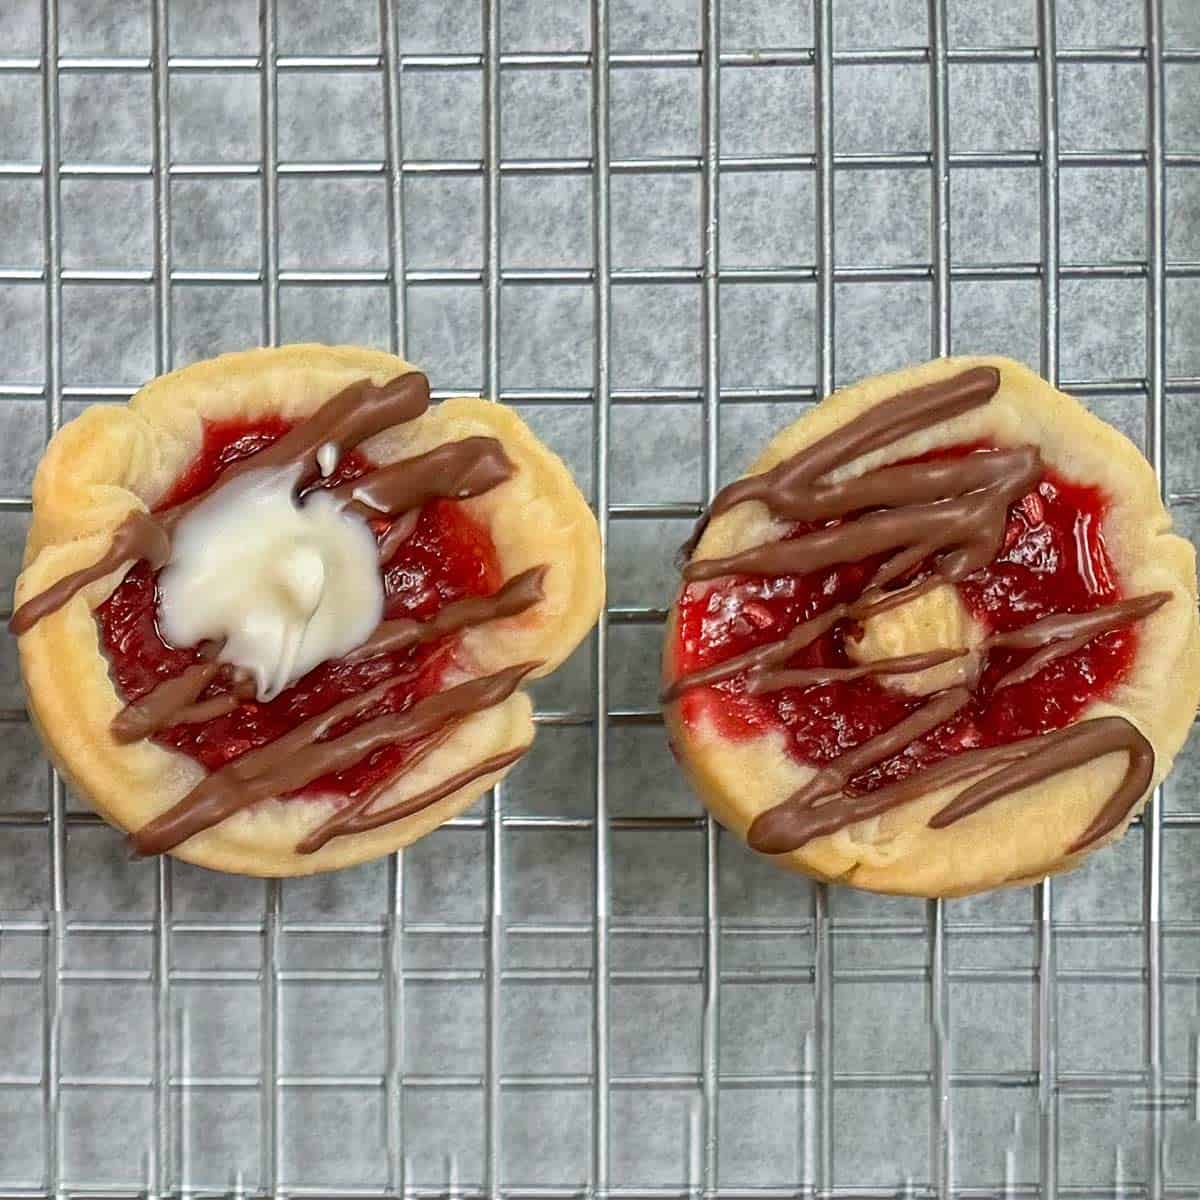
Then I take a spoon full of the melted milk chocolate and go back and forth over each cookie cup right over the nut. Next, I take a glob of the melted white chocolate and place it right on top of the milk chocolate and hazelnut.
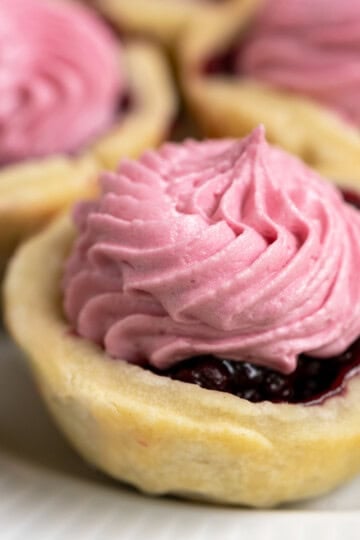
Instead of the hazelnut, you could put a fresh raspberry and then the chocolates. Or you may come up with different toppings, go with what you like!
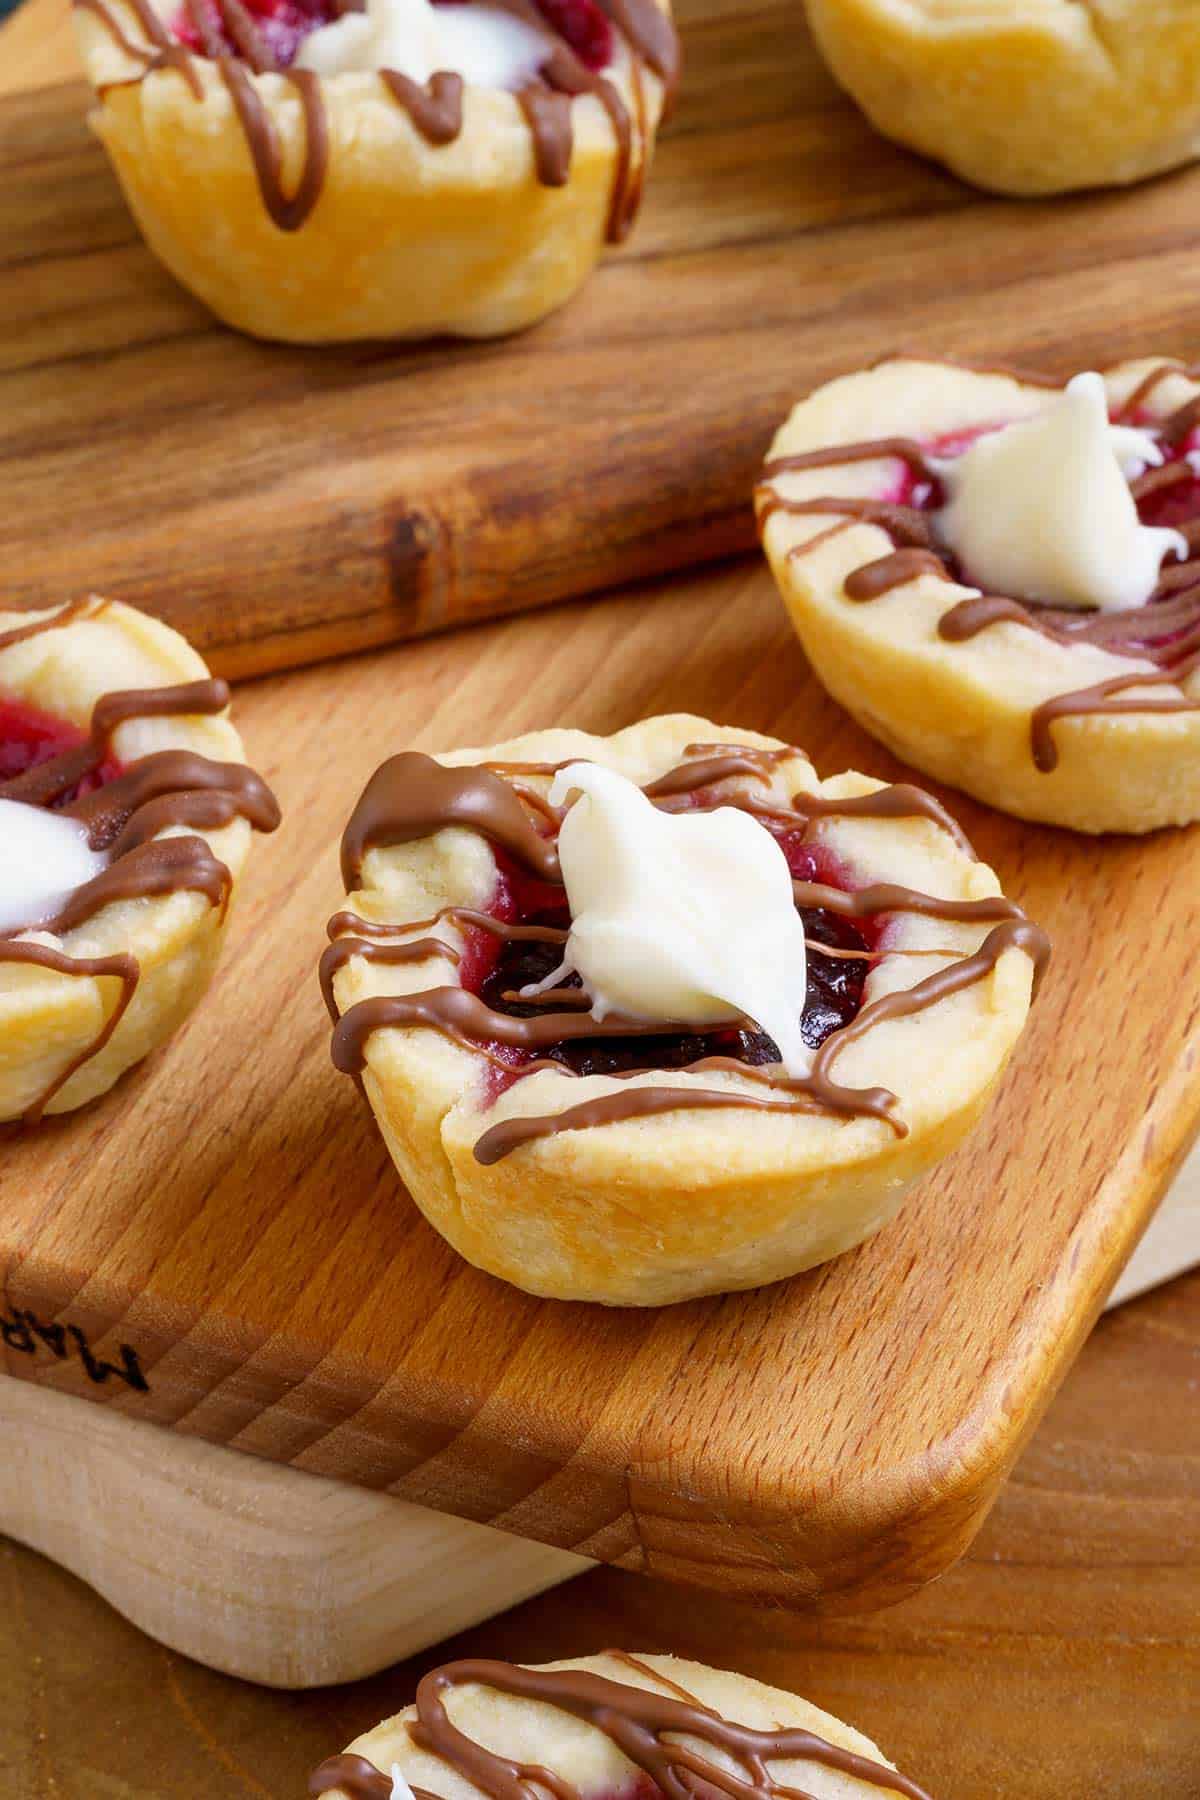
And there you have it. Enjoy!
FAQs
I have them in a container on the counter that has a lid. They will last for 4 to 5 days. If you want them to last longer, store them in the refrigerator.
Oh, my yes! You can use the cookie cup recipe and fill it with blackberry, strawberry, or peach preserves. Choose whatever your family loves and make it your own cookie.
You can switch out or eliminate the nut altogether. Certain fruit pair better with different nuts. For example;
Blackberries - almonds, hazelnuts
Strawberry - almonds, hazelnuts, pistachios, pecans, pine nuts, walnuts
Peaches - almonds, pecans, walnuts
And yes, you do not need to add a nut!
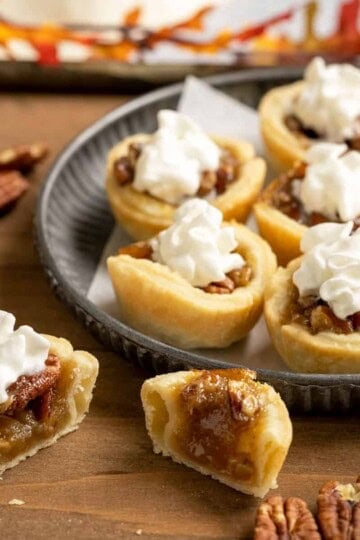
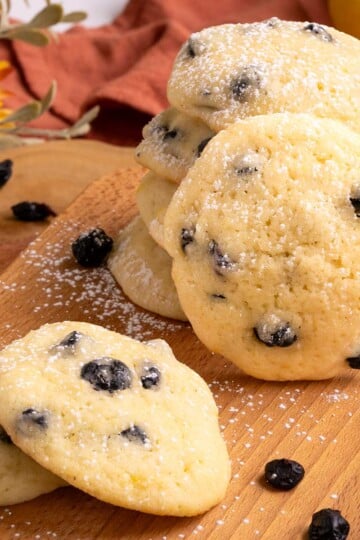
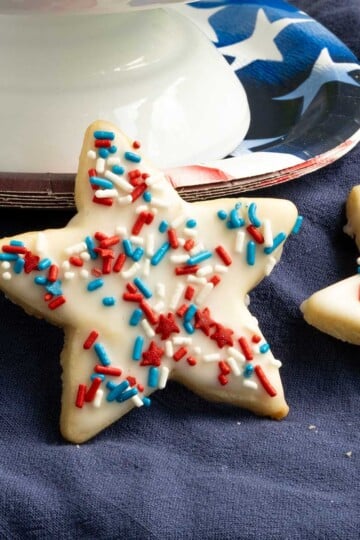
Other Cookie Cups


Recipe

Raspberry with Chocolate Cookie Cups
Ingredients
Raspberry Homemade Filling
- 24 ounces (18 ounces) Raspberry
- ½ cup (100 g) Sugar
- ½ teaspoon (0.25 teaspoon) Lemon zest
- 2 teaspoon (2 teaspoon) Lemon juice
- 2 teaspoon (2 teaspoon) Corn Starch
(OR) Raspberry Store Bought Filling
- 26 ounces Raspberry Preserves 2 13oz jars
Cookie Cups
- 1 cup (227 g) Butter unsalted
- 6 ounces (6 ounces) Cream Cheese
- ½ teaspoon (0.25 teaspoon) Vanilla extract
- 2 ½ cups (312.5 g) All-purpose flour
- ½ teaspoon Kosher Salt
Toppings
- 1 cup Milk chocolate wafers
- 1 cup White chocolate wafers
- ½ cup Chopped hazelnuts
- 12 ounces Raspberries
Instructions
Raspberry Filling
- Combine the 24 oz of raspberries, sugar, and lemon zest. Bring mixture to a boil over medium high heat, then reduce the heat to medium. You want a low boil.
- As you stir, keep pressing the raspberries against the pan's side to break them apart as they become tender. This step may require 10 minutes. Combine the lemon juice with the cornstarch and incorporate it into the pan. Reduce the heat to achieve a gentle boiling point. Stir continuously for 5-7 minutes until the mixture thickens.
- Take the pan off the heat and let it cool down for about 10 minutes before placing it in a glass jar that has a lid and let it continue to cool down for 30 minutes. Cover and place in the refrigerator. I like to do the raspberry jam filling the day before and let it sit in the refrigerator overnight.
- Or you can buy your favorite raspberry preserves for the filling.
Cookie Cups
- Add the butter and cream cheese to a mixer bowl. Cream them together for 2 to 3 minutes before adding the vanilla extract. Scrape down the bowl, and, on a low speed, gradually add the flour. Only mix for a minute; the dough will be crumbly.
- Place the dough onto a pastry mat. Knead the dough until all the crumbs have been incorporated into a ball shape. Now flatten the ball into a flat circle and then wrap it in plastic. Refrigerate for at least 2 hours.
- Preheat the oven to 350°F (175°C or 180°C). Place the chilled cookie cup dough onto a pastry mat and separate it into four equal portions. Take one quarter and roll it out on a lightly floured pastry mat. I use ⅛" bands on the ends of my rolling pin to get an even thickness on my cookie cup dough. With a 3-⅛" round cookie cutter, cut out as many circles as possible from the rolled-out dough.
- Spray a mini cup pan with Pam and place a cutout circle of dough into a hole to form a cup. I have a 48-cup pan to bake all the cups simultaneously. Be careful shaping the dough inside the cups. You don't want any holes in the dough, or the filling will go under the cookie cup dough. After each quarter is used, gather all the extra dough between the cutouts and continue to re-roll and cut out until the dough is used.
- Fill each cup with the raspberry filling of your choice about two-thirds of the way full. This will give space for the filling to expand during baking. Bake at 350°F (175°C or 180°C) for 15 to 17 minutes. Let the cups cool in the pan for about 5 minutes, then take a butter knife and go down the outside one cup. The other side should come up and make it easy to get out.
Topping
- After I get all the baked cookie cups out of the pan and onto the cooling rack, I add a piece of a chopped hazelnut right in the middle. Just to give a little crunch. I did not do this, but you could add a raspberry instead of the hazelnut or add both.
- In two separate microwaveable bowls, add the milk chocolate wafers to one and the white chocolate wafers to the other. Start with the milk chocolate and heat in the microwave for 30 seconds. Then stir and heat for another 30 seconds. If you need more heating, only do another 10 seconds.
- When melting the white chocolate wafers in the microwave, it will not get as runny as the milk chocolate, so instead of a drizzle I added just a small scoop on top of the milk chocolate drizzle and the hazelnut, so it looks like whip cream.
Would you like to save this recipe?
Share this recipe
Notes
NUTRITION DISCLAIMER
I am not a certified Dietitian or Nutritionist. The nutrition amounts given below are provided through a program and are only a guideline.
Join the Discussion