The great raspberry! They can be a little tart, but they add such a pretty color to any dessert. They are available usually between June to October, but I find them even in November. But this is probably the last time for making raspberry cookies or bars until next year.
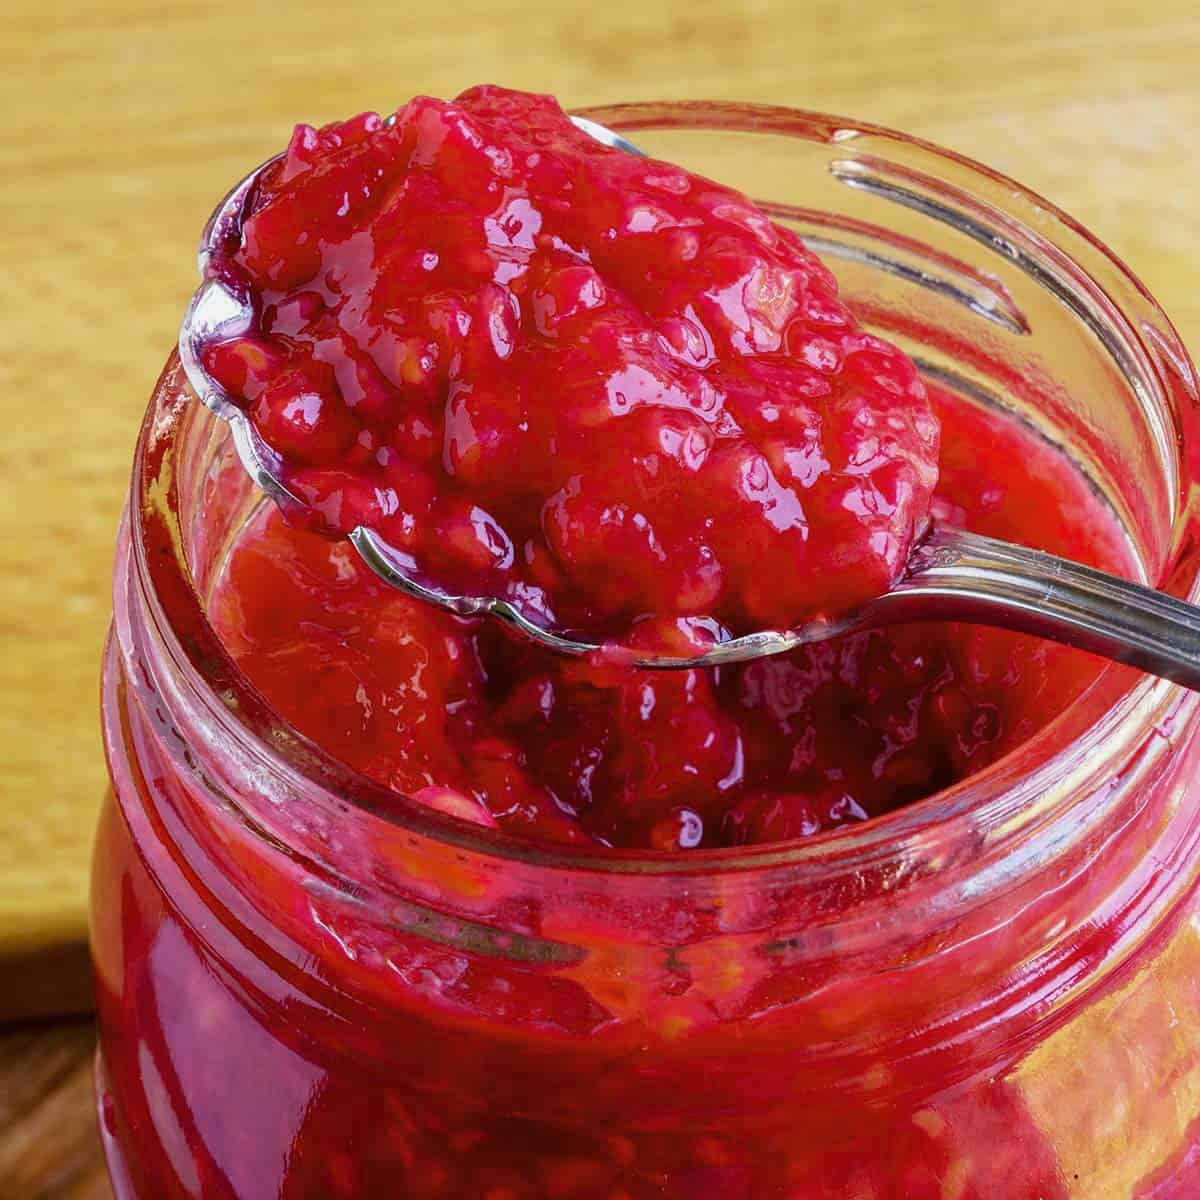
There are a lot of benefits to eating raspberries. My favorite site for giving the best advice on the benefits of fruits is WebMD. Here is their advice on Health Benefits of Raspberries.
Ingredients
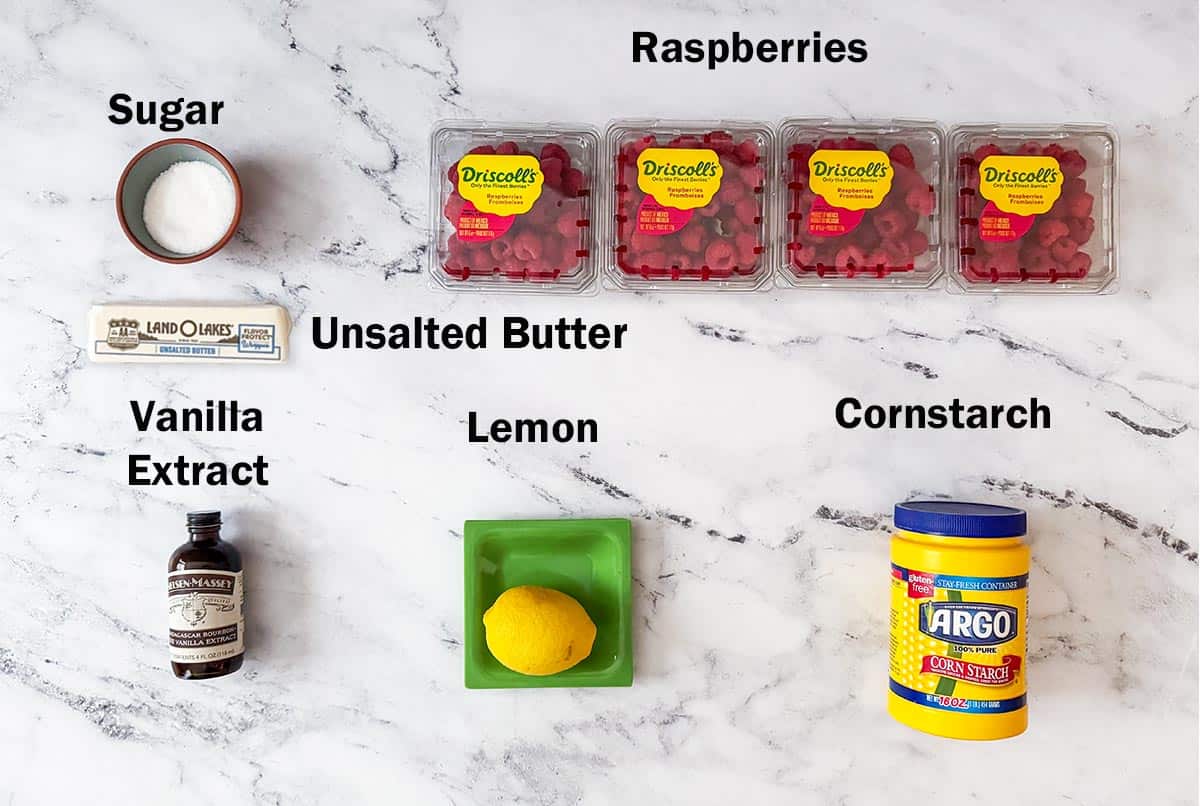
- Raspberries
- Sugar white
- Corn starch
- Lemon juice
- Vanilla Extract
- Butter unsalted
Making the Raspberry Filling
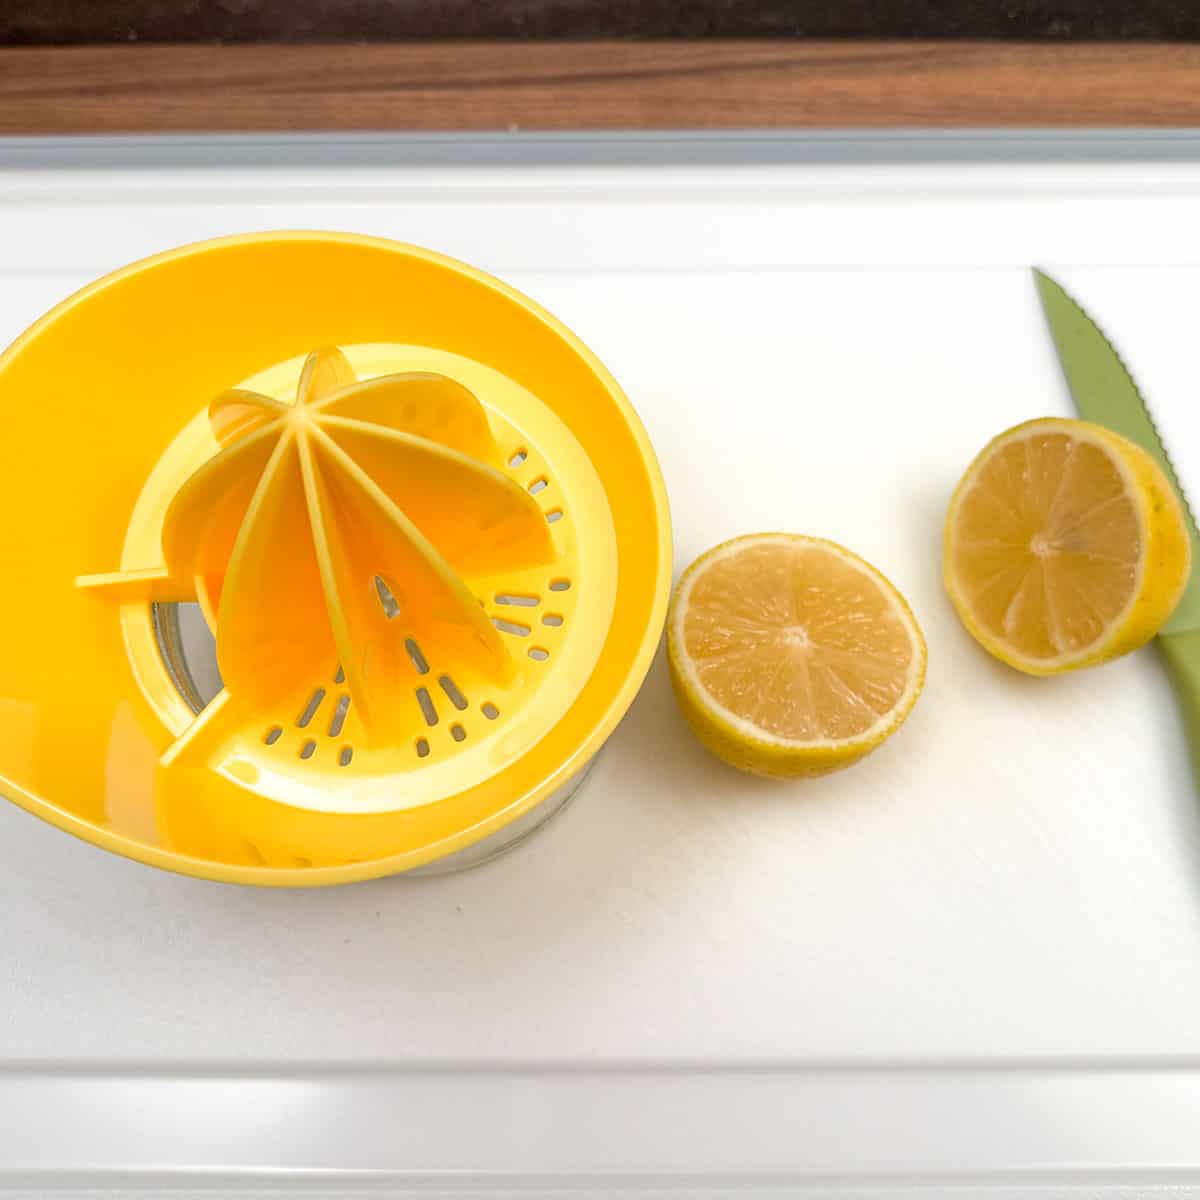
Well, there is not much to prep for this recipe, but the first thing I do is juice my lemon.
Prepping and Cooking
You can weigh or measure the sugar and set it aside.
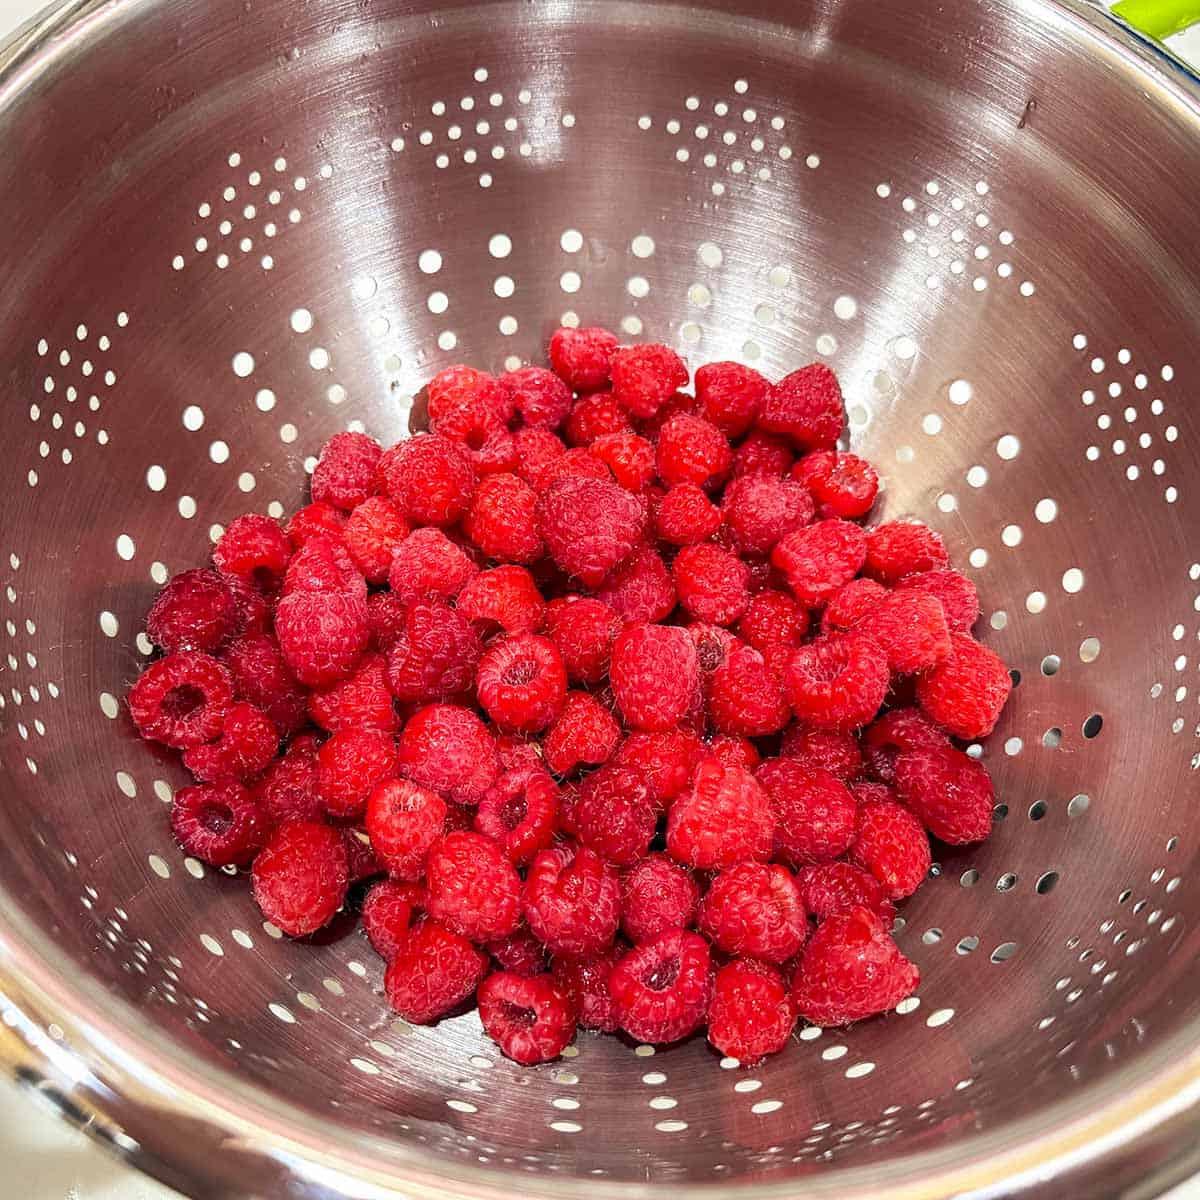
Clean the raspberries. There are usually a few green leaves in the packages. Try to get as much of the water off the fruit, since the goal is to reduce the liquid.
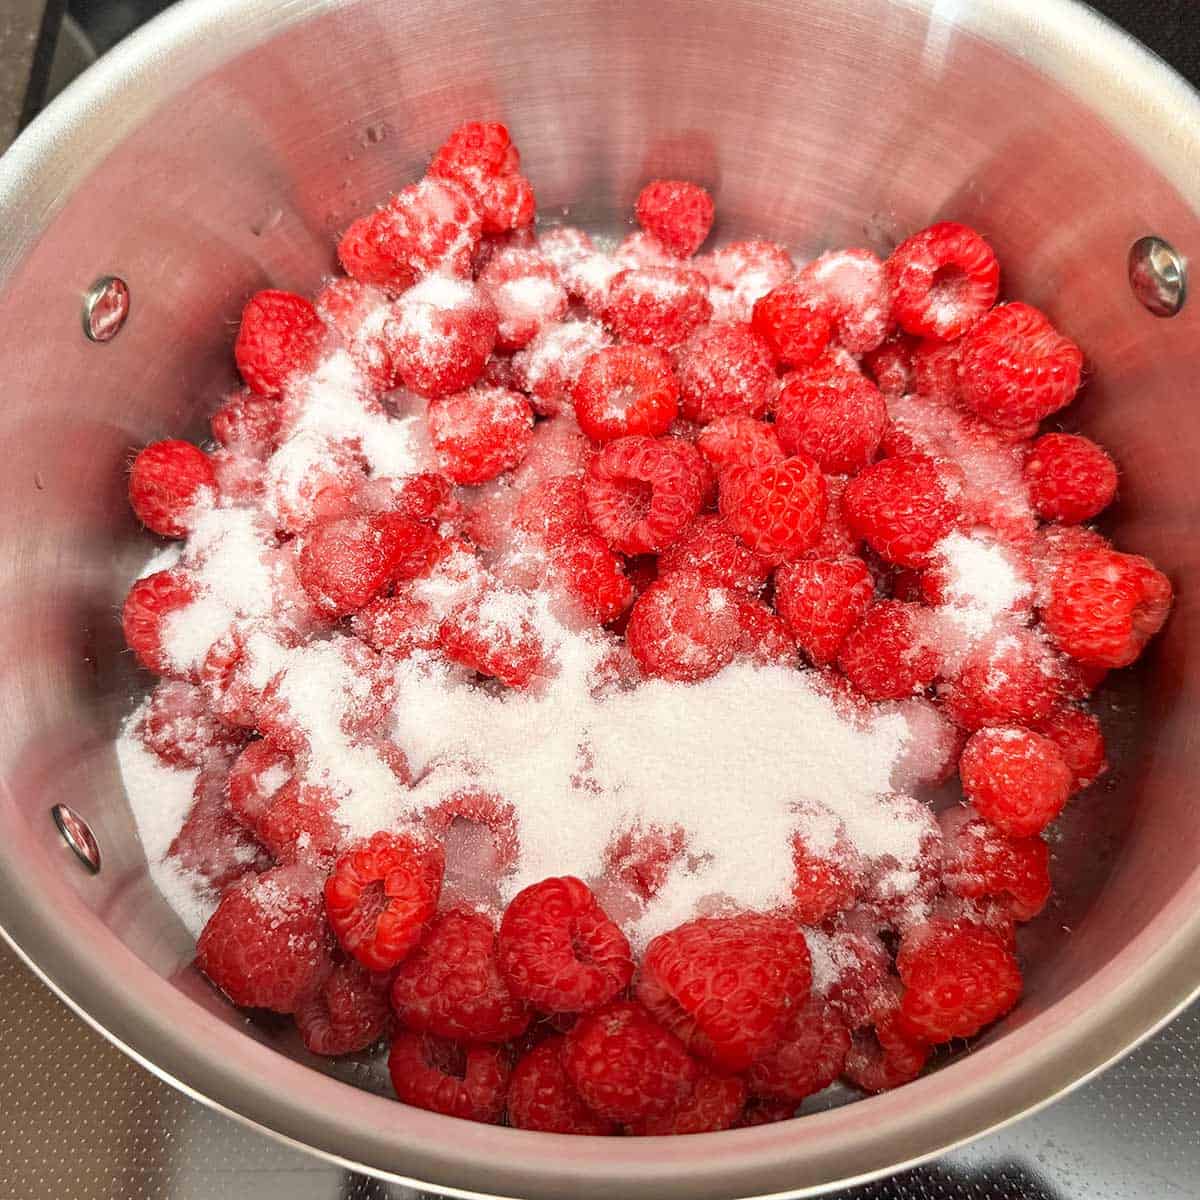
I used a 3-quart saucepan; I find it easier that a smaller pan. Add the raspberries and the sugar. Bring to a boil over medium-high heat while stirring. I grab a wooden spoon and press the berries along the side of the pan to break them up. This takes about 5 to 6 minutes.
Thickening the Raspberry Filling
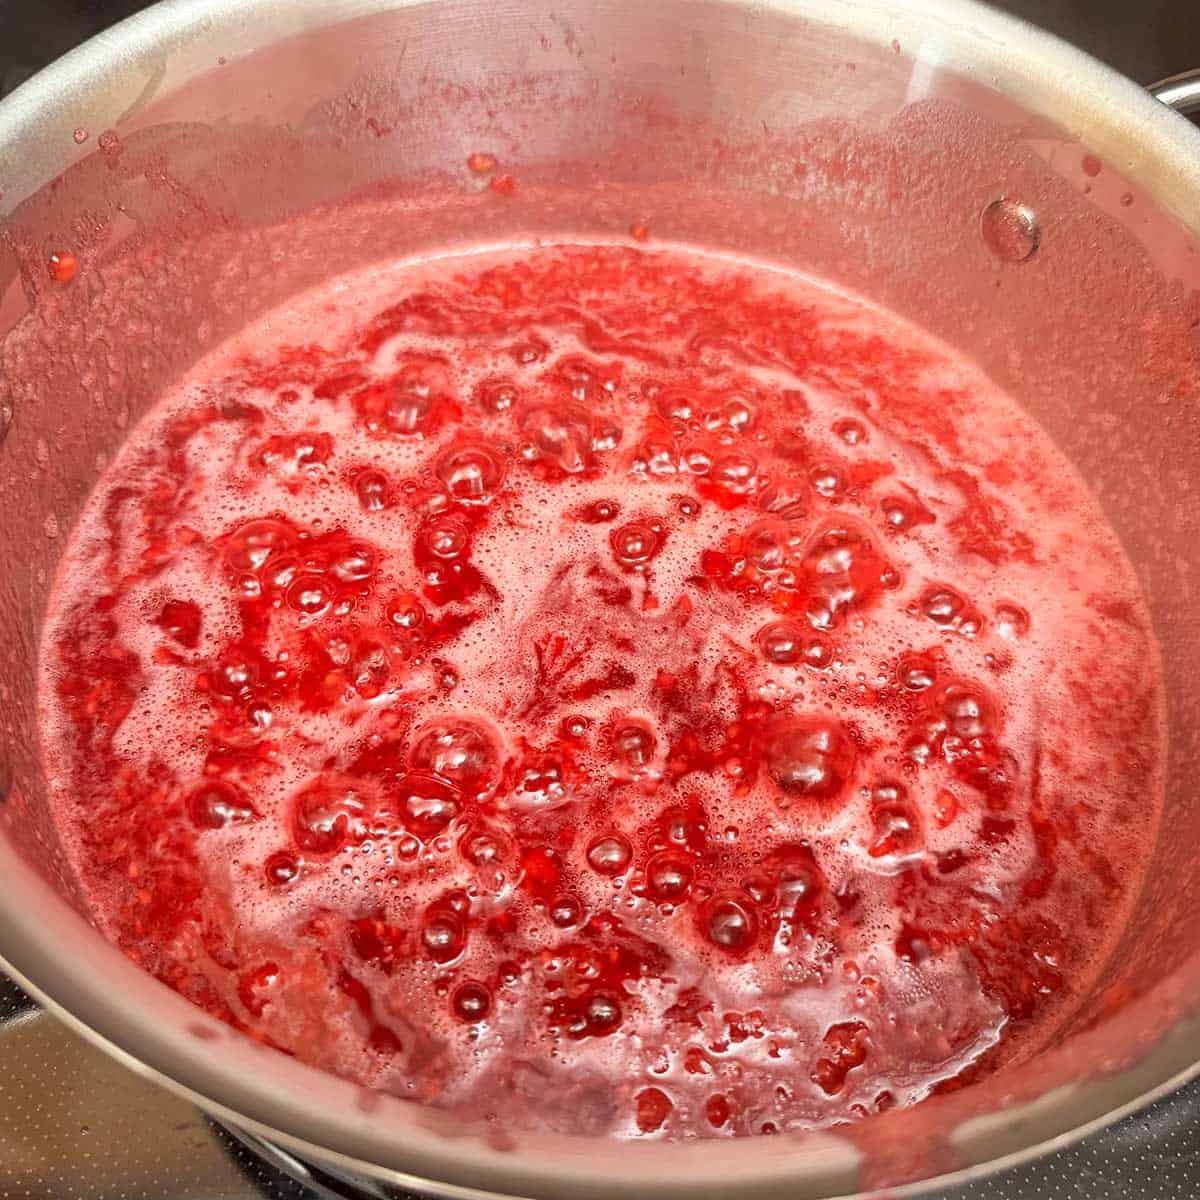
Now that the raspberries are mostly broken up, you need to reduce the liquid. This will help to start the thickening stage. You want to keep the raspberries at a medium boil and stir most of the time. This stage takes about 8 minutes.
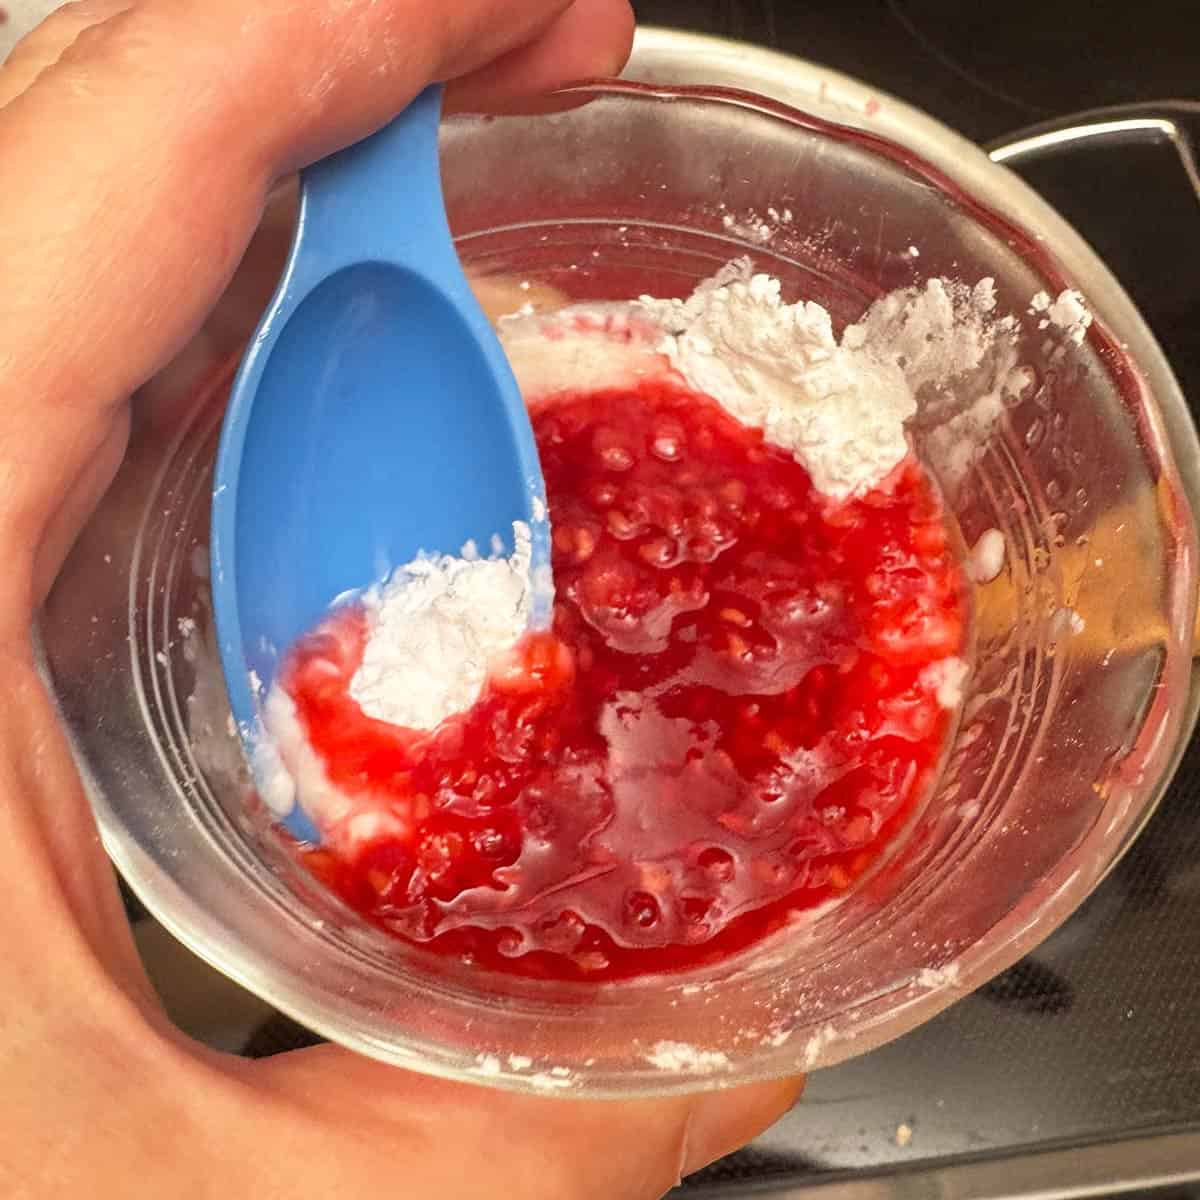
Now add the cornstarch to a small bowl. Add the lemon juice. It will not be enough to mix with the cornstarch. Add a couple spoonfuls of the raspberry filling and use it to mix with the cornstarch. I do not add more lemon juice because it will add too much lemon taste to the raspberries. Add the cornstarch to the saucepan and stir for 3 minutes. Take the pan off the stove.
Hot cooked anything and cold cookie dough react differently to vanilla extract. The main reason is that vanilla extract has alcohol in it and the boiling fruit on the stove will evaporate the alcohol and you get less of the vanilla taste.
So after taking the pan off the heat, add the vanilla extract and the pat of butter and stir until the butter has melted into the raspberry filling. I let the filling cool in a glass dish for about 20 minutes before moving it to glass jars that have lids.
Jar and Chill
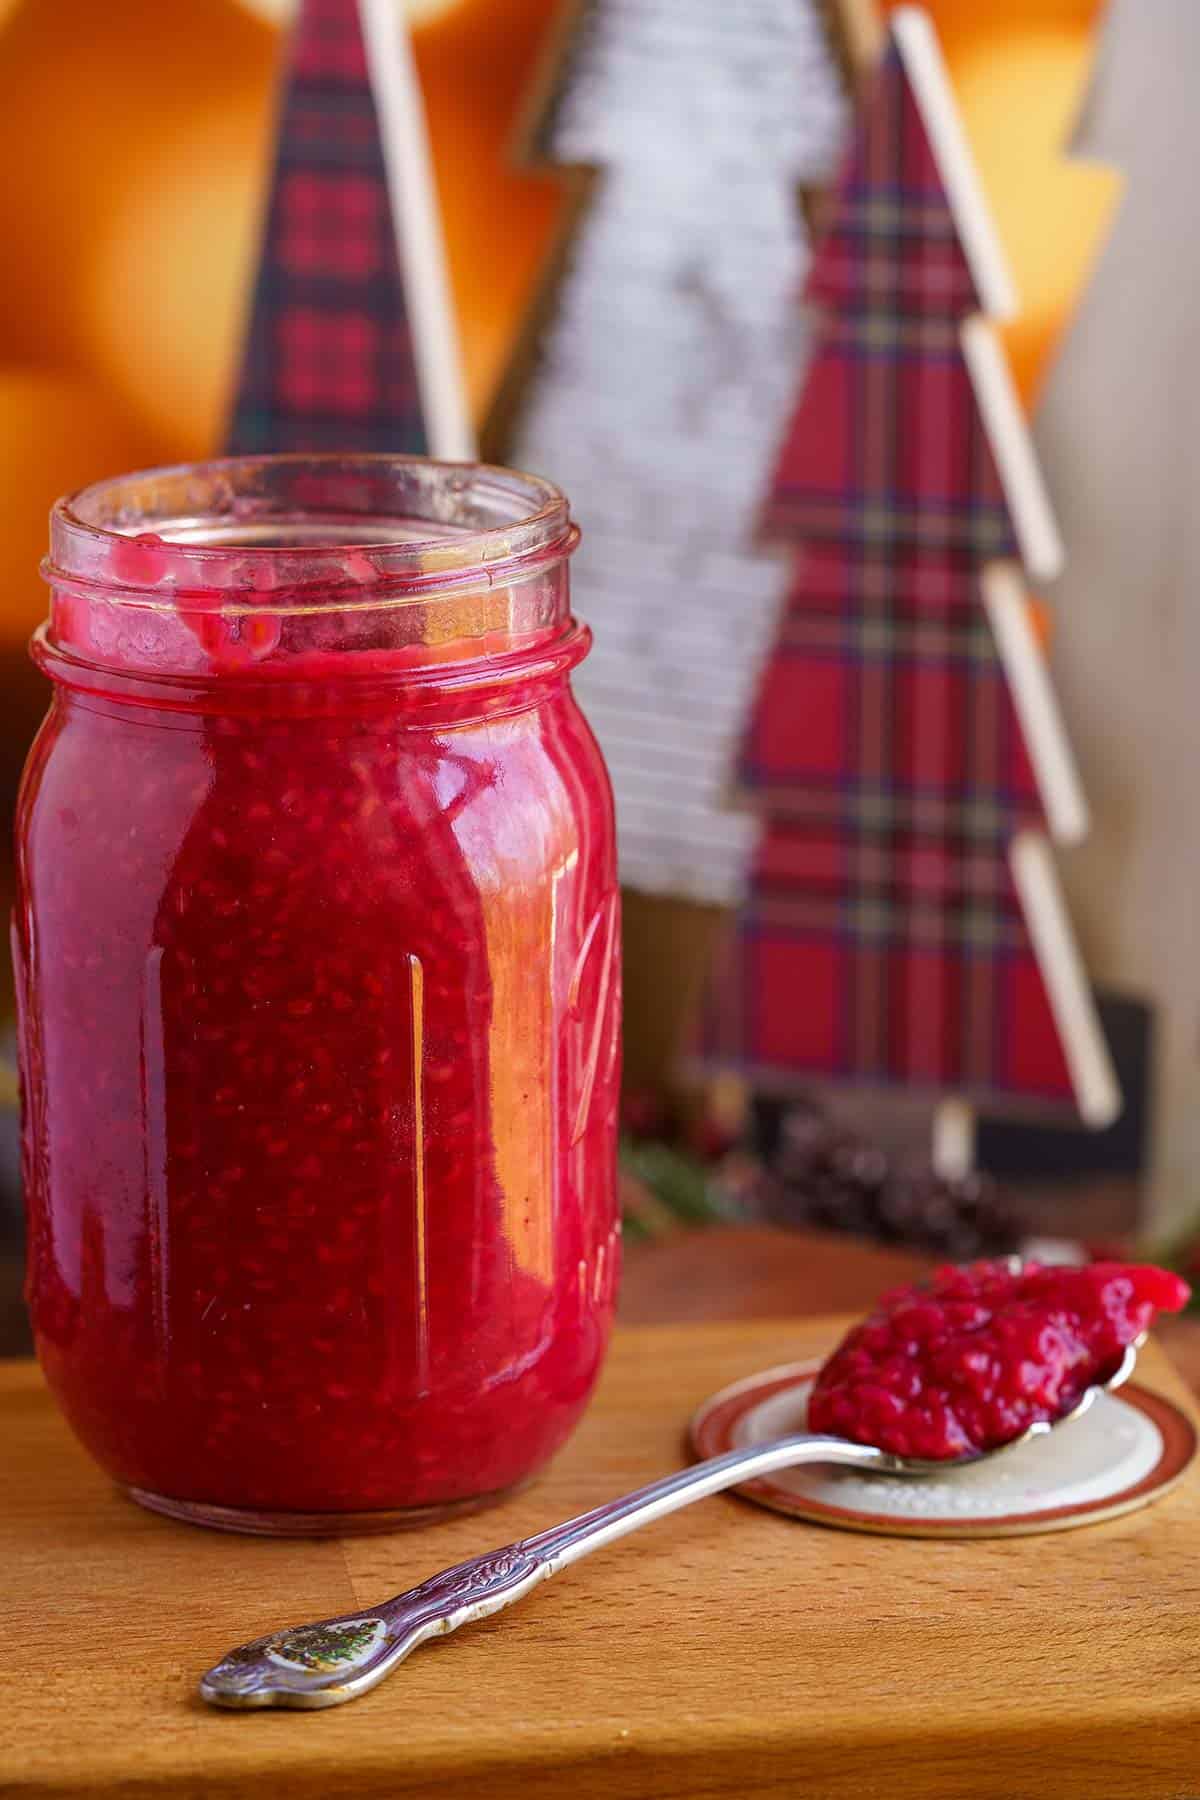
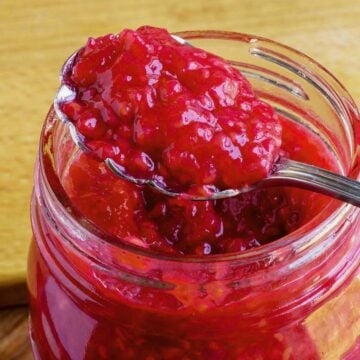
The finished raspberry filling made 2 ⅓ cups. I added about 2 cups to my bigger jar and ⅓ cup to the small jar. So if you are making any type of bar cookies in a 9X9 pan, I used both jars.
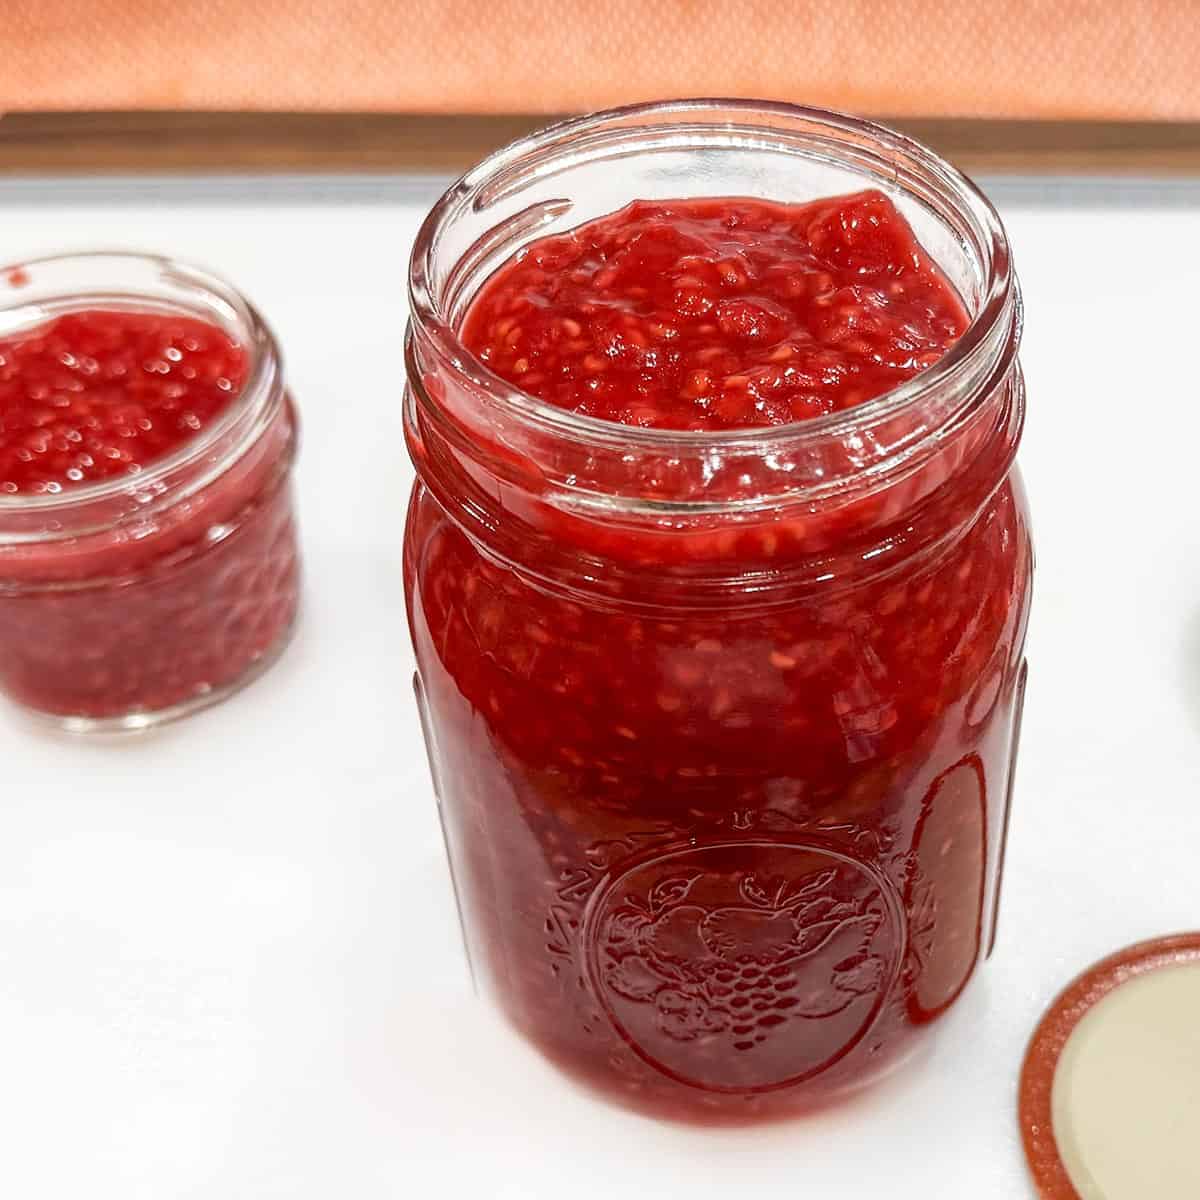
After moving the raspberry filling to the glass jars, screw the lid on and chill for at least an hour, but I make mine a day or two before I am going to use it in my baking. This filling was made for my Raspberry White Chocolate Almond Shortbread Bars.
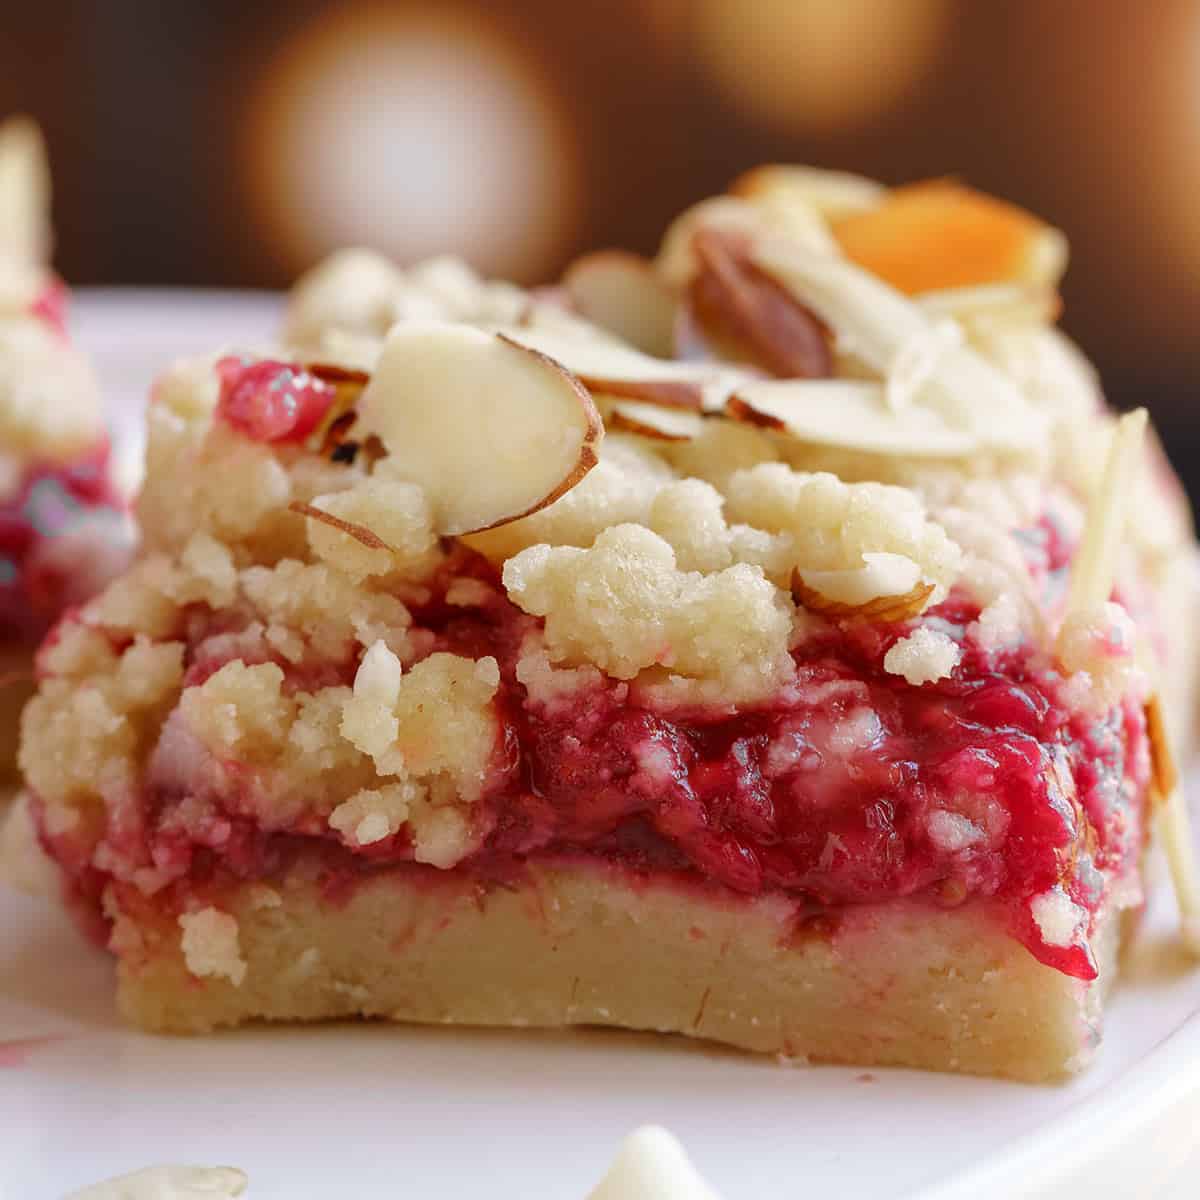
Such a magnificent combination of raspberries and shortbread. I hope you give this combination a try.
FAQ's
You can, just keep in mind that frozen raspberries contain more moisture than fresh raspberries. So, you will need to adjust the time to reduce the liquid and you may need to increase the cornstarch for thickening. I often find that I have better luck and a stronger raspberry taste with fresh fruit.
I do. If I make the filling a day or two before I want to use the filling, it has time for the sugar to sweeten the raspberries a little more. It also gives it time to thicken even more. I just stir it once in a while to keep everything mixed.
You could use it in thumbprint cookies or add it on top of a cheesecake. You could also use it on toast or even ice cream. I like to make cookie bars and use it with shortbread.
After you have smashed all the raspberries and before you add the cornstarch thickener, strain the raspberries through a strainer. I will say you will need to increase the amount of raspberries. I would buy 5 of the 6oz containers of raspberries instead of 4.
Other Fillings, Jams, and Curds To Try
Recipe
Raspberry Filling Recipe
Barbara HallWould you like to save this recipe?
Ingredients
- 24 ounces (24 ounces) Raspberries
- ½ cup (100 g) Sugar white
- 2 Tablespoons (2 Tablespoons) Corn starch
- 1 Tablespoon (1 Tablespoon) Lemon juice
- ½ teaspoon (0.5 teaspoon) Vanilla Extract
- ½ Tablespoon (0.5 Tablespoon) Butter unsalted
Instructions
- I used a 3-quart saucepan simply because it has more bottom of the pan surface with the heating element. Rinse all the raspberries in a colander and try to get as much of the water off, then add them to the saucepan. Next, juice the lemon and set it aside. Weigh or measure the white sugar and add it to the raspberries in the saucepan.
- My stove is induction, so you may have to adjust times based on your stove. There are some setting differences between electric, gas, and induction. Start by adding the raspberries and sugar to a 3qt saucepan on a medium-high heat. This takes a good 5 to 6 minutes for the sugar to dissolve and come to a boil. During this time, the raspberries soften, and I use a wooden spoon to press the raspberries along the side of the pan to break them apart.
- Continue to stir and break down the raspberries. You want to reduce the liquid by keeping the raspberry mixture at a medium boil. This takes about 8 minutes. The liquid will thicken a little as you reduce the liquid. Add the corn starch to a small bowl and the lemon juice. There will not be enough lemon juice to stir the corn starch. So, I add some of the raspberry liquid to the lemon and cornstarch so that you can mix the corn starch. Then add the corn starch mixture back into the saucepan. Stir for another 3 minutes so the raspberry filling can thicken.
- Take the pan off the heat and add the vanilla extract and the pat of butter and stir until the butter has melted. Pour the raspberry filling into a bowl or something with a spout. After the raspberry filling has cooled for about 20 minutes, transfer to a glass container that has a tight-fitting lid. Chill for at least an hour or over night.
Share this recipe
Notes
NUTRITION DISCLAIMER
I am not a certified Dietitian or Nutritionist. The nutrition amounts given below are provided through a program and are only a guideline.




Linda says
Can this raspberry filling be frozen?
Thanks much.
Barbara says
Yes, the raspberry filling can be frozen. If putting into freezer bags only fill about 3/4 of the way and lay them flat after sealing the bags. - Barbara