

Thumbprint Cookies with Pear Filling have a soft cream cheese cookie wrapped around a spoonful of homemade pear filling. The pears bring a delicate flavor that feels right at home with my other Fall Cookies.
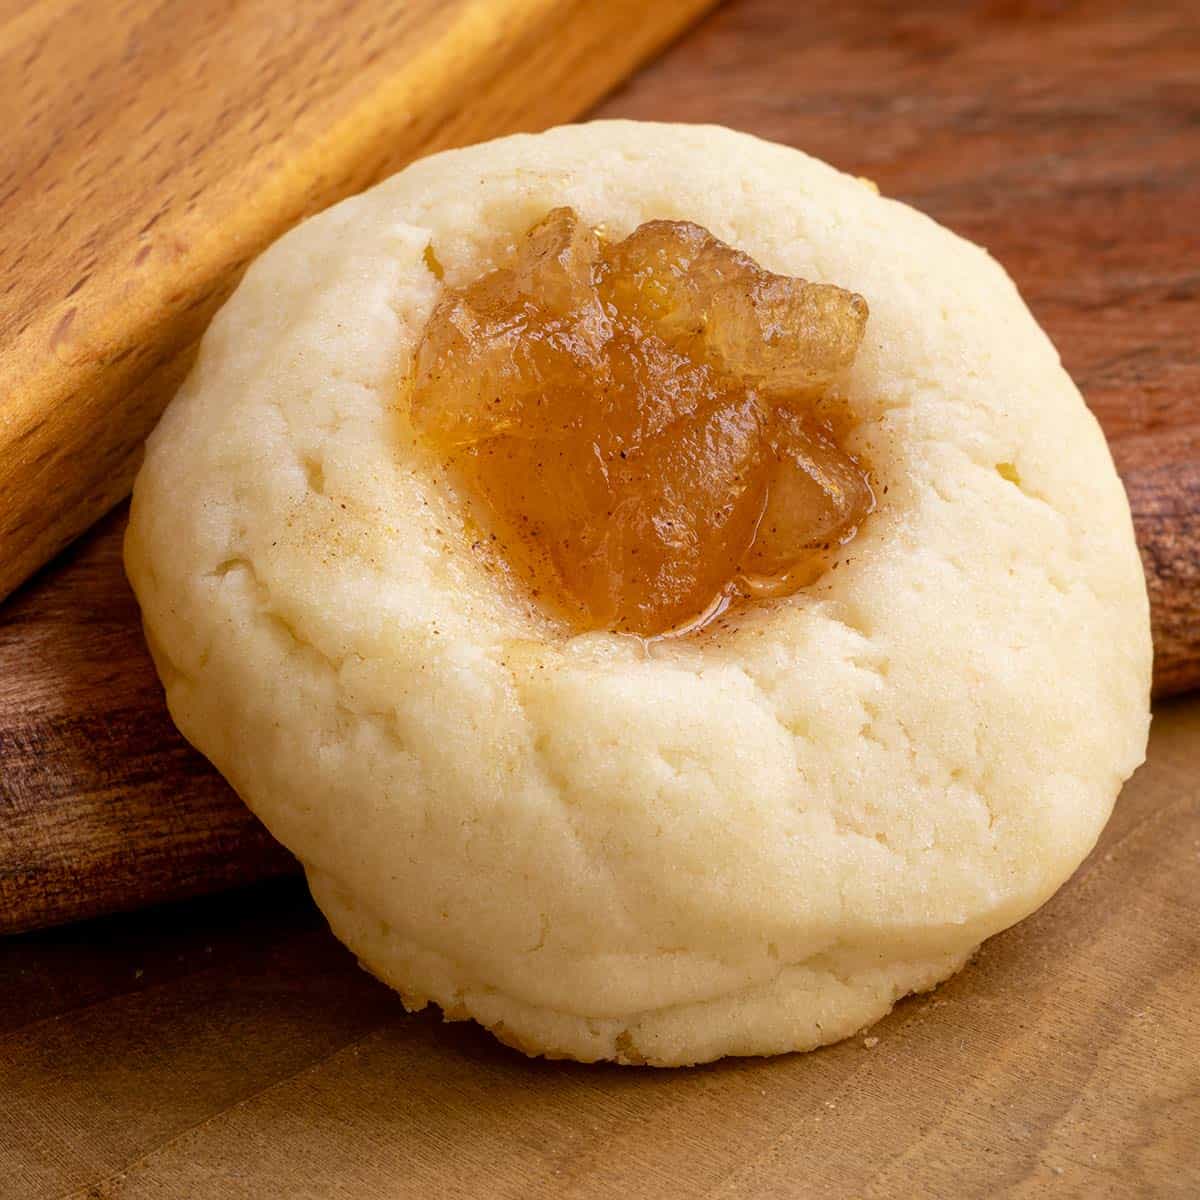
Pears can be easy to overpower with spice, so I keep the filling gentle enough to let their flavor come through. For another way to bake with fresh pears, try my Caramel Pear with Almond Cookies. If you like fruit filled cookies, you might also enjoy my Apricot Cream Cheese Cookies or Blueberry Cream Cheese Thumbprint Cookies.
Jump to:
- A Quick Look: Thumbprint Cookies with Pear Filling
- Why You'll Love These Cookies
- Thumbprint Cookie Ingredients
- Homemade Pear Filling Ingredients
- How to Make Pear Filling
- How to Make Thumbprint Cookies with Pear Filling
- Filling and Baking Thumbprint Cookies
- Storage & Freezing
- FAQs
- More Thumbprint Cookies
- Recipe
A Quick Look: Thumbprint Cookies with Pear Filling
Recipe Name: Thumbprint Cookies with Pear Filling
Ready In: Plan for the filling to chill overnight, plus 1 hour to chill the cookie dough
Yield: About 48 cookies
Texture: Soft cream cheese cookies with pear pieces in a thick syrup
Flavor Profile: Delicate pear with lemon, cinnamon, and allspice
Difficulty: Medium
Why You'll Love These Cookies
- 🍐 Homemade pear filling: Small pieces of pear and a lightly spiced syrup give each cookie a taste of fall.
- 🍪 Soft cream cheese dough: The cookie is soft around the fruit-filled center.
- 🥄 Make the pear filling ahead: Prepare it the day before so it can thicken and the spices have time to infuse the pears.
Thumbprint Cookie Ingredients
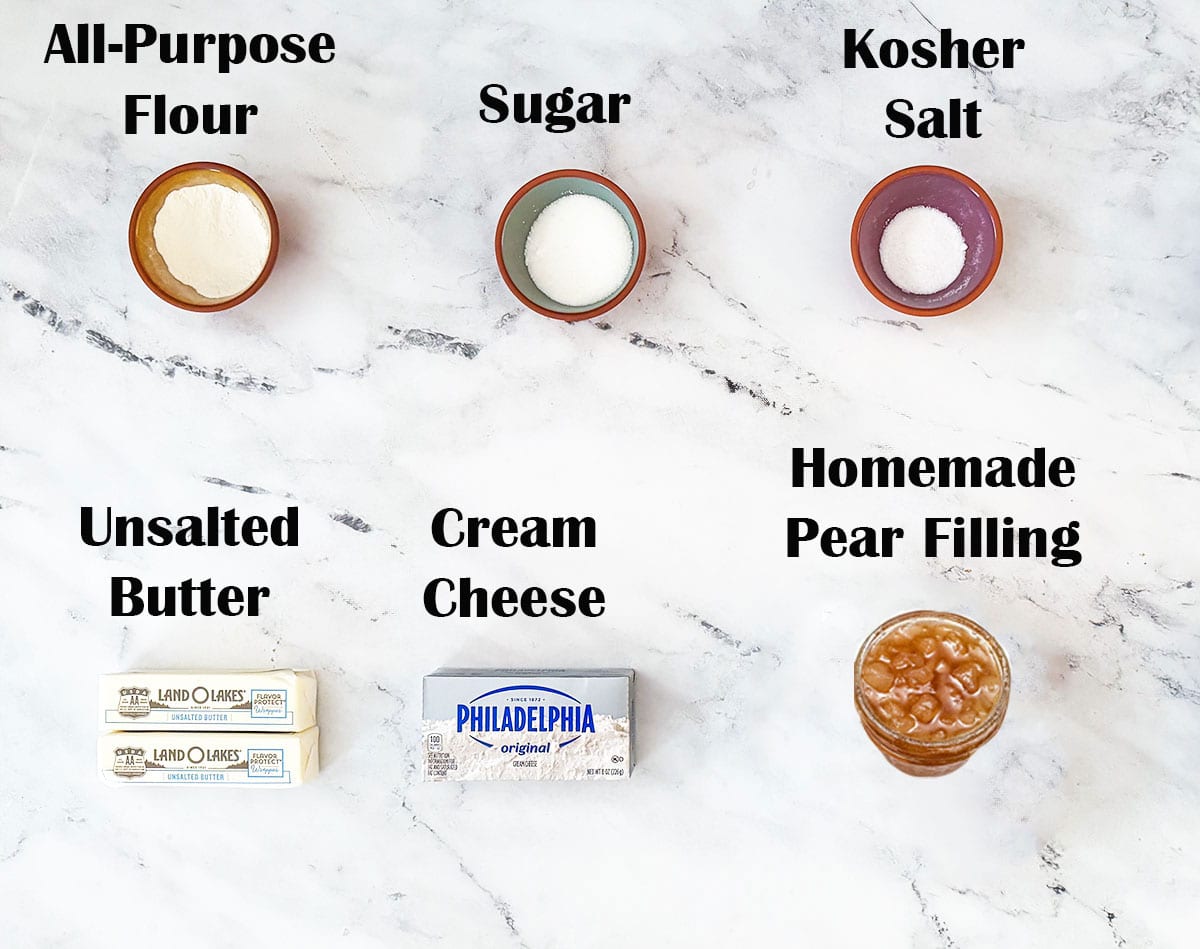
- Cream cheese: Softens the dough and gives the cookies their creamy texture. Bring it to room temperature before mixing.
- Unsalted butter: Bring it to room temperature so it creams smoothly with the cream cheese.
- Granulated sugar: Sweetens the dough without covering up the pear flavor.
- All-purpose flour and kosher salt: Flour gives the cookies structure, while salt balances the sweetness.
See the recipe card for full information on ingredients and quantities.
Homemade Pear Filling Ingredients
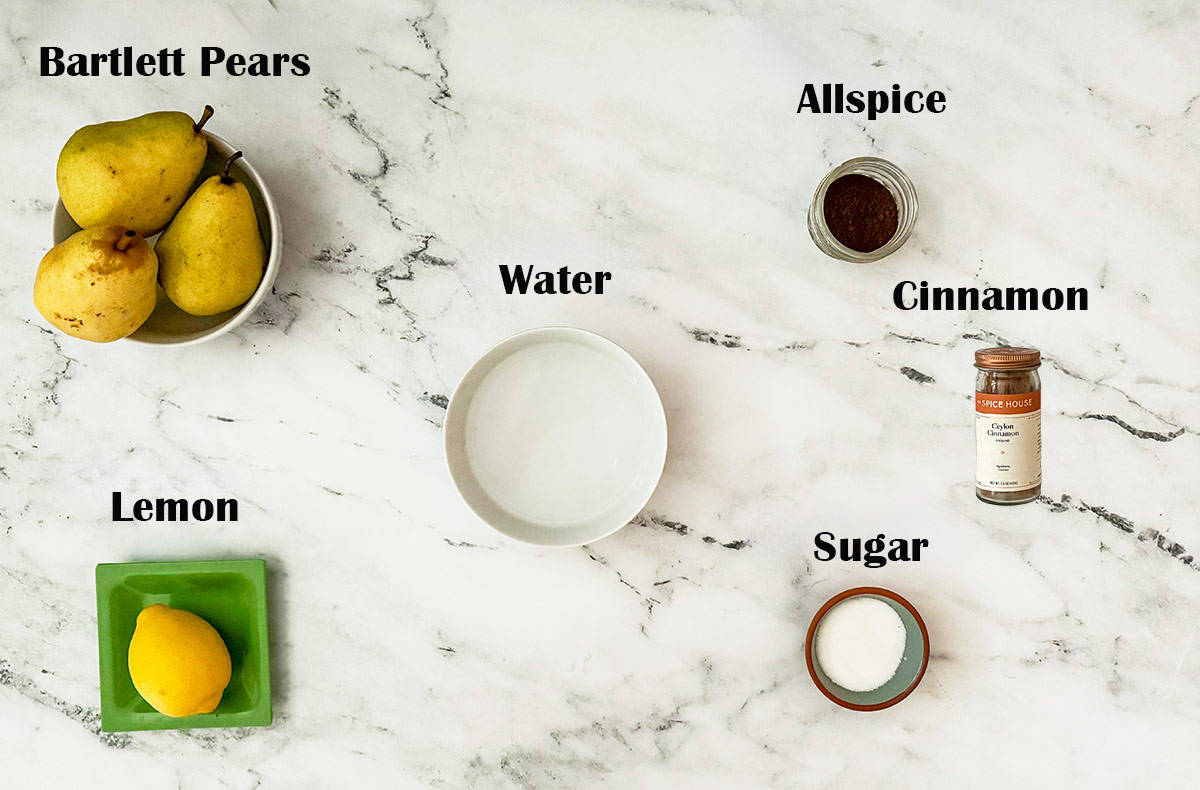
- Bartlett pears: Choose ripe pears that are still firm enough to peel and dice. Small pieces fit the thumbprint wells.
- Granulated sugar: Sweetens the pears and helps make the syrup as the liquid reduces.
- Lemon zest and juice: Brighten the delicate pear flavor.
- Ground cinnamon and allspice: Add warmth without overpowering the pears.
- Water: Gives the pears some liquid to cook in while the filling comes to a boil.
See the recipe card for full information on ingredients and quantities.
How to Make Pear Filling
You can make the homemade pear filling or you can get a good pear jam. Of course, I am hoping you will try my version, but I know that sometimes there are just not enough hours in the day to get everything done. You can find the full instructions in my Homemade Pear Filling post.
I like to make the filling the day before so the spices have time to infuse the pears. If you are using store-bought pear preserves, skip ahead to Step 6. Make sure the preserves are thick enough to stay in the cookie centers.
Step 1: Choose Bartlett pears that are ripe but still firm. Zest and juice the lemon into separate bowls and set them aside.
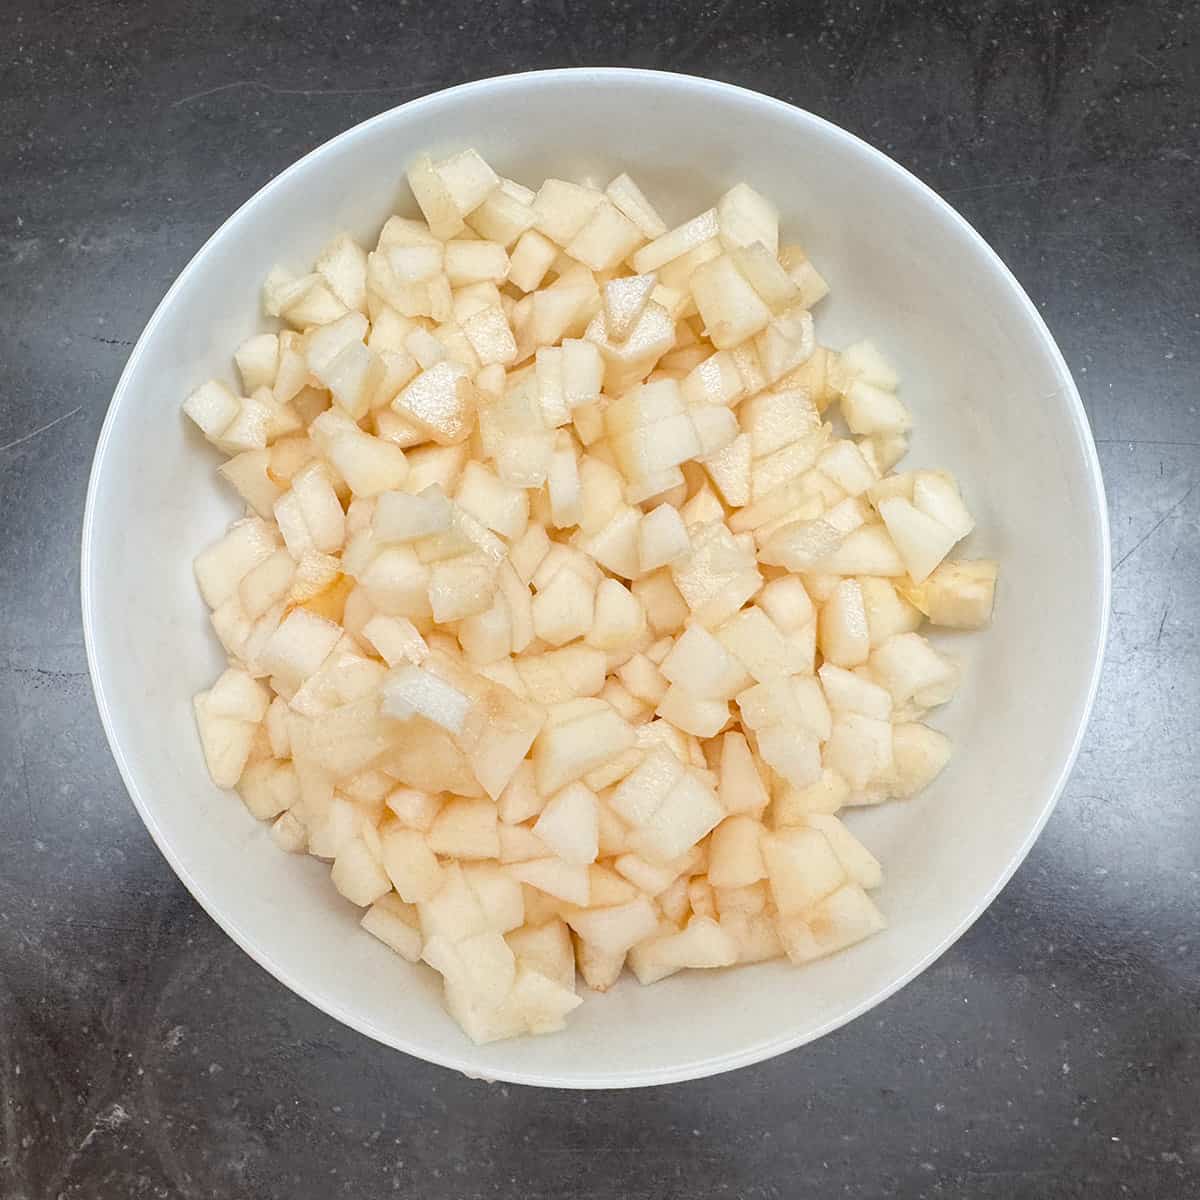
Step 2: Quarter and peel the pears, then dice them into small pieces that will fit the cookie centers. Cut them a little larger if you like noticeable pear pieces, but avoid pieces too large for the wells.
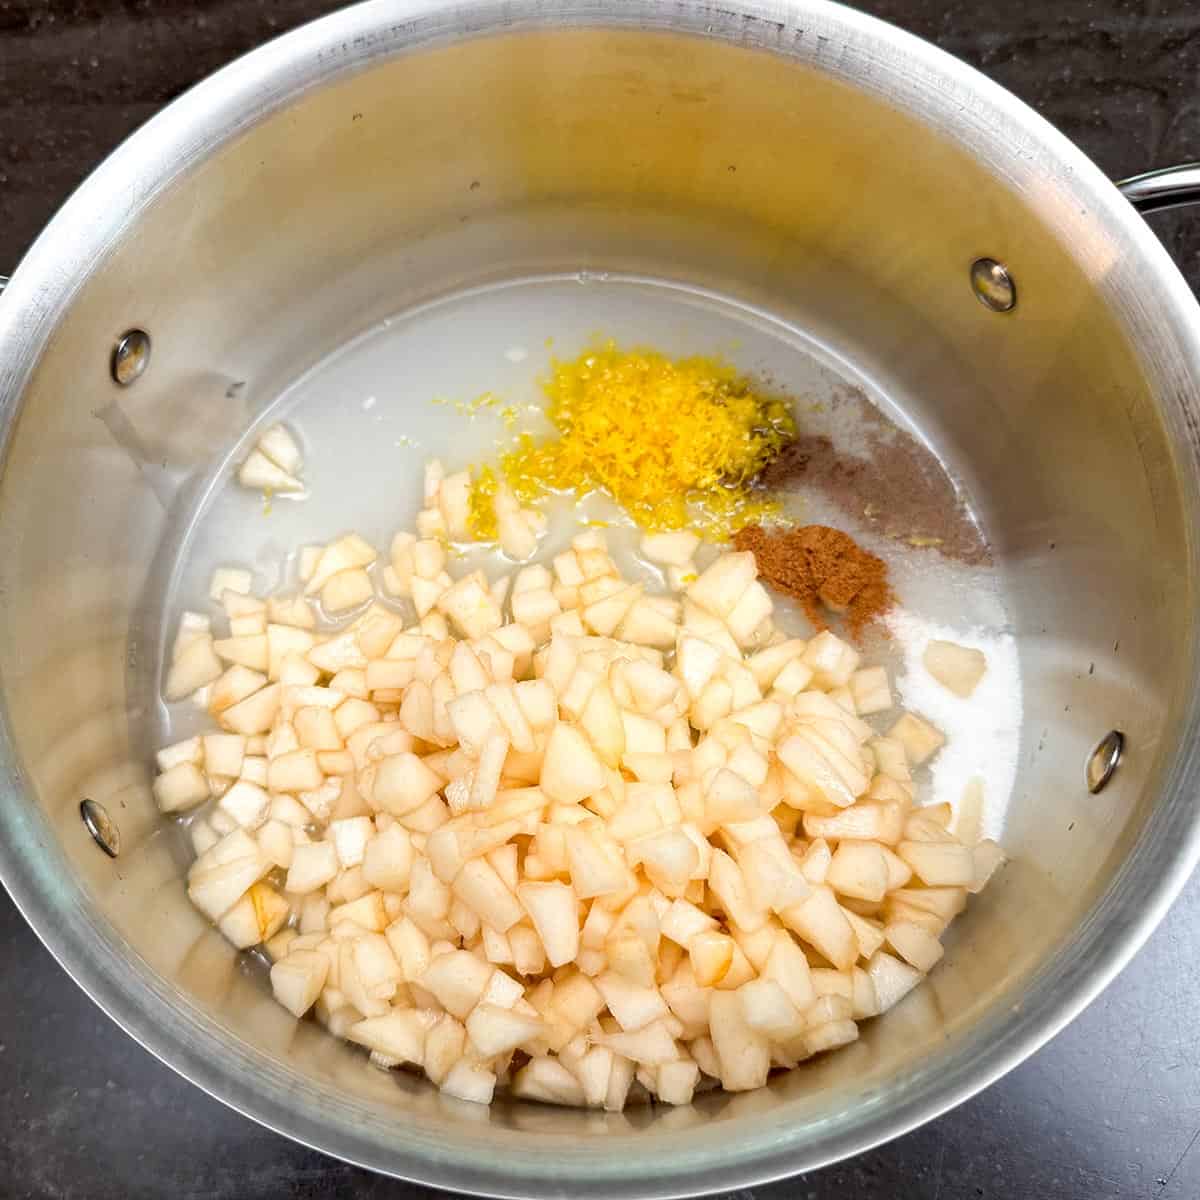
Step 3: Add the pears, sugar, water, lemon zest and juice, cinnamon, and allspice to a 3-quart saucepan. Bring to a boil over medium-high heat, stirring until the sugar dissolves. Reduce the heat to maintain a low boil and stir often as the liquid reduces.
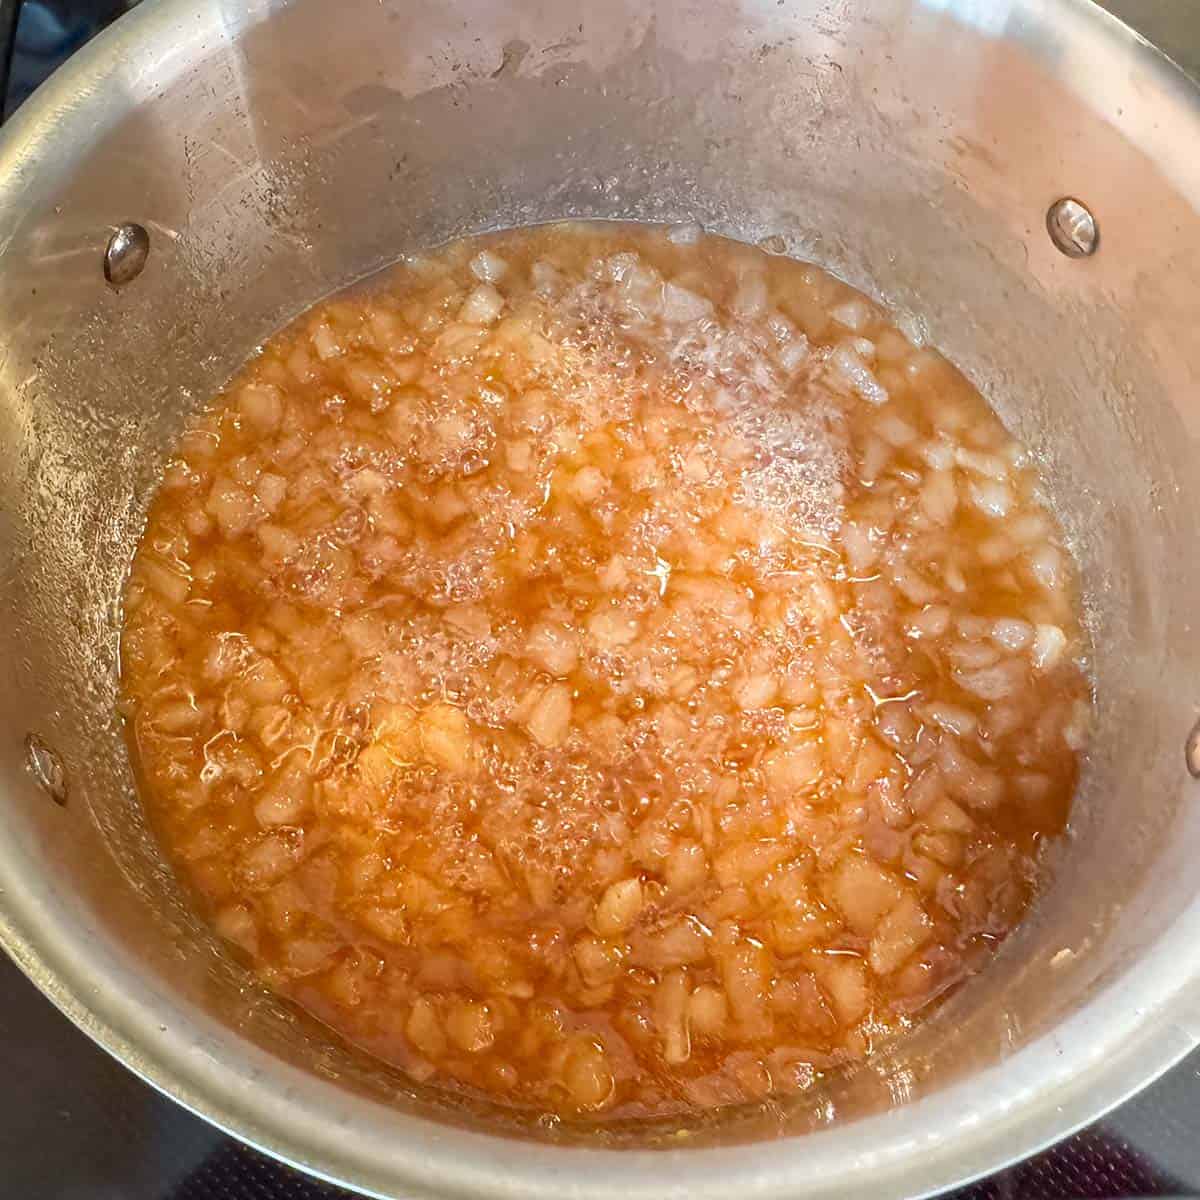
Step 4: Depending on how juicy the pears are, the liquid may take 20 to 30 minutes to reduce to a medium-thick syrup. Drag the back of a wooden spoon across the bottom of the pan. If the trail remains open for 2 or 3 seconds before the liquid fills the gap, remove the pan from the heat.
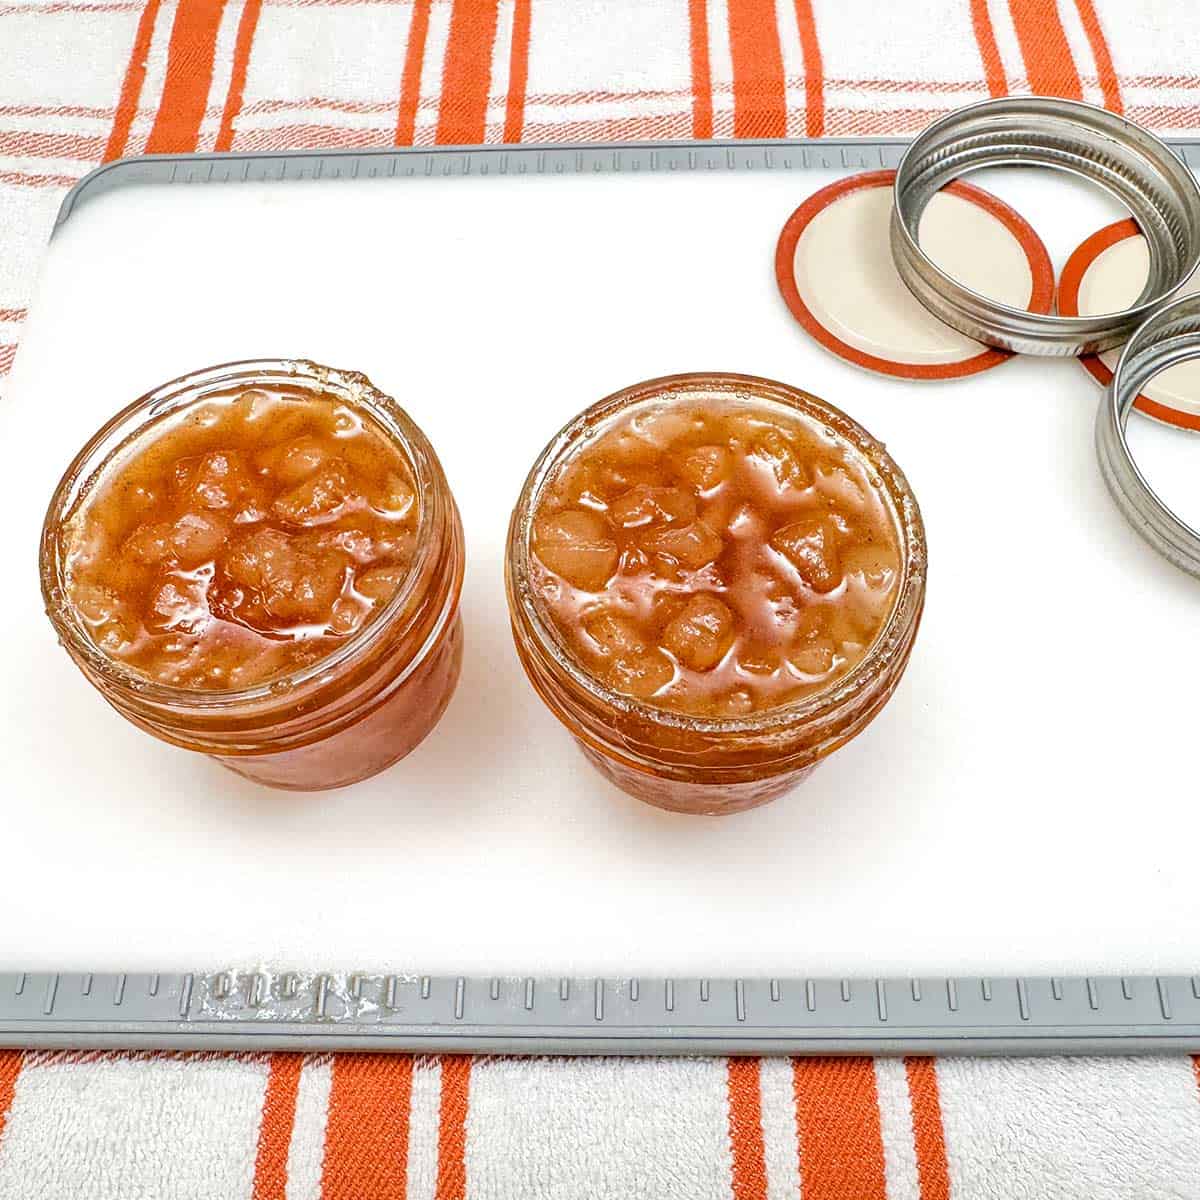
Step 5: Taste a piece of pear to check its texture. If it is still firm or the syrup is thin, return the pan to the heat and cook a little longer. Let the filling cool in the pan for 5 to 10 minutes, then transfer it to clean glass jars. Cool for another 10 minutes before adding the lids and refrigerating overnight.
How to Make Thumbprint Cookies with Pear Filling
Prep
Step 6: Weigh or measure the sugar into a bowl and set it aside.
Step 7: Weigh or measure the flour into another bowl. Add the salt and whisk to blend.
Mix the Dough
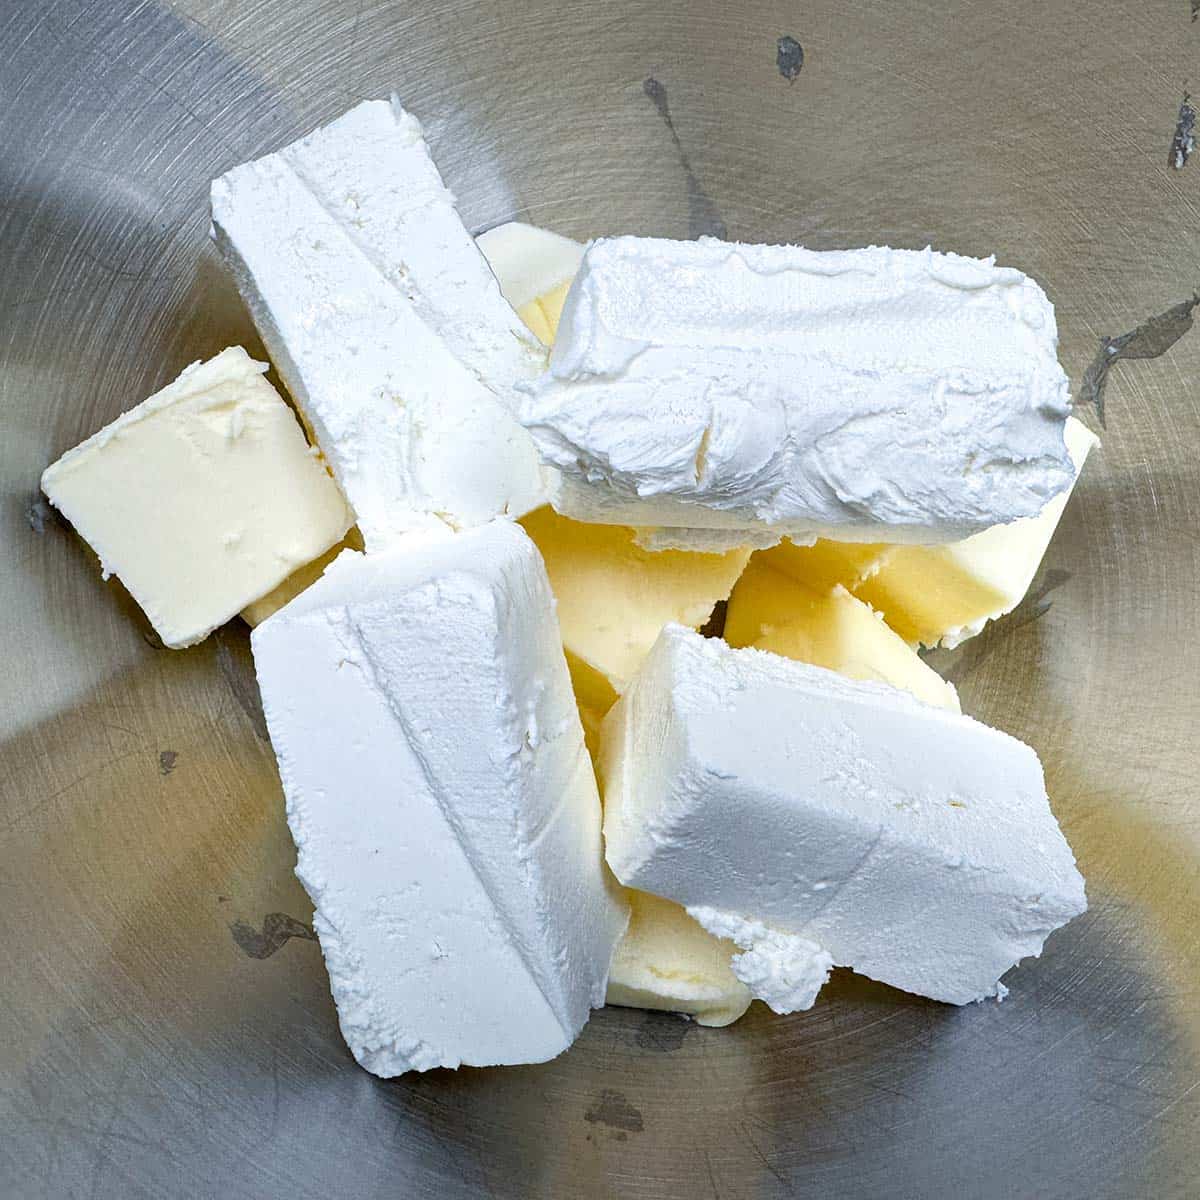
Step 8: Cut the room-temperature butter and cream cheese into pieces and add them to the mixer bowl.
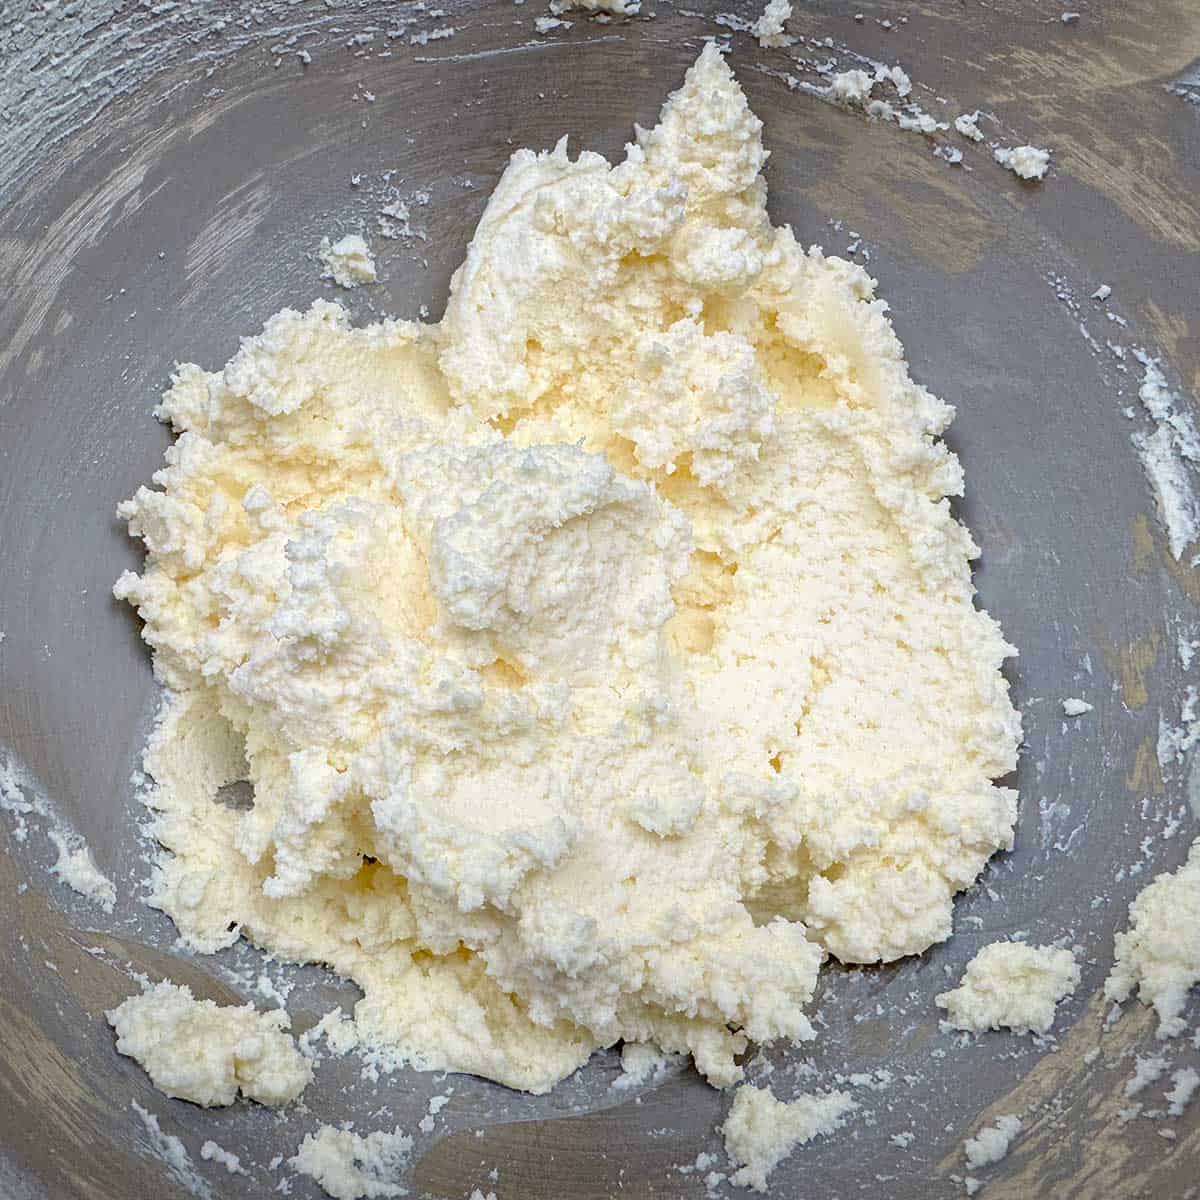
Step 9: Mix the cream cheese and butter for about 2 minutes at medium speed until blended.
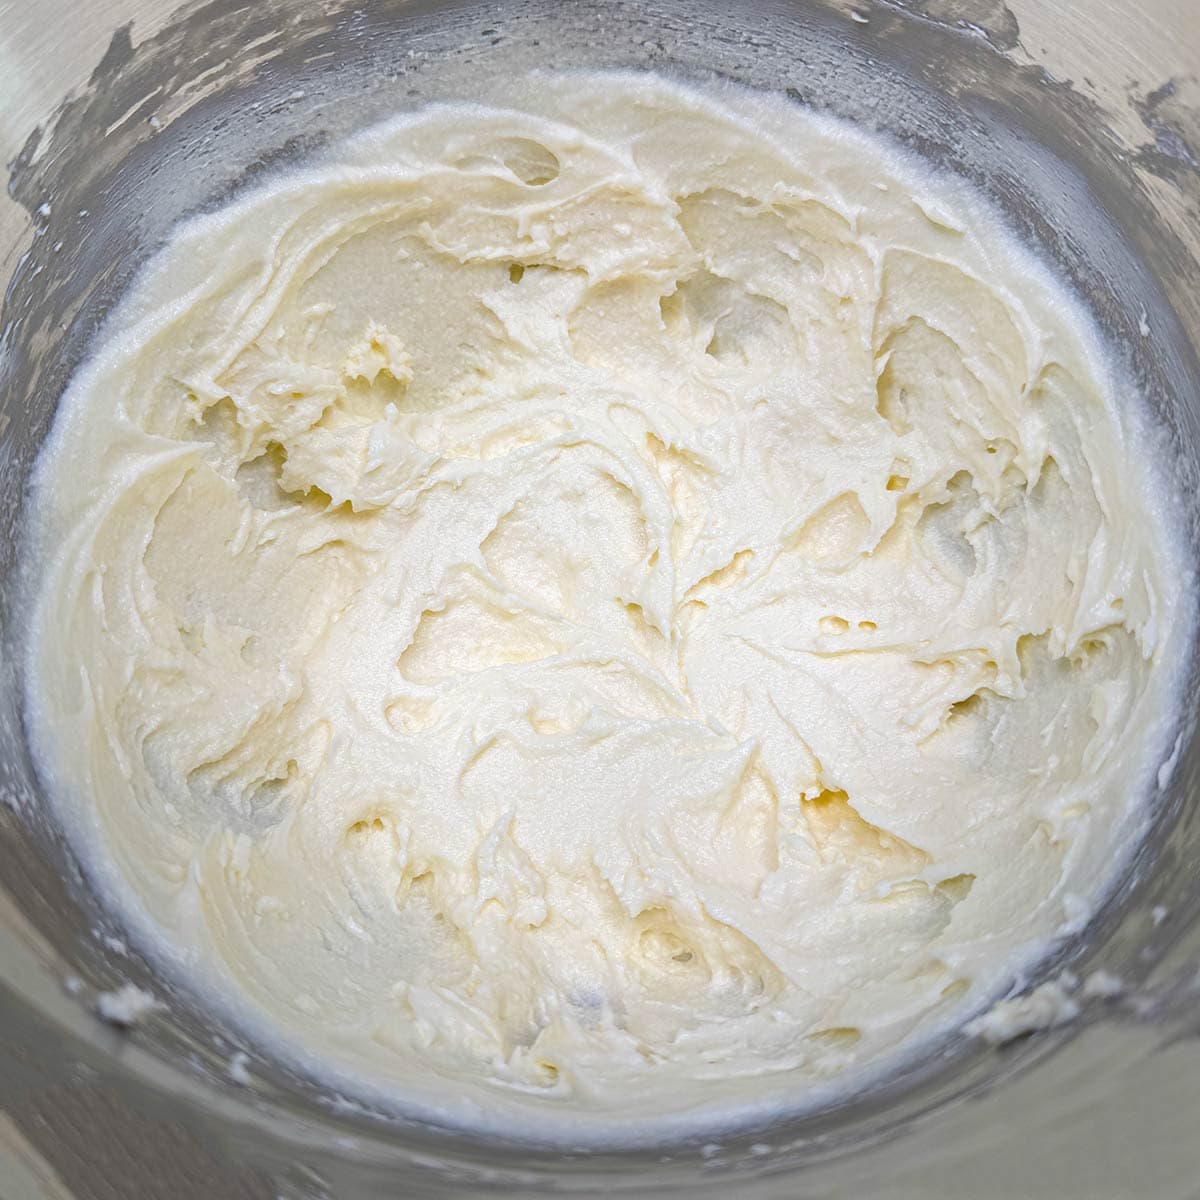
Step 10: Add the sugar and mix for 3 minutes at medium speed until creamy. Scrape down the sides and across the bottom of the bowl.
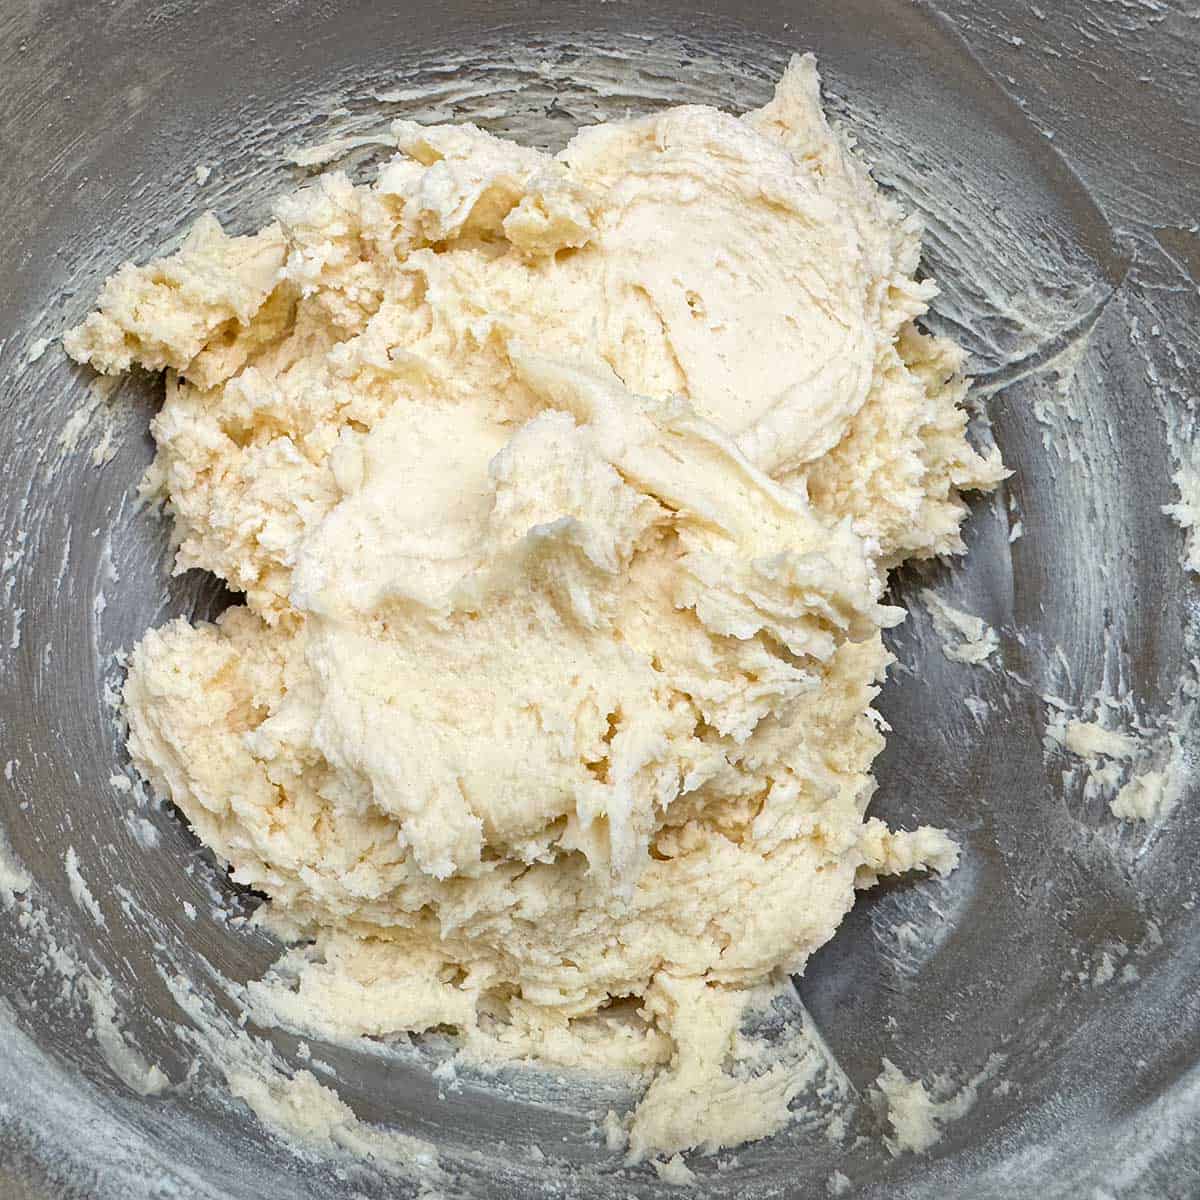
Step 11: Turn the mixer to low speed and add the flour mixture in thirds, mixing just until incorporated. This should take about 1 minute. If any loose flour remains, fold it in with a sturdy one-piece spatula.
Chill
Step 12: Cover the dough and refrigerate for 1 hour. This makes it easier to roll the dough and shape the thumbprint wells.
Filling and Baking Thumbprint Cookies
Scoop and Bake
Step 13: Preheat the oven to 350°F 180°C and line 2 sheet pans with parchment paper. Use a medium cookie scoop so the cookies are about the same size.
Step 14: Scoop and roll the dough into balls. Place 12 on one prepared sheet pan. Keep the remaining dough chilled while you bake one pan at a time.
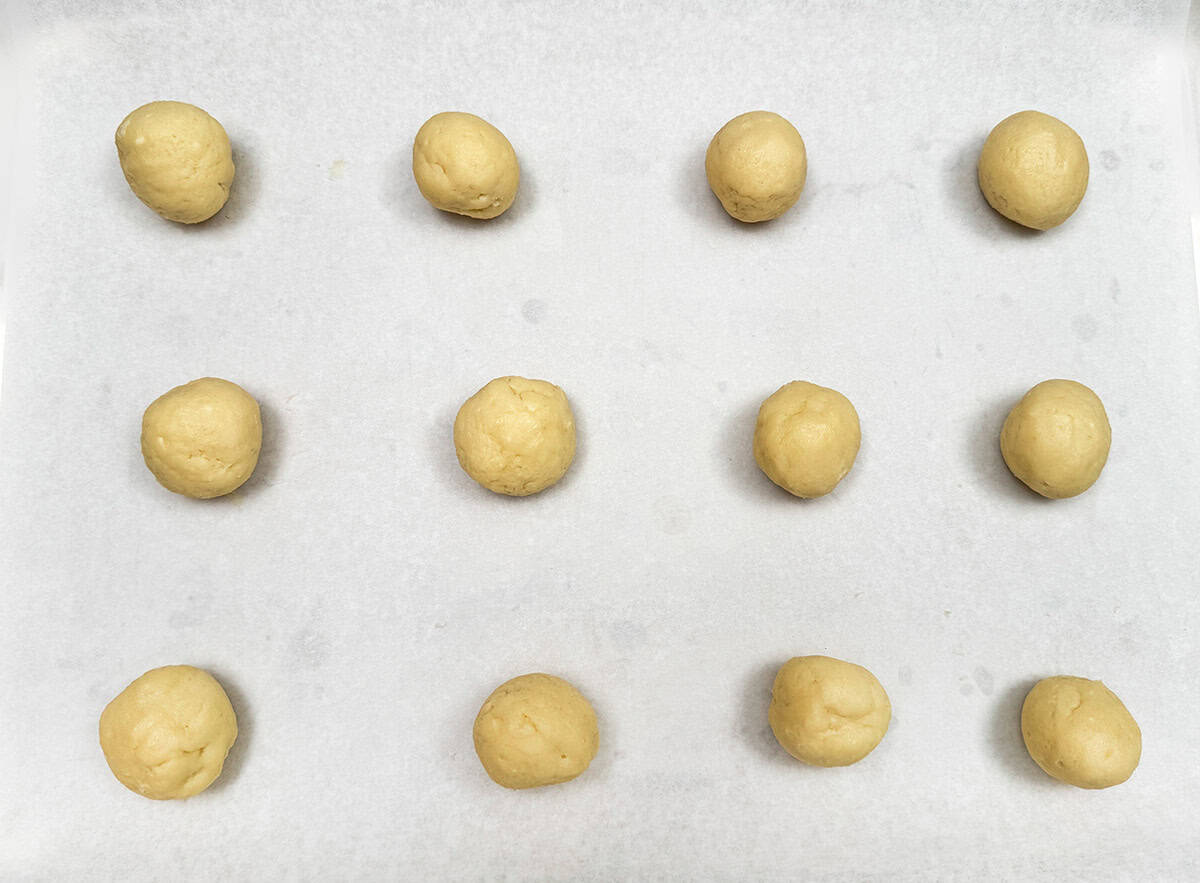
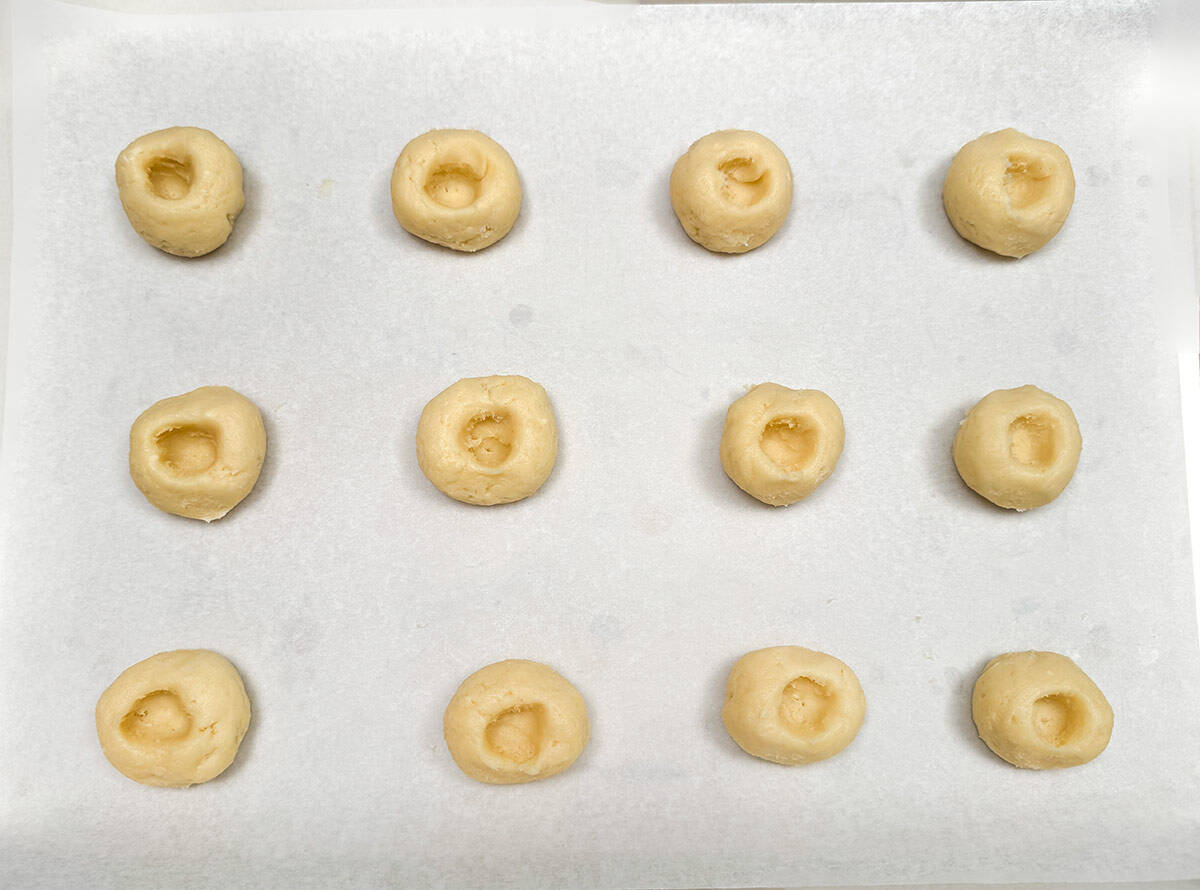
Step 15: Press your thumb into each dough ball, then gently widen the well so it can hold the pear filling. Keep the sides thick enough to prevent cracking. A damp paper towel helps wipe your thumb between cookies.
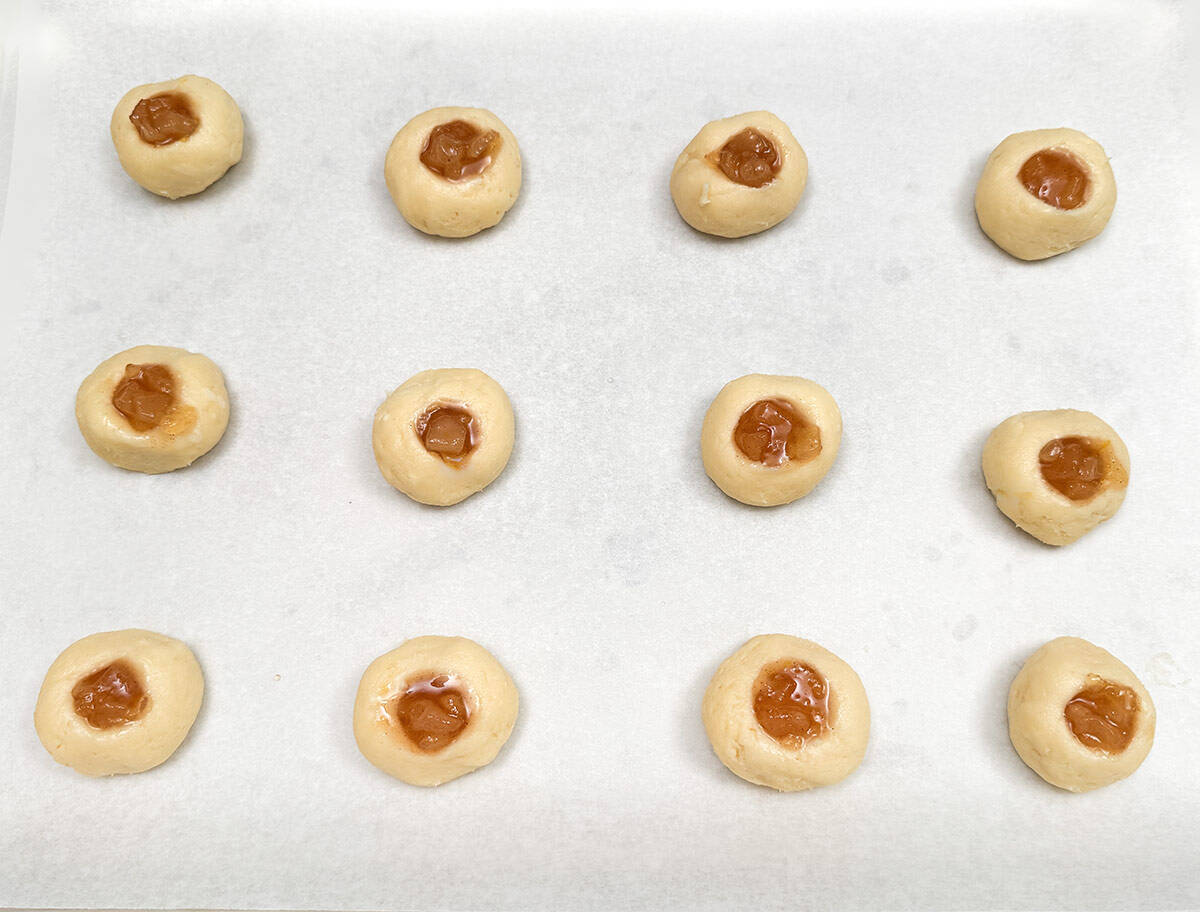
Step 16: Use a small iced tea spoon to add the pear filling to the wells. Its narrow bowl makes it easier to fill each cookie without spilling over the sides. Try not to overfill them, even though I know how tempting it is! Too much filling can run over the sides as the cookies bake.
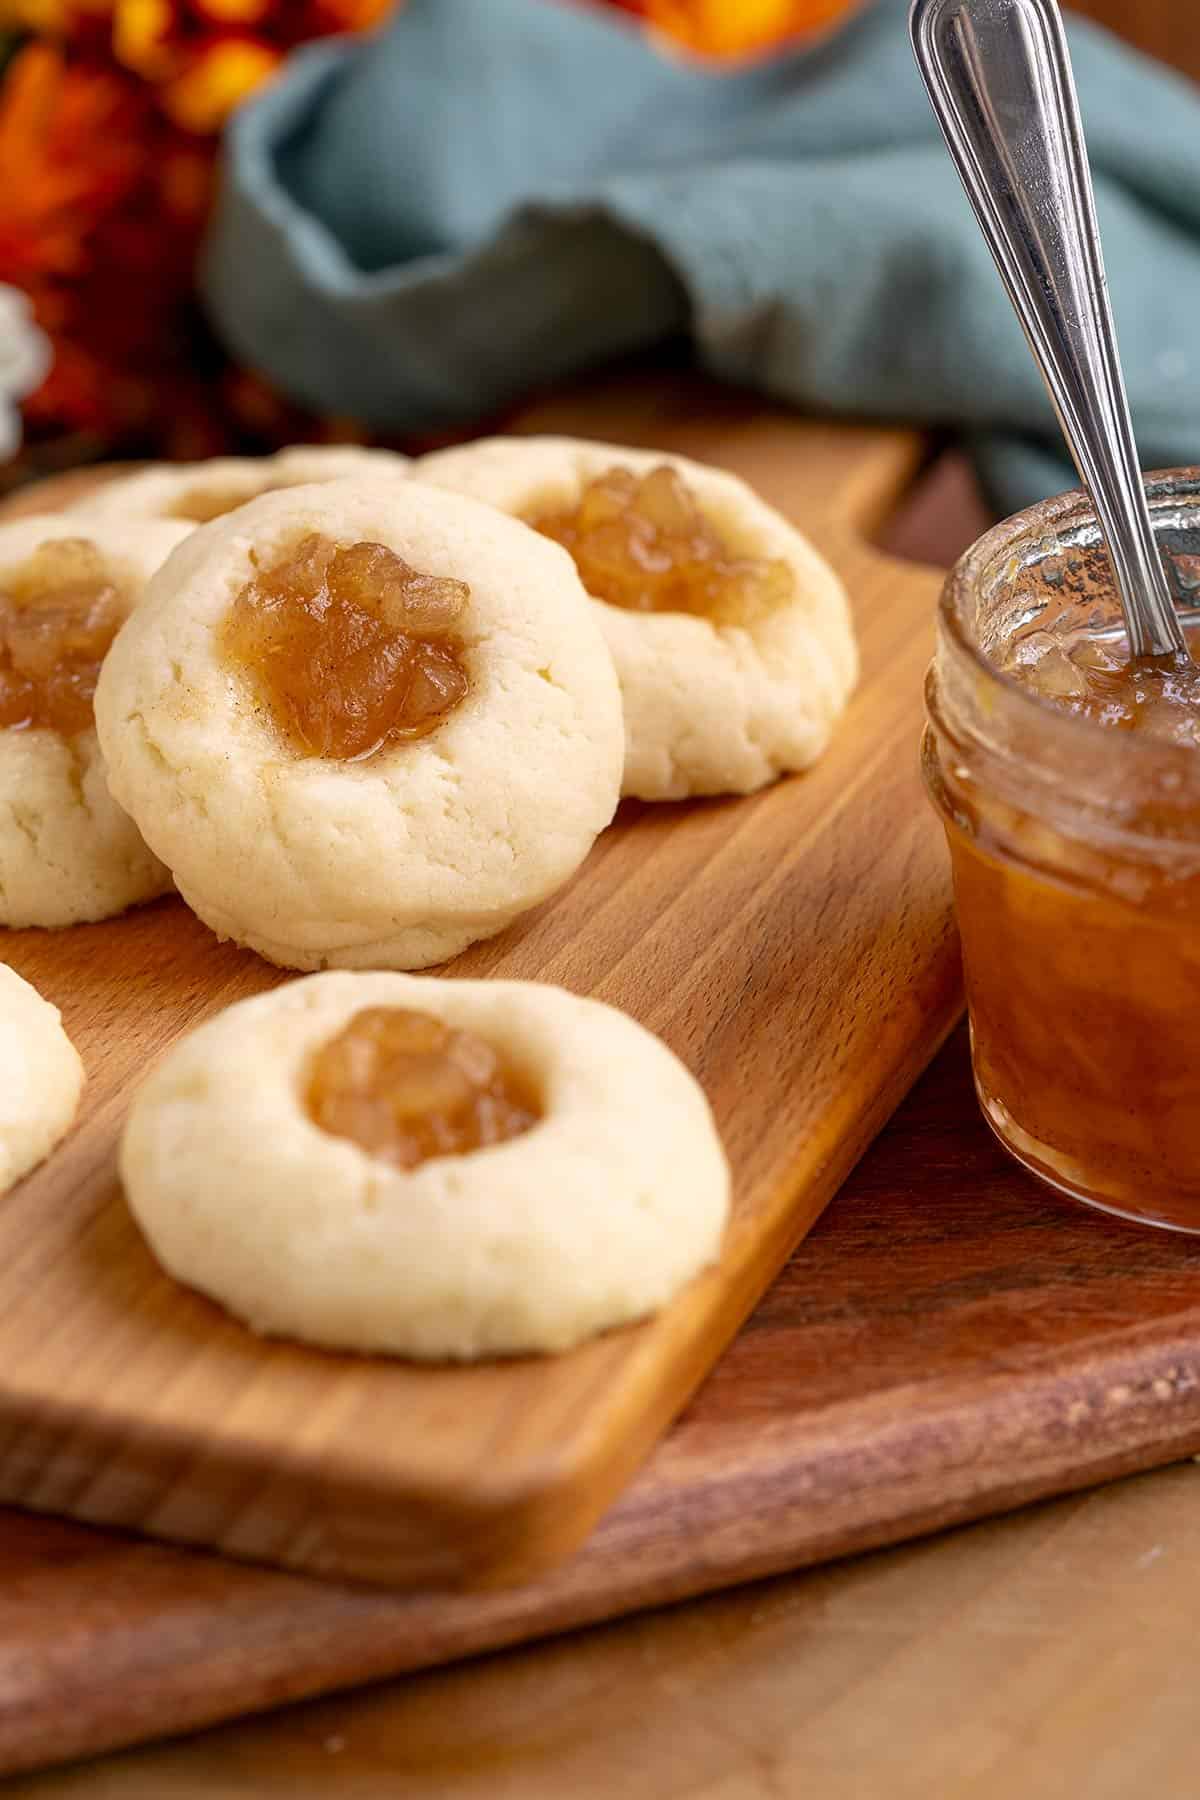
Step 17: Bake one sheet pan at a time at 350°F (175°C or 180°C) for 11 to 13 minutes, until the bottoms are lightly browned. Transfer the cookies to a cooling rack. If the filling has settled, add a little more while the cookies are still warm so it sticks as they cool. Let the pan cool before using it for the next batch.
Storage & Freezing
🫙🍪 Storage
Store the cooled cookies in a container with a tight-fitting lid for about 3 to 5 days. Because the filling contains fresh fruit, check for excess moisture. If the cookies become too soft, rest the lid loosely on the container for a short time to let some moisture escape.
❄️ Freezing
If you would like to freeze the cookie dough, one option is to shape it into balls before freezing. Chill the dough balls first, then transfer them to a freezer-safe bag or container and freeze for up to 2 months.
Thaw the dough balls overnight in the refrigerator before making the wells, adding the pear filling, and baking as directed.
A note about freezing: I don't typically freeze my cookies or cookie dough, so the freezing information provided here has not been personally tested in my kitchen.
Looking for substitutions or freezing tips? Choose an option below for additional guidance.
FAQs
I am guilty of this all the time. I overfill my thumbprint wells too much or have too much liquid in with the fruit pieces. The juice needs somewhere to go and it usually just forms a crack so it can run out. Try not to overfill the well if you can, you can add more filling once they are out of the oven and still very warm.
Chill the dough for 1 hour before shaping the cookies. If the dough becomes warm as you work, return it to the refrigerator before baking the next sheet pan. I also line the pan with parchment paper.
Yes. Choose thick pear preserves so the filling stays in the wells as the cookies bake. If the preserves are runny, they may spill over the sides.
More Thumbprint Cookies
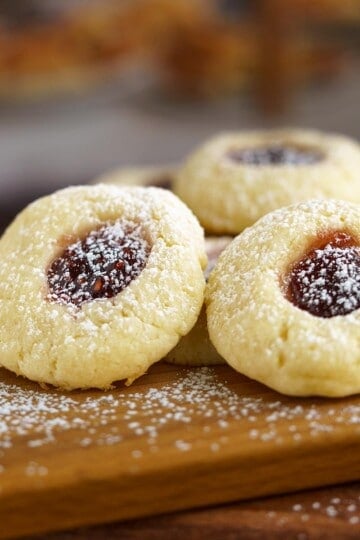
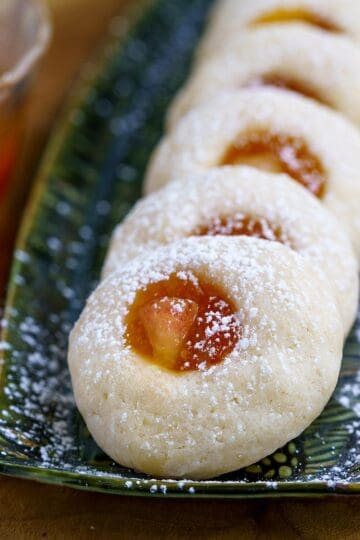
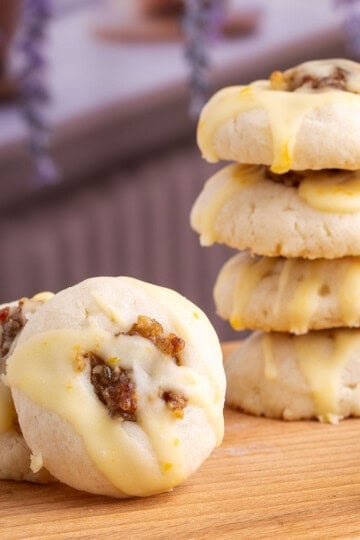
If you tried these Thumbprint Cookies with Pear Filling or any other recipe on my blog, please leave a ⭐ star rating and share your thoughts in the comments. Thanks!
Recipe

Thumbprint Cookies with Pear Filling
Ingredients
COOKIE DOUGH
- 8 ounces Cream cheese room temperature
- 1 cup (227 g) Butter unsalted room temperature
- 1 cup (200 g) Sugar white
- 2 ½ cups (312.5 g) All-purpose flour
- ½ teaspoon Kosher salt
PEAR FILLING
- 3 (3) Bartlett pears
- 1 cup (200 g) Sugar
- 1 Tablespoon Lemon zest
- 1 Tablespoon Lemon juice
- ¼ teaspoon Ground cinnamon
- ⅛ teaspoon Allspice
- ¼ cup (59.15 g) Water
Instructions
If you are making the pear filling and not using a bought pear jam, I make my pear filling the day before and refrigerate overnight.
PEAR FILLING
- Quarter and peel the skins off of your pears. Then, slice the quarters into thin slices and dice. You can decide how small you want to make the pieces. Next, zest and juice the lemon into two different bowls or container.
- In a 3-quart saucepan, add the diced pears, sugar, water, lemon zest and juice, cinnamon and the allspice. While stirring, bring the mixture to a boil over medium-high heat.
- Depending on how much liquid is in your pears will determine how long it will take to reduce the liquid to a syrup consistency. You want the pears to cook at a low boil and it took my batch about 20 minutes.
- Continue to stir during the reduction phase. If you are using a wooden spoon to stir and you take the back of the spoon across the bottom of the pan. If you see the bottom of the pan for 4 or 5 seconds before the liquid fills in the pan's bottom, you can take it off the heat. When checking the syrup, if it is too thin, or the pears have not softened, just reheat for a little while longer to reduce the liquid more.
- Move to a glass container with a lid and put it in the refrigerator. I make the pear filling the day before so the flavors have overnight to absorb into the pears.
COOKIE DOUGH
- Weigh or measure the sugar and set it aside. Next, weigh or measure the flour. Add to the flour the salt and run a whisk through to blend.
- In a stand mixer cream the butter and the cream cheese together for about 2 minutes. Add the sugar and mix on a medium mixer speed for 3 minutes. Scrape the bowl's sides and turn the mixer onto a low speed. Add about a third of the flour mixture at a time and incorporate. It only takes about a minute to add all the flour. Scrape the bowl's sides again and incorporate any loose flour. Cover loosely and chill for an hour.
- Preheat 350°F (175°C or 180°C) and line 2 cookie sheet pans with parchment paper. Using a medium cookie scooper, scoop and roll the cookie dough with your hands to form a ball. If the dough is too cold, warm the cookie dough ball in your hands. It will make it easier to do the thumbprint. I added 12 balls to a sheet pan.
- Put your thumb straight down into the ball and then just spread out the hole a little so you have a lovely well for the pear filling. Add the pear filling using a teaspoon. Bake for 11-13 minutes. You want the cookie bottoms to be a light brown. Once the cookies are removed from the oven, move the cookies to a cooling rack.
Would you like to save this recipe?
Share this recipe
NUTRITION DISCLAIMER
I am not a certified Dietitian or Nutritionist. The nutrition amounts given below are provided through a program and are only a guideline.


Join the Discussion