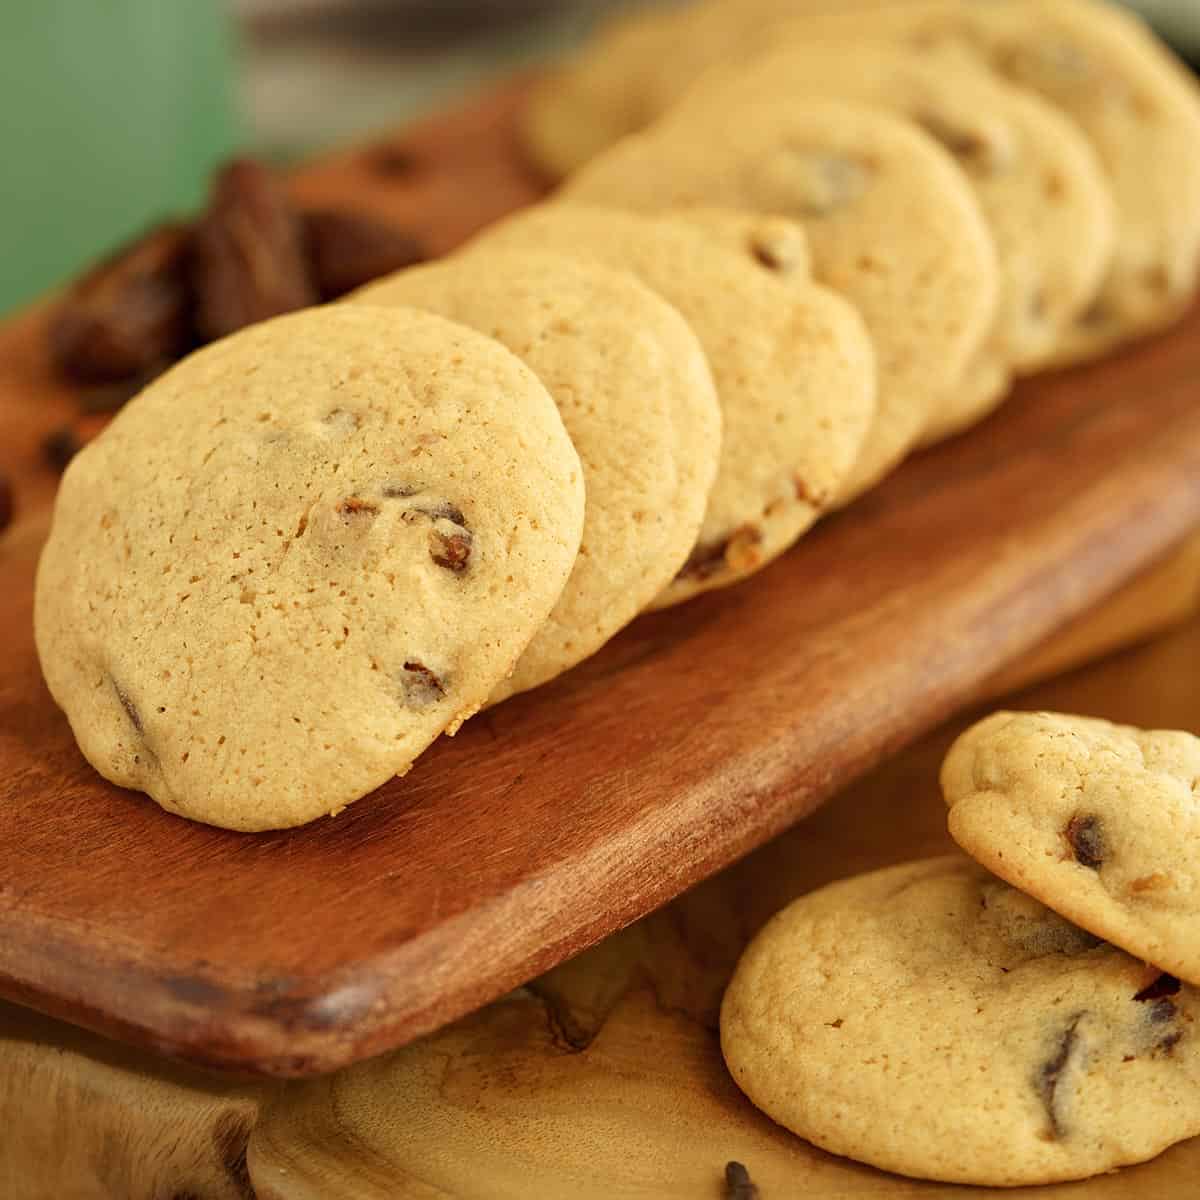
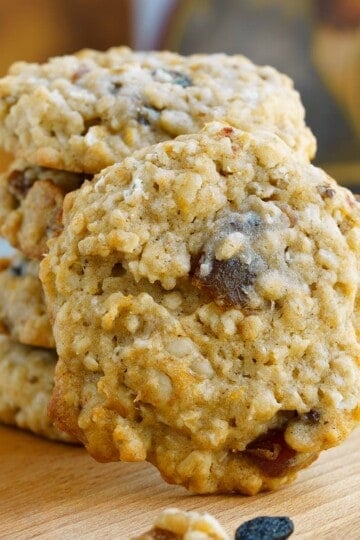
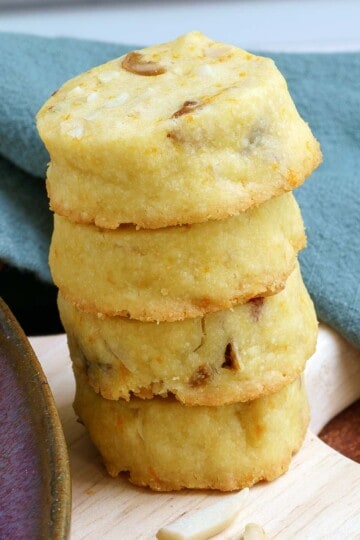
Every once in a while, I come across a recipe that reminds me of sitting in my aunt's house with all the smells from her mother-in-law's baking. These Vintage Spiced Date Cookies are exactly that kind of treat. With warm cloves, sweet chopped dates, and a soft, cake-like texture, they taste like something straight from my aunt's kitchen decades ago. I love how simple they are, no fancy steps, just good, honest ingredients that fill the house with that unmistakable scent of home baking.
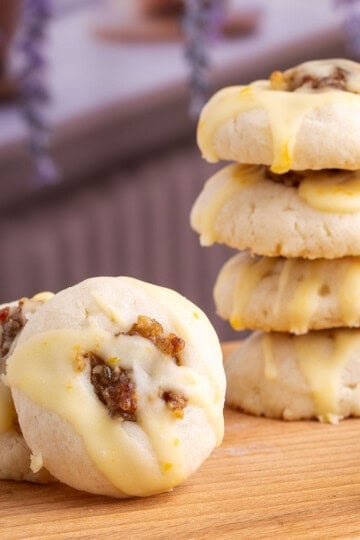
I love looking through old cookie recipes and bringing them back to life. Always trying to keep the original ingredients whenever possible, but I also use modern baking techniques to make them a little easier to bake. If you enjoy baking with dates but are ready to move away from heavier winter flavors, my Honey Orange Glazed Walnut Date Cookies offer a lighter, brighter option with a fresh citrus finish.
Why You'll Love these Vintage Spiced Date Cookies
- Perfect for holiday baking or chilly weekends
- Soft, cakey texture with warm clove spice balanced by light brown sugar
- Simple ingredients with nostalgic flavor
Jump to:
Ingredients
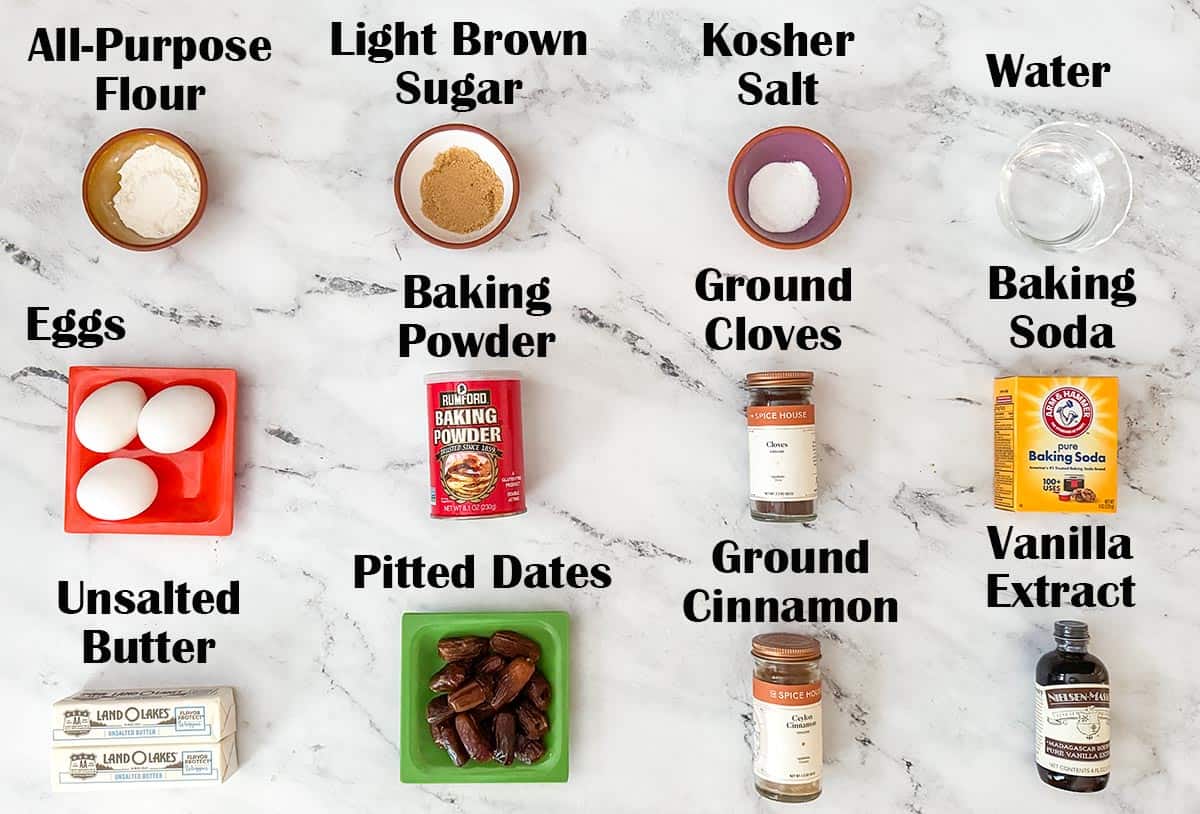
- Butter unsalted
- Light Brown Sugar
- Eggs
- Vilanilla extract
- Water
- All-Purpose flour
- Cinnamon ground
- Cloves ground
- Kosher salt
- Baking soda
- Baking powder
- Dates (dried and pitted)
If you enjoy experimenting with warm spices, this baking spice guide by RawSpiceBar is a great read.
Step-by-Step Instructions
This could easily be a drop cookies type. There is no filling, no rolling, just mix and bake. But I love using my cookie scooper because it keeps the cookies uniform and makes baking a little easier.
Prep
1. Measure or weigh the light brown sugar into a bowl and set it aside. In another bowl, weigh or measure the flour, then add the baking soda, baking powder, salt, ground cloves, and cinnamon. Whisk to blend everything together.
Chopped Dates Tip!
Some bakers swear by coating chopped dates in flour to keep them from sticking together. I've never done this, and when researching old recipes, I didn't see it mentioned decades ago. It seems to be more of a modern practice tied to packaging and processing. Dates have been around for thousands of years without flour coating, but if you prefer it, go right ahead!
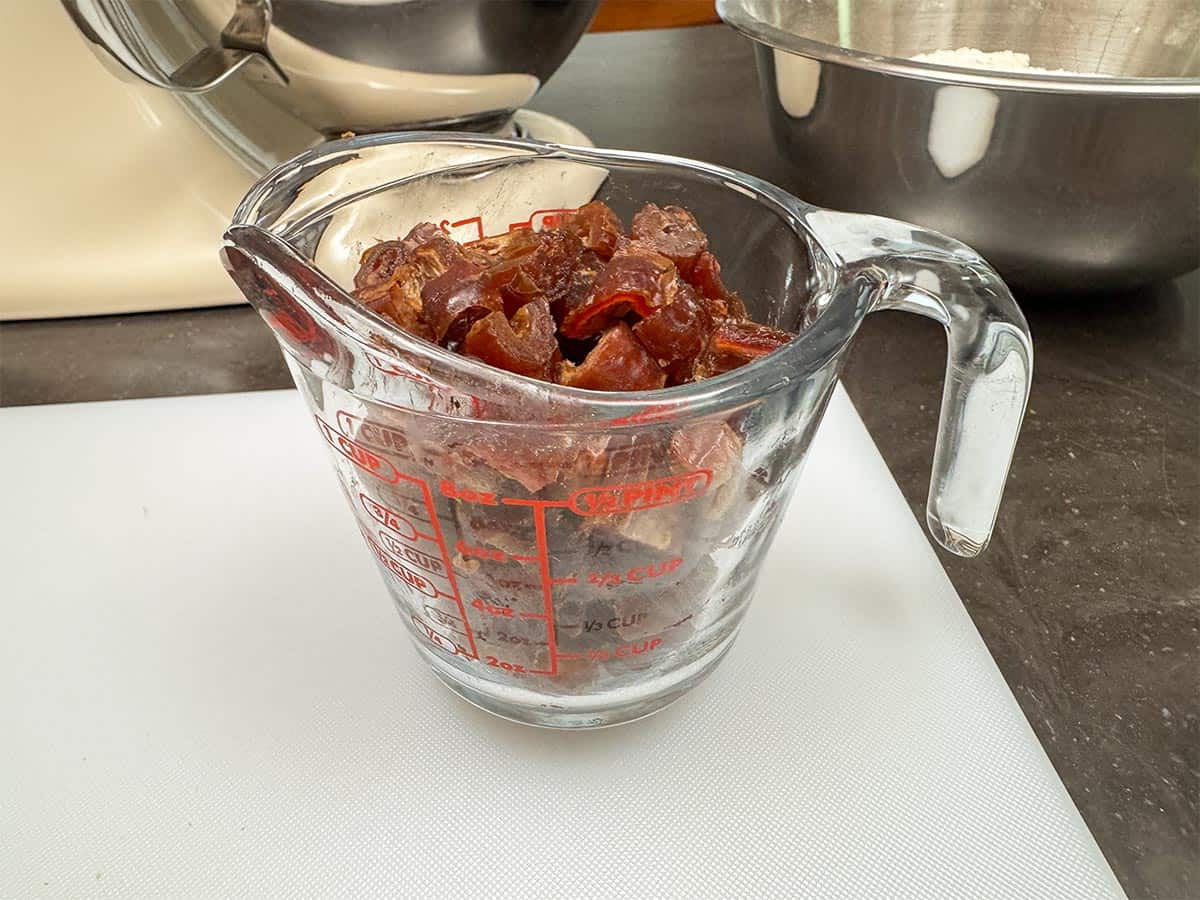
Chop the pitted dates into small pieces. Dates come in different sizes, but I needed about 26 dates that were 1" to 1 ¼" long, to get one cup of chopped dates.
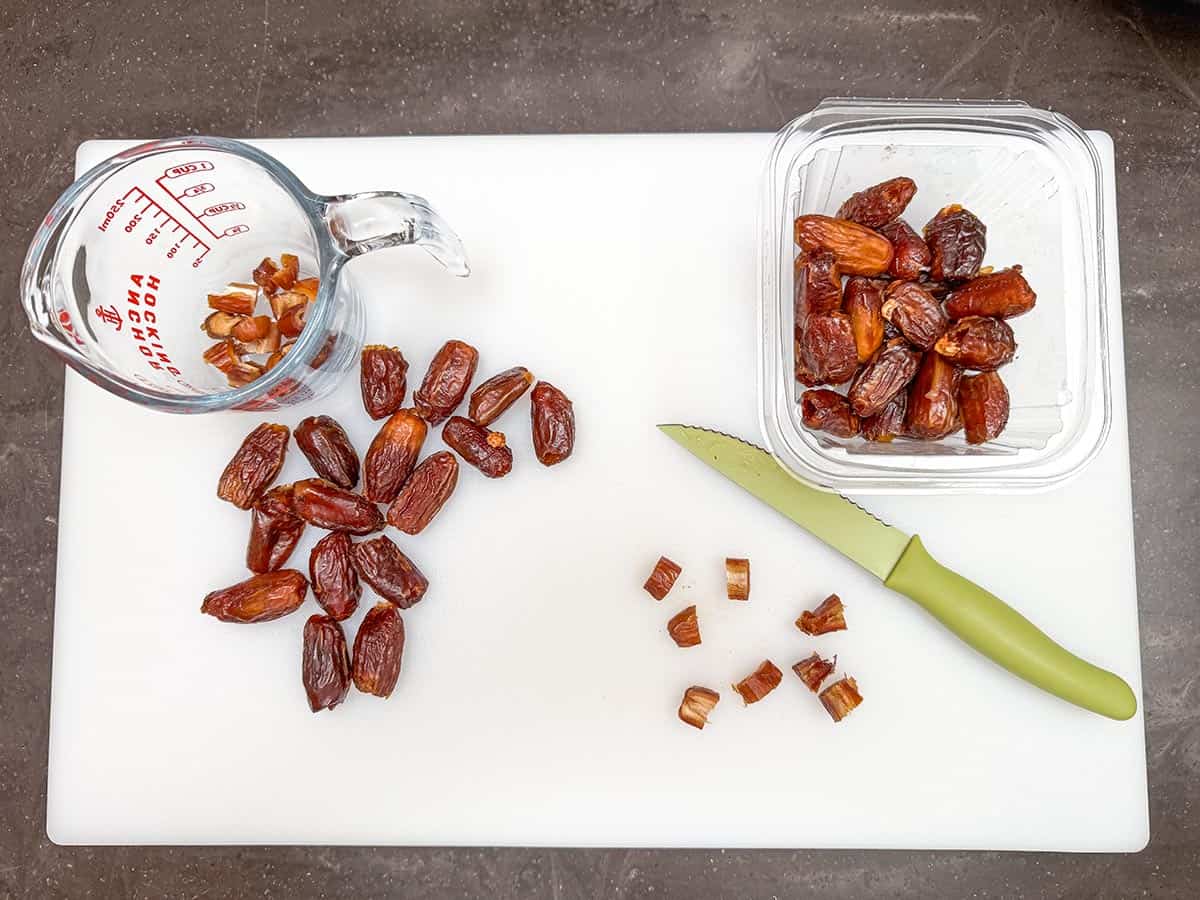
Press the chopped dates into your measuring cup to fit in as many as you can.
Mixing the Cookie Dough
Time to grab your favorite mixer and a sturdy spatula.
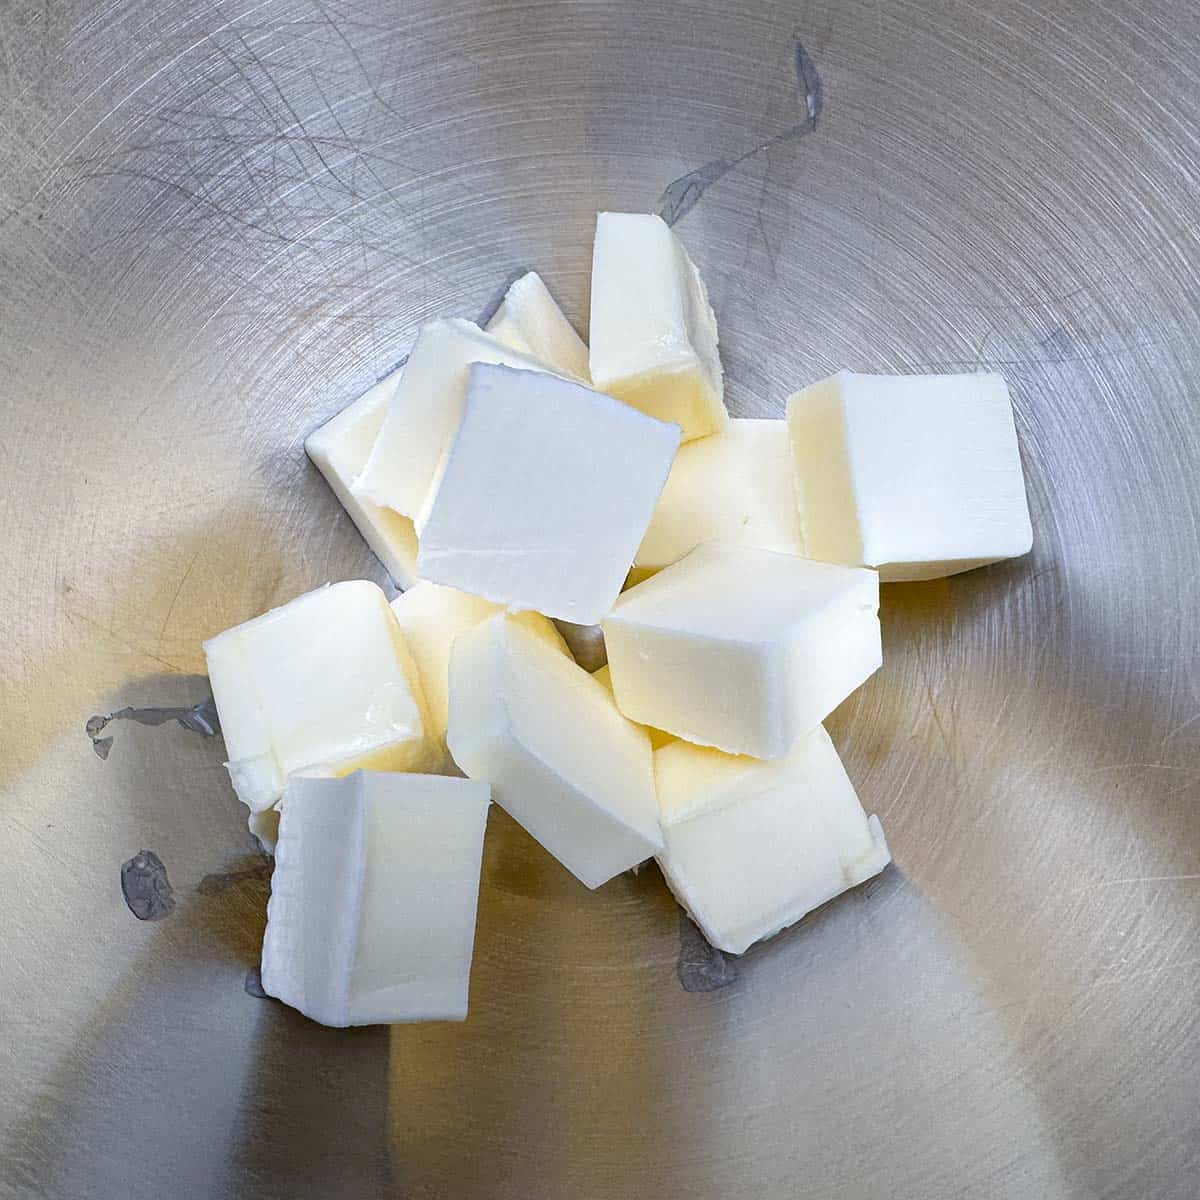
2. Cube the butter into your mixer bowl. This helps it cream more evenly and warm up faster if it's still slightly cold.
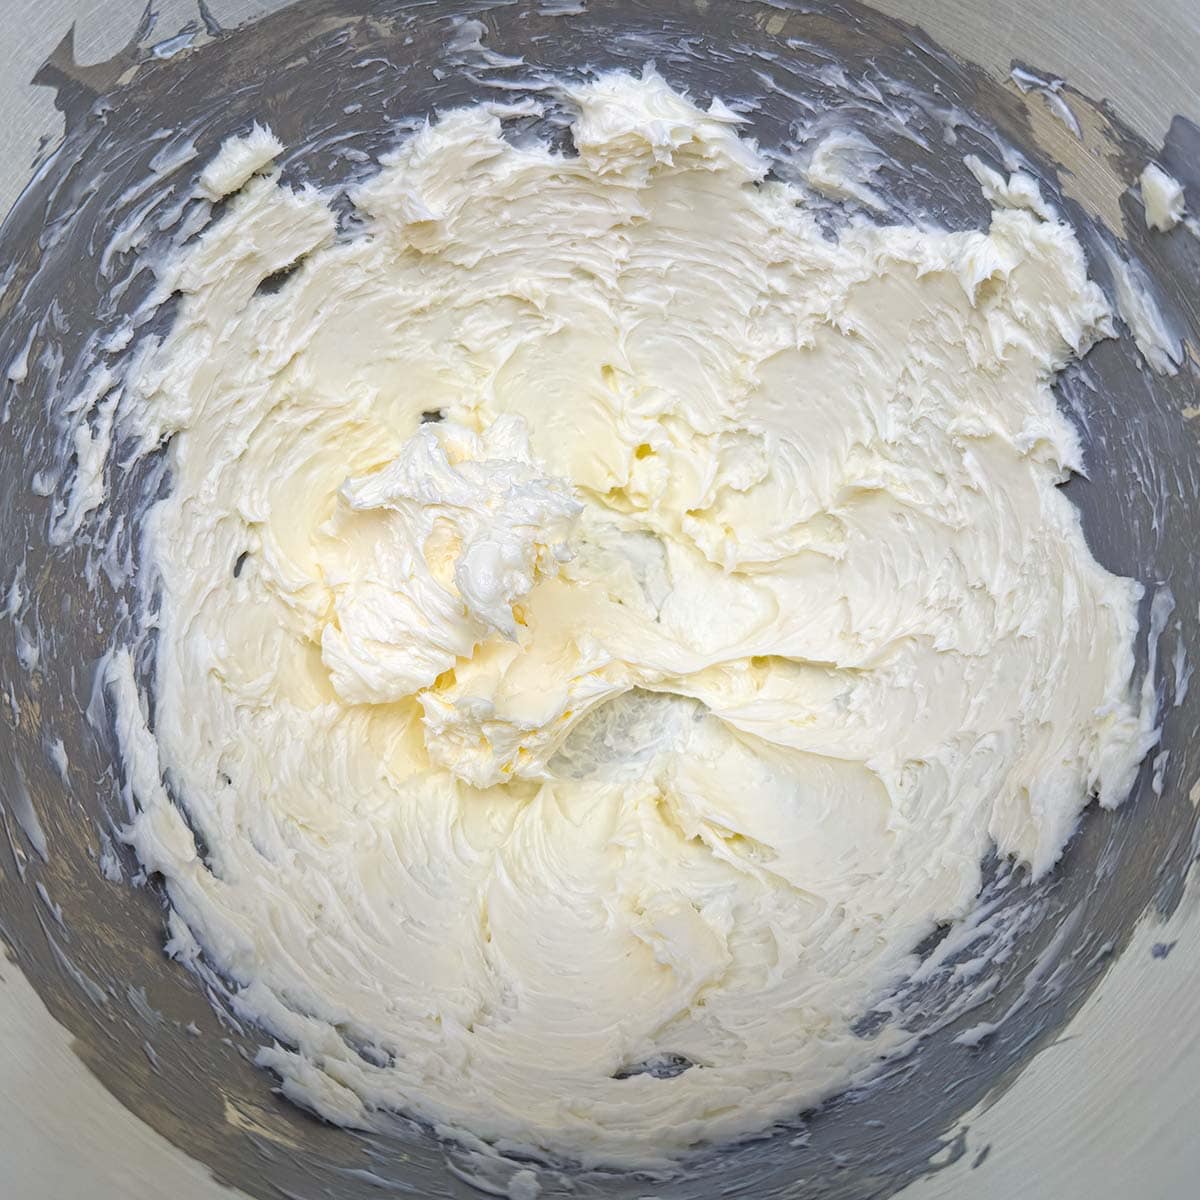
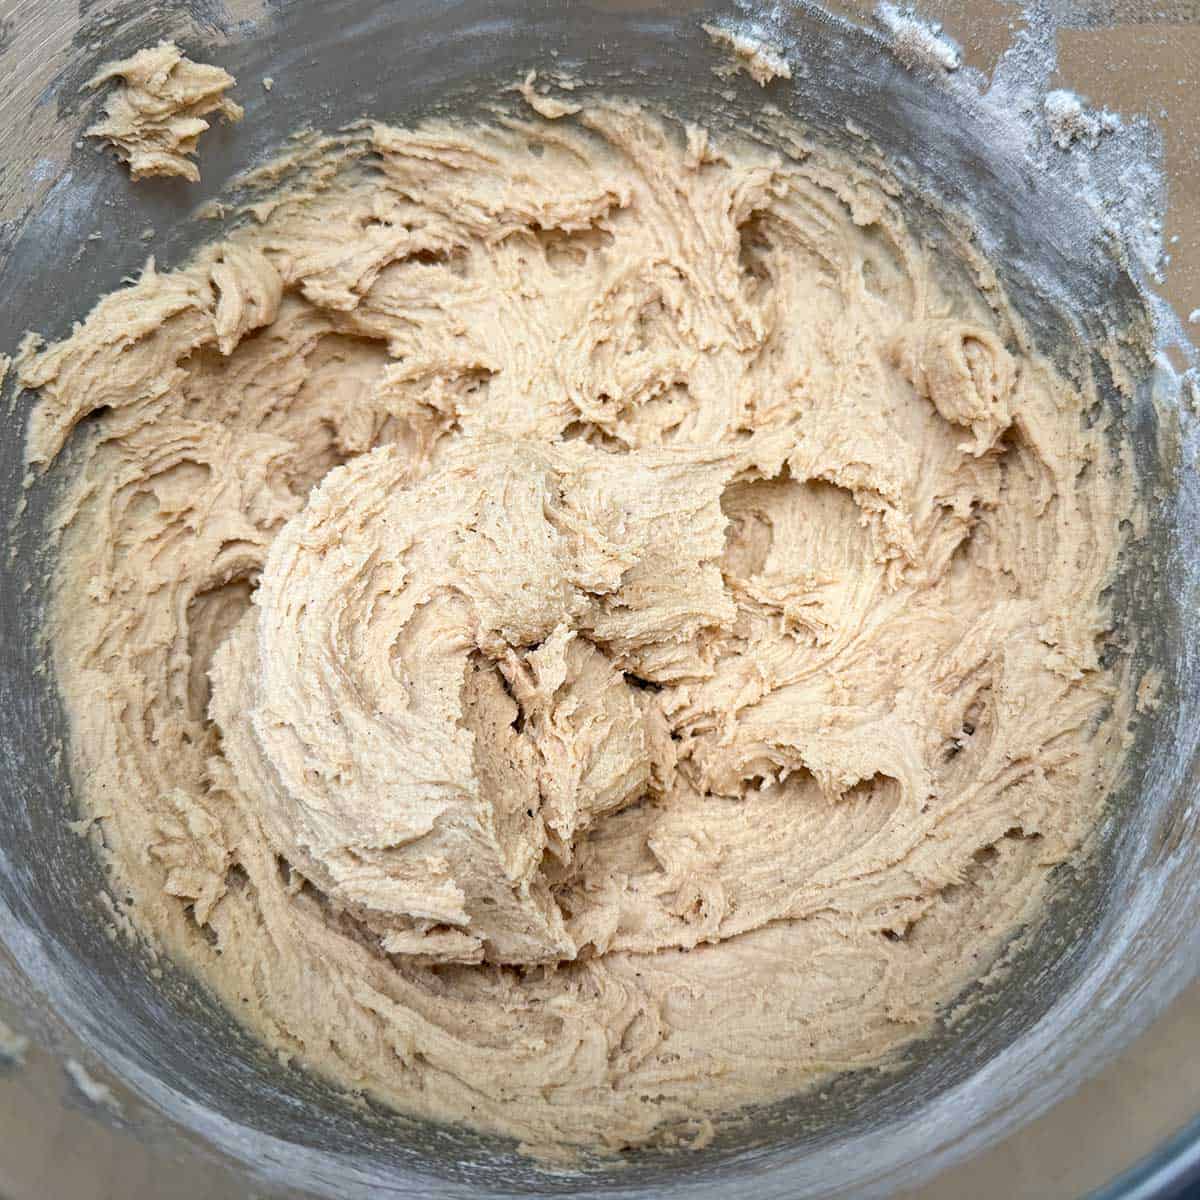
3. Cream the butter on medium speed until soft peaks form, about one to two minutes.
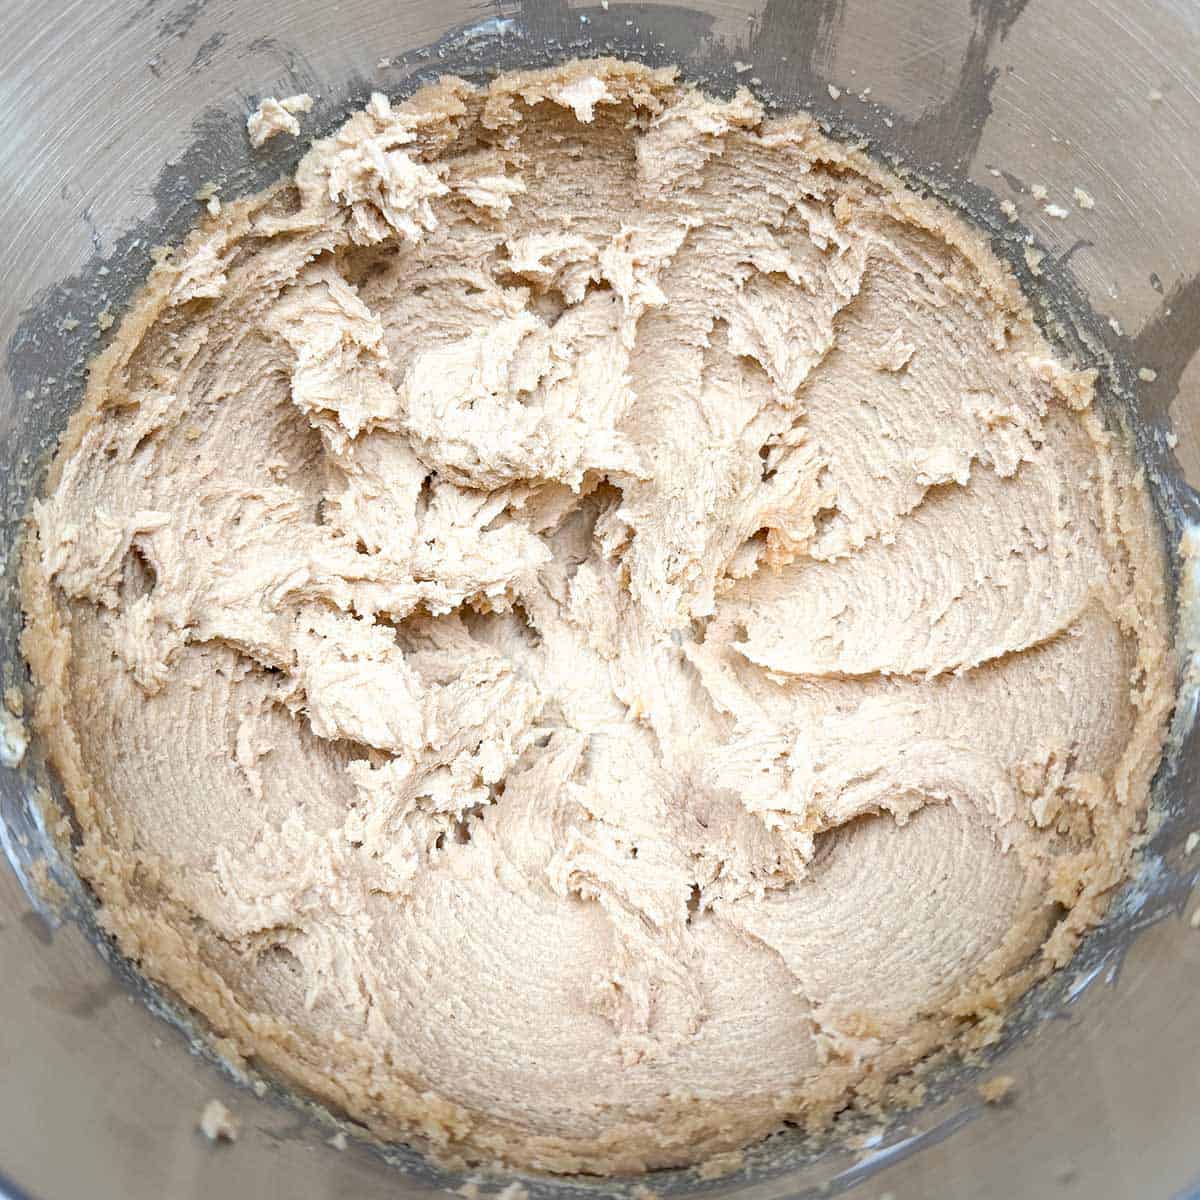
4. Add the light brown sugar and mix on medium speed for three minutes. Scrape down the bowl and blend for another 30 seconds.

5. Add the water, vanilla extract, and one egg. Mix until incorporated, then add the second egg and mix again. Finally, add the third egg and blend until smooth.
6. Scrape down the sides and add about a third of the flour mixture at a time until it's fully combined. Try not to overmix, you can finish folding with a spatula if needed.
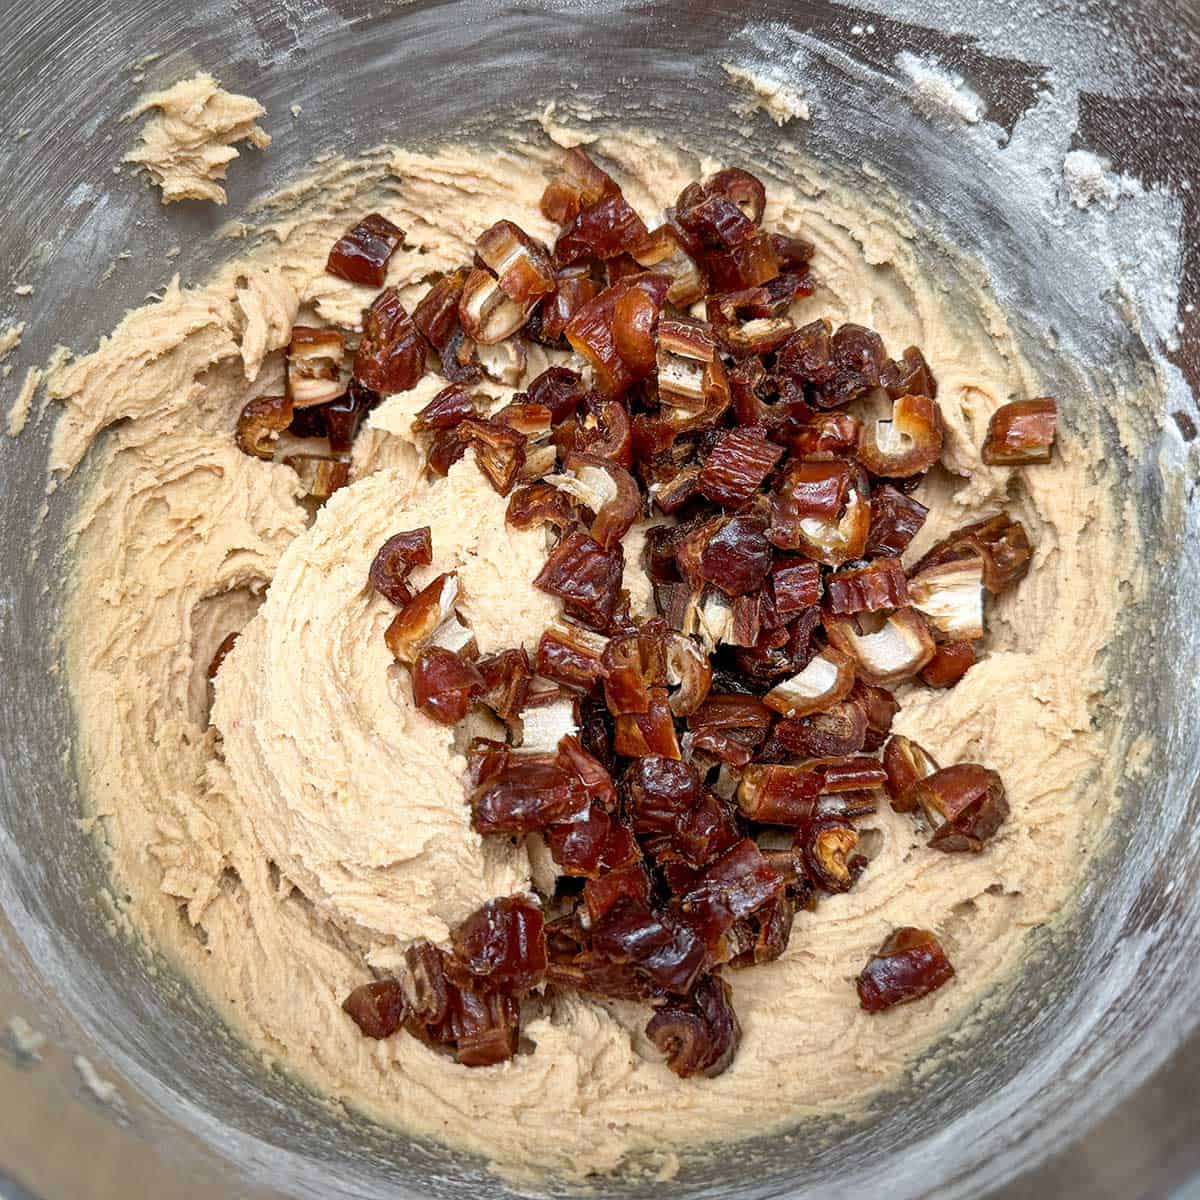
7. Add the chopped dates, breaking up any clumps with your fingers as you sprinkle them in. Mix for about 10 seconds, then check to make sure they're evenly distributed.
Cover and chill in the refrigerator for 30 minutes.
Chilling Tip!
Most of the old recipes I looked at were from the 1940s, and they didn't chill their dough before baking. That step didn't become popular until the 1950s. You can skip it if you prefer, but I like to chill the dough so the butter firms up again, which helps prevent flat cookies.
Scoop and Bake
Preheat the oven to 350°F (175°C or 180°C). Line two cookie sheets with parchment paper. I use a medium cookie scoop, but you can also use a spoon to make drop cookies. Try to scoop roughly the same amount of dough each time so the cookies bake evenly.
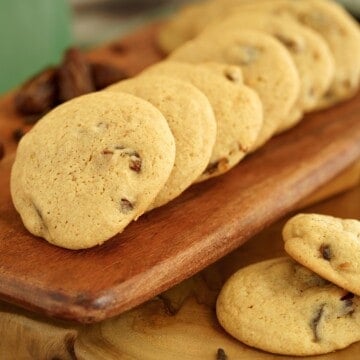
8. Place 12 scoops of dough on one prepared baking sheet and bake for 10-12 minutes.
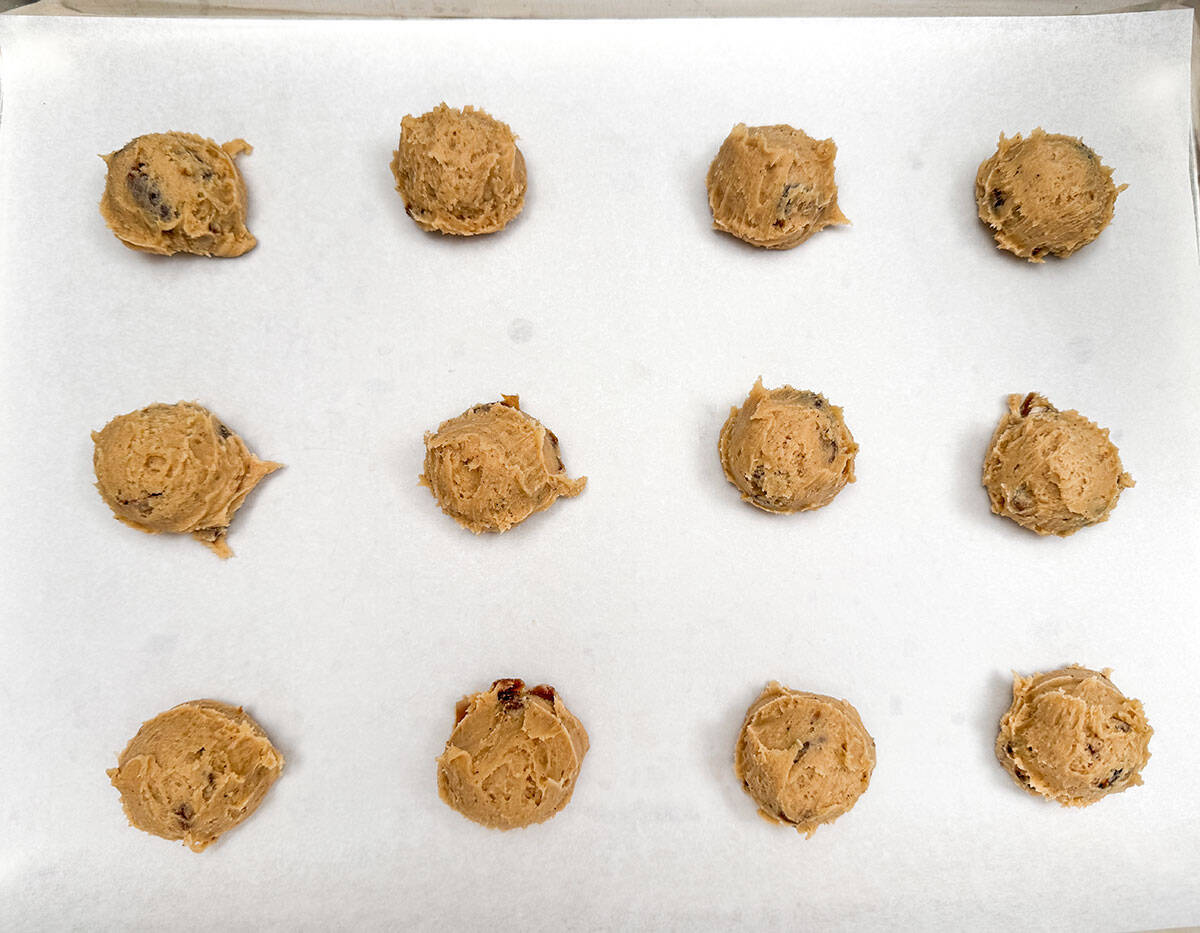
Once they come out of the oven, leave the cookies on the sheet pan for about a minute before transferring them to a cooling rack.

Enjoy!
FAQs
I found a great article on King Author Baking called The hottest dates are the ones you bake. It gives excellent insight into how dates add natural sweetness, moisture, and richness to baked goods.
Yes, walnuts and almonds are a great choice for nuts. Oats will change the texture since they make cookies more chewy. If you decide to add oats, you may need to slightly reduce the flour to balance the dough.
They store very well in my Rubbermaid TakeAlongs container from the grocery store, but you can also find them on Walmart's website.
More Date Cookies

Recipe

Vintage Spiced Date Cookies
Would you like to save this recipe?
Ingredients
- 1 cup (227 g) Butter unsalted
- 1 ¼ cups (275 g) Light brown sugar
- 3 Eggs
- 1 teaspoon Vanilla Extract
- 2 teaspoon Water
- 3 cups (375 g) All-purpose flour
- 1 teaspoon Ground cinnamon
- 1 teaspoon Ground cloves
- 1 teaspoon Kosher Salt
- ¼ teaspoon Baking soda
- 2 teaspoon Baking powder
- 1 cup (147 g) Dates pitted chopped
Instructions
- Weigh or measure the light brown sugar and set it aside. In another bowl, weigh or measure the flour. Add the baking powder, baking soda, ground cinnamon, ground cloves, and salt to the flour, then whisk to blend. Cut the dates into small pieces until you have one cup. I press them lightly into the measuring cup to ensure a full cup of dates.
- Cube the butter and add it to your mixer bowl. Cream the butter on medium speed until soft peaks form, about 1 minute. Add the sugar and mix for 3 minutes on medium speed. Scrape down the sides of the bowl, then mix for another 30 seconds.
- With the mixer on low speed, add the flour mixture about one-third at a time, mixing just until the flour is incorporated. Add the chopped dates and mix for about ten seconds. Use a spatula to check that the dates are evenly dispersed. Cover the bowl and chill for thirty minutes.
- Preheat the oven to 350°F (175°C or 180°C) and line two cookie sheet pans with parchment paper. Using a medium cookie scoop, or a spoon for drop cookies, add twelve mounds to each prepared pan. Bake for ten to twelve minutes. Once out of the oven, transfer the cookies to a cooling rack.
Share this recipe
NUTRITION DISCLAIMER
I am not a certified Dietitian or Nutritionist. The nutrition amounts given below are provided through a program and are only a guideline.


Barbara says
I love some of the cookies from long ago and this one I really liked.