Chinese New Year 2024 - Year of the Dragon
I found an article written in the LA Times that was very interesting concerning the Year of the Dragon. Are we in for a lucky, powerful year? (reads the headlines) So, to make my cookies fit into this holiday, I took the lucky colors and the fruit, which is tangerine, but I chose orange (close enough).
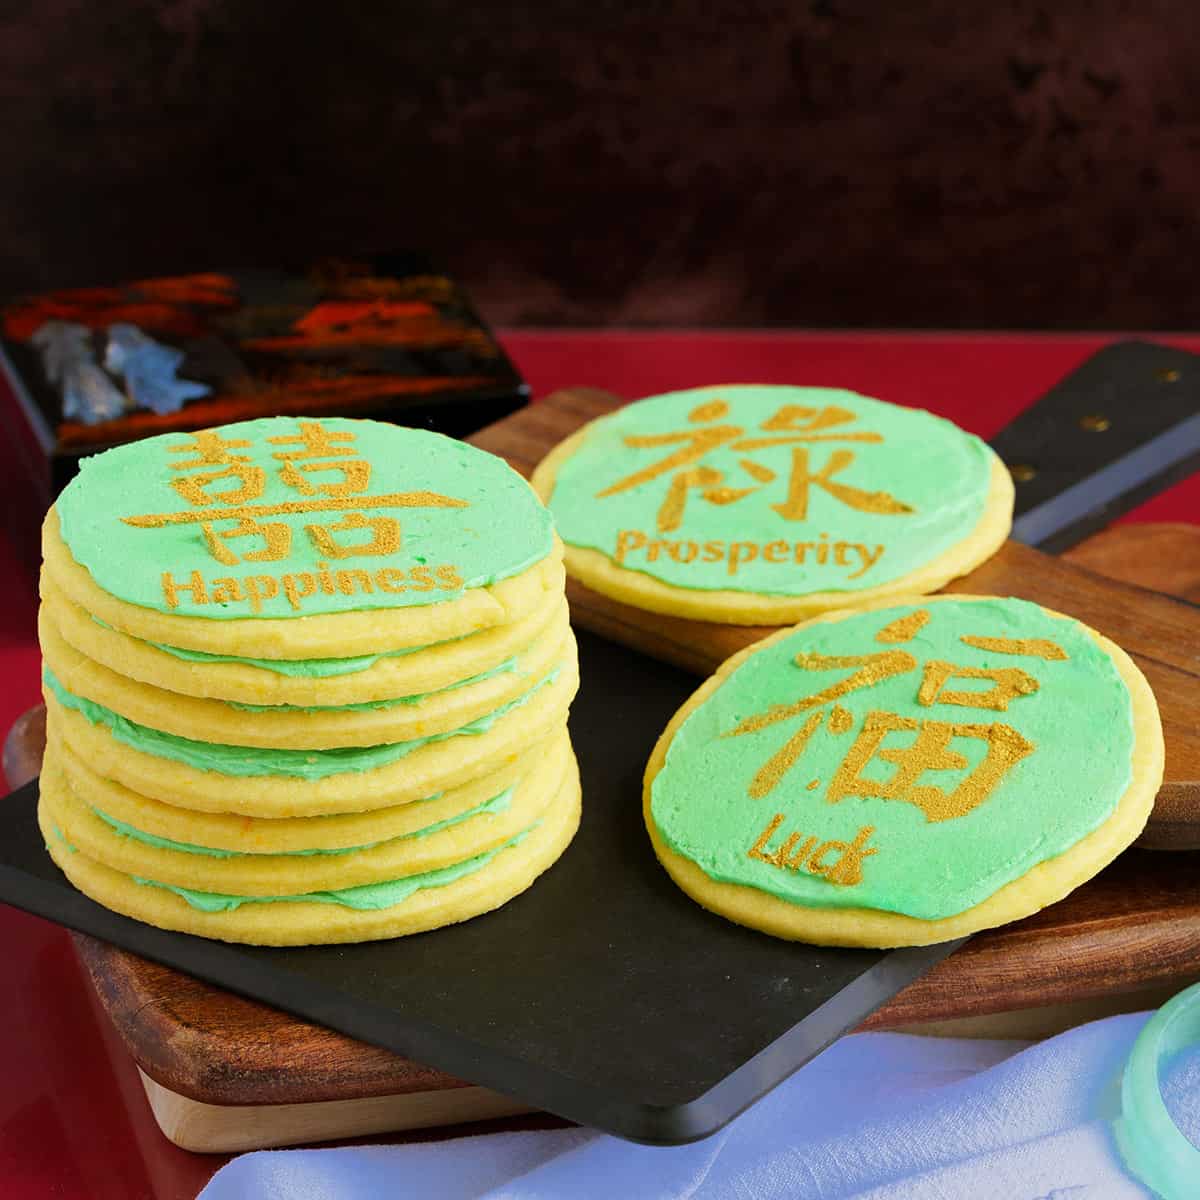
Last year, I made crispy Chinese Almond Cookies that were full of almond flavor. So this year, it is all about the orange. The flavor of these cookies is exactly what I wanted: full of fresh orange and a great orange buttercream icing. I just needed to adapt the colors to match the colors for 2024.
2024 Color meanings
- Golden - Wealth and Achievement (Luck)
- Yellow - Happiness
- Green - Prosperity and Health
Jump to:
Ingredients for Orange Sugar Cookie
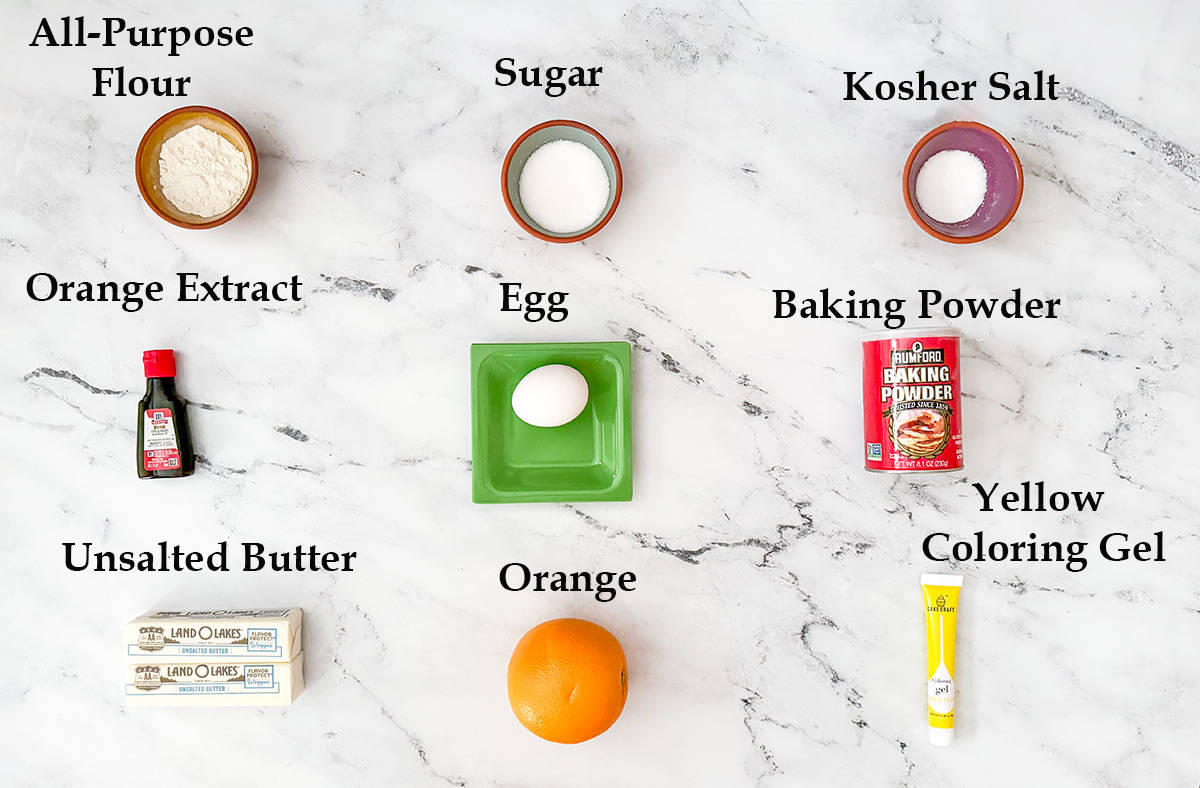
Orange Sugar Cookies
- Butter unsalted
- Sugar white
- Egg
- Orange extract
- Orange Zest
- All-purpose flour
- Baking powder
- Kosher Salt
- Yellow coloring gel
Ingredients for the Orange Buttercream Icing
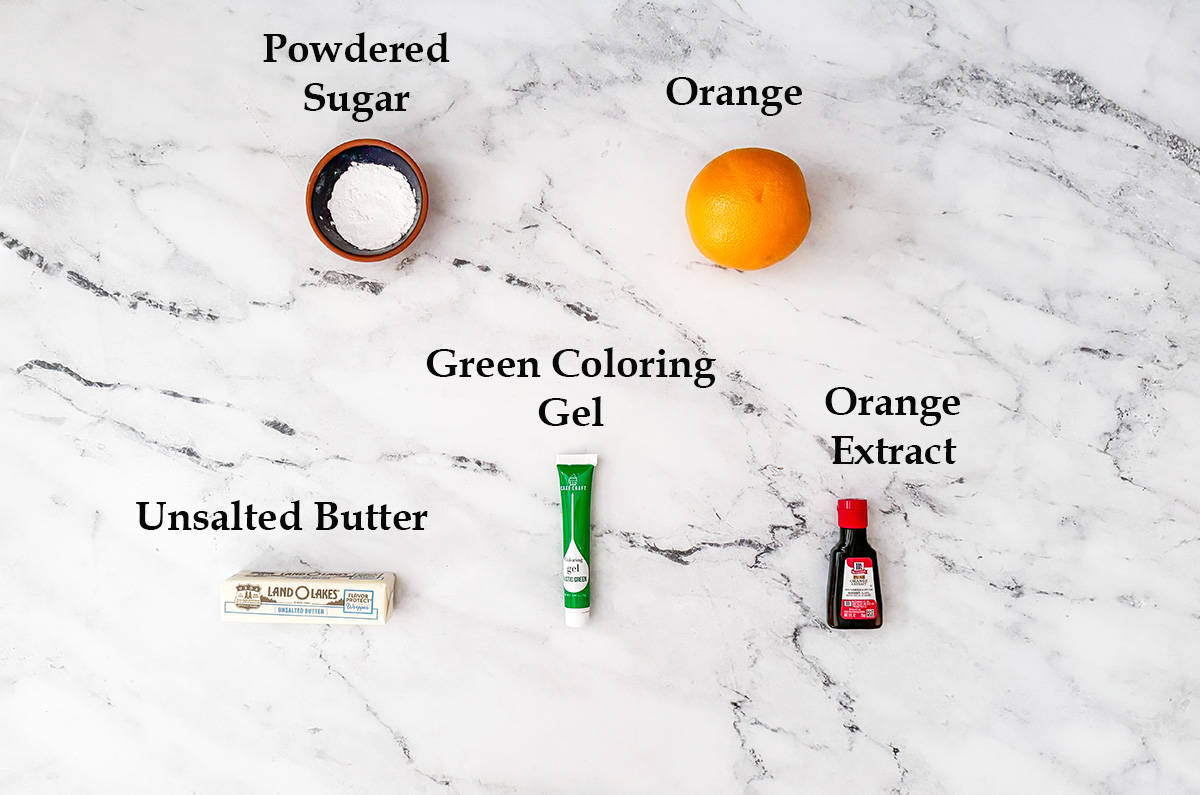
Orange Buttercream Icing
- Butter unsalted
- Powdered sugar
- Orange extract
- Orange juice
- Green coloring gel
Making the Cookies
To start, as always, I do the prepping of the ingredients. Weigh or measure the sugar into a bowl and set it aside. Weigh or measure the flour, baking powder, and salt in another bowl. I run a whisk through to blend the three ingredients.
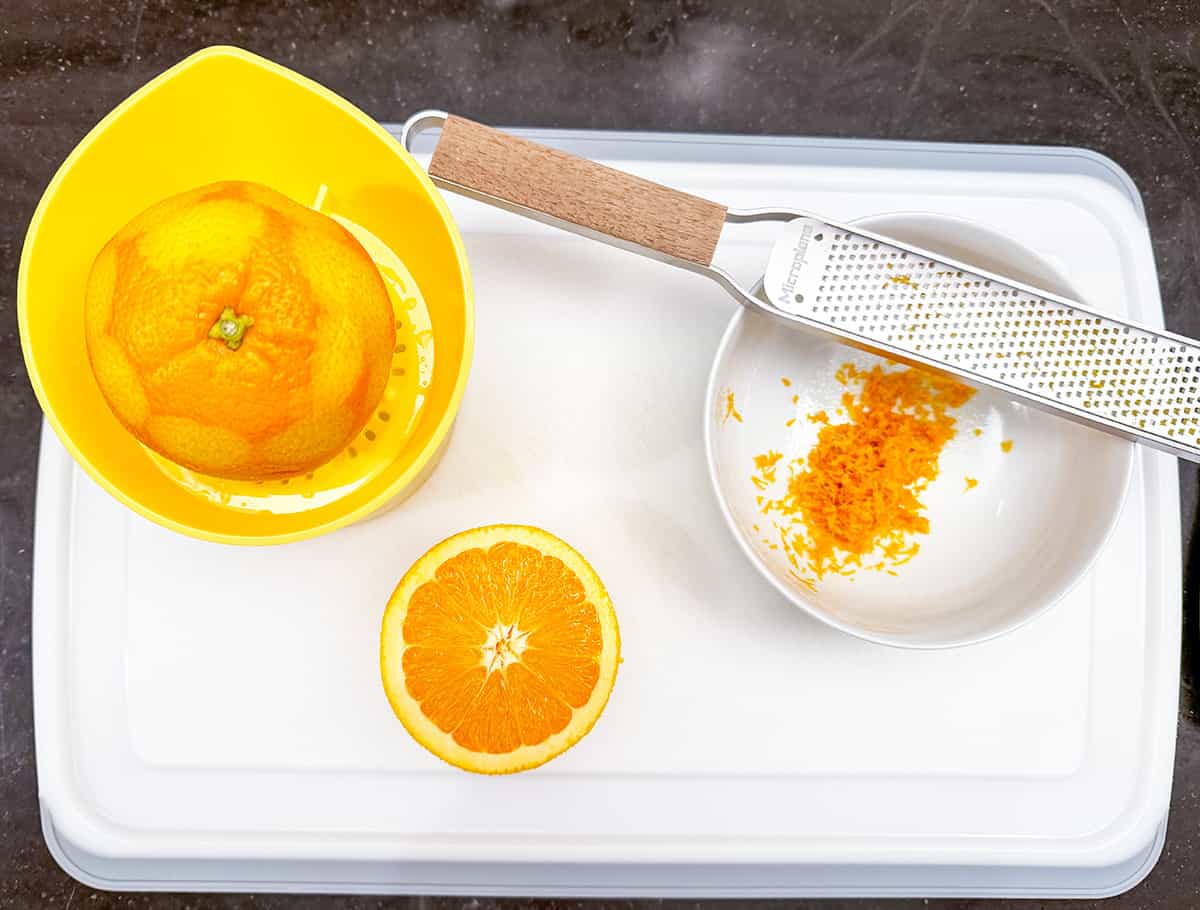
Next, I zest and juice an orange that will be used in the cookie and the icing.
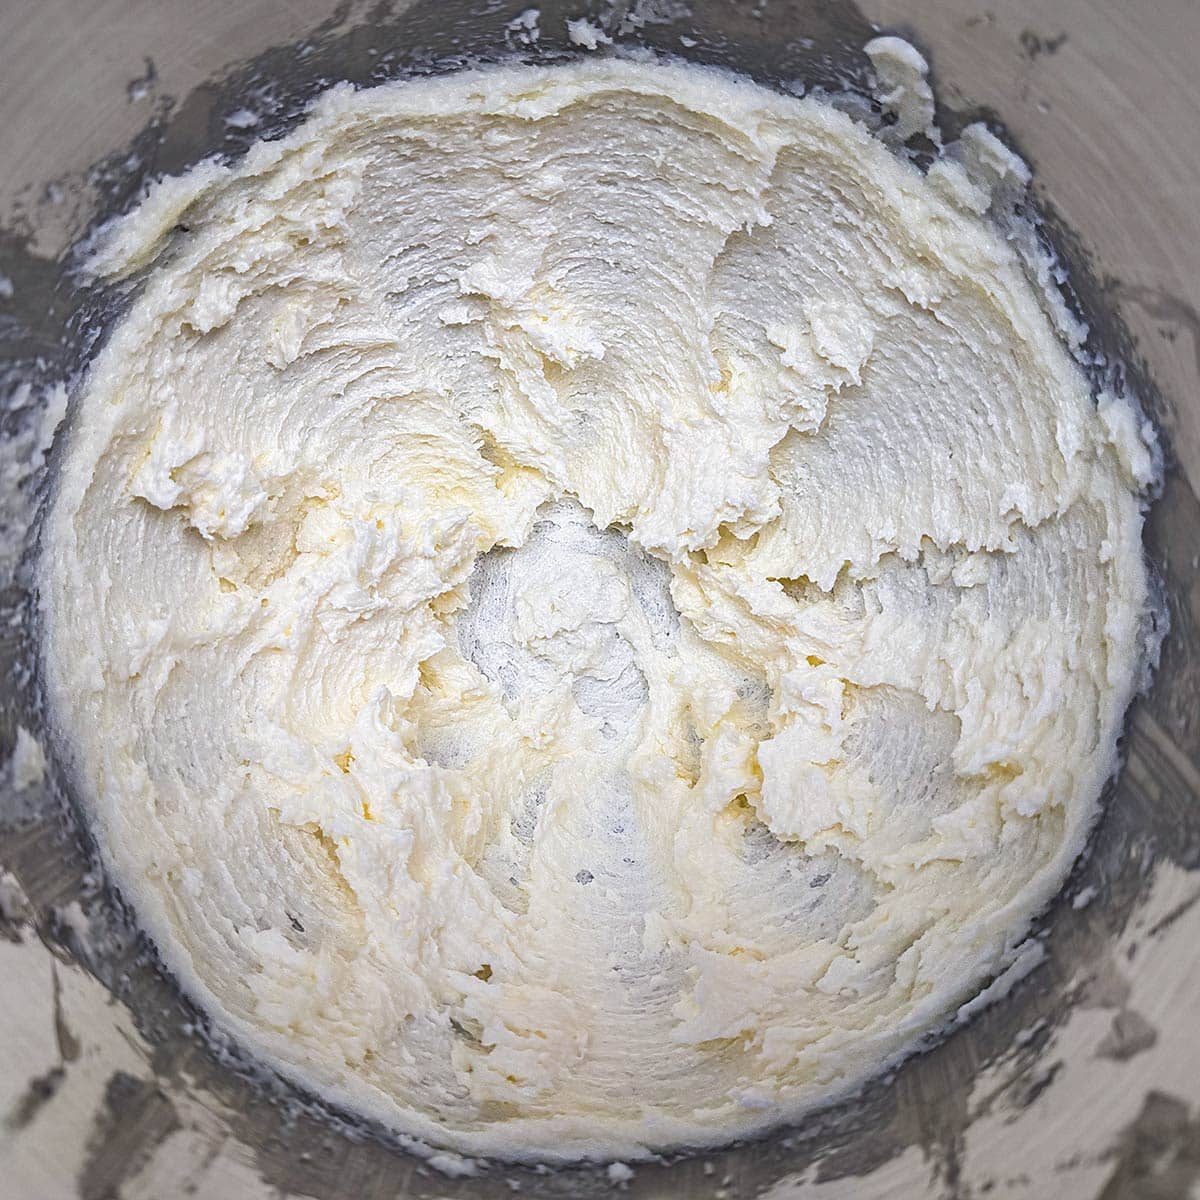
Before adding the sugar, I start by creaming the butter at a medium mixer speed. Once the sugar is added, mix for 3 minutes or more to form soft peaks.
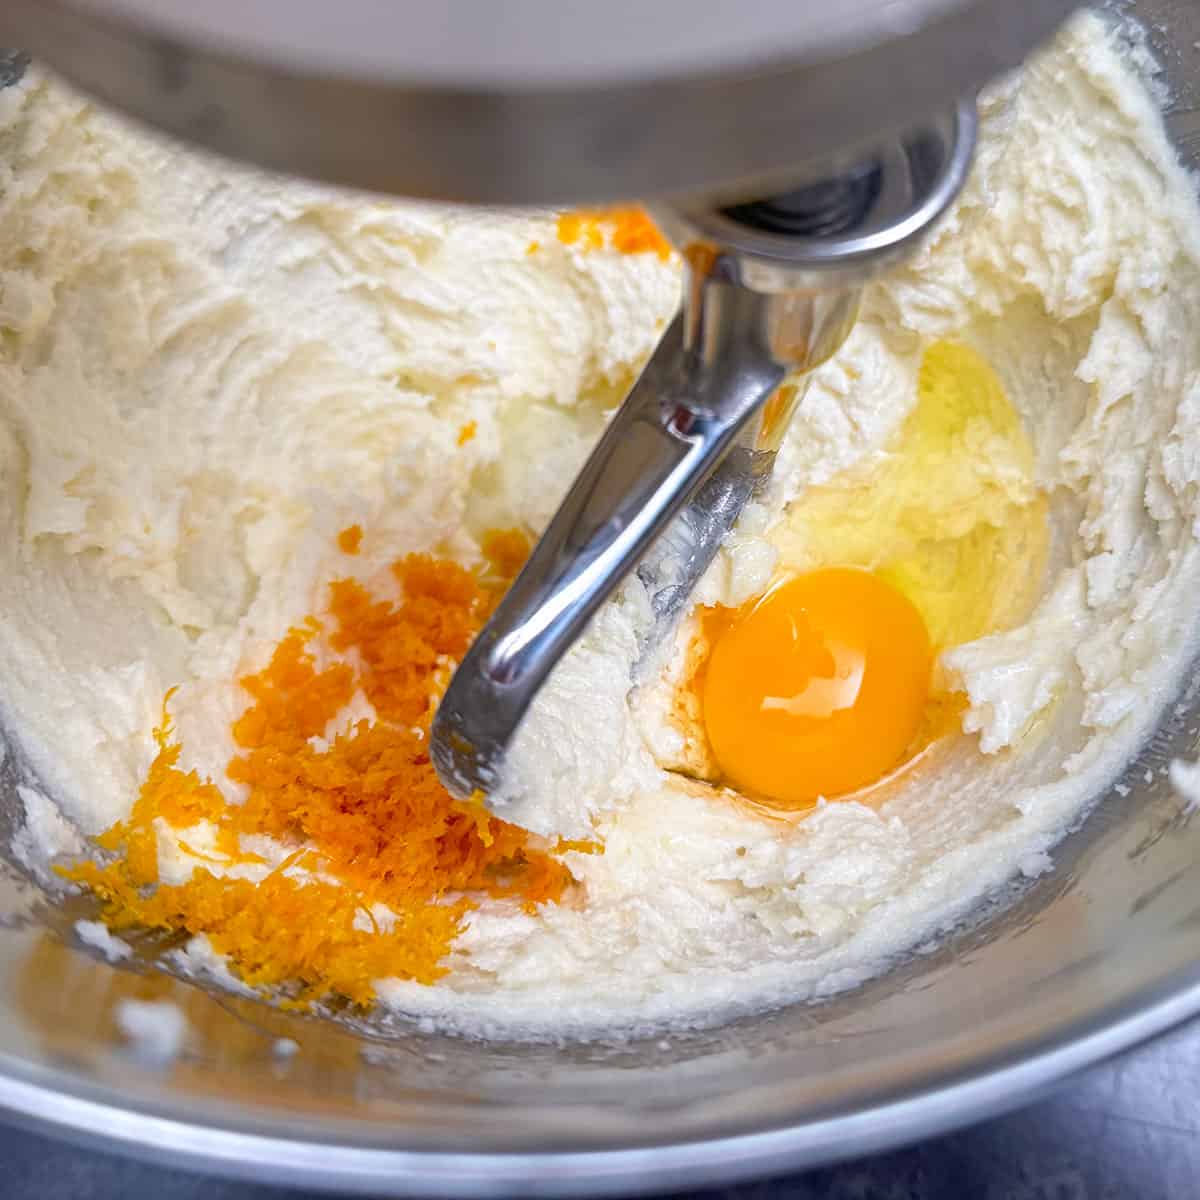
Now, incorporate the orange extract, orange zest, yellow coloring gel, and egg. Continue on a medium mixer speed.
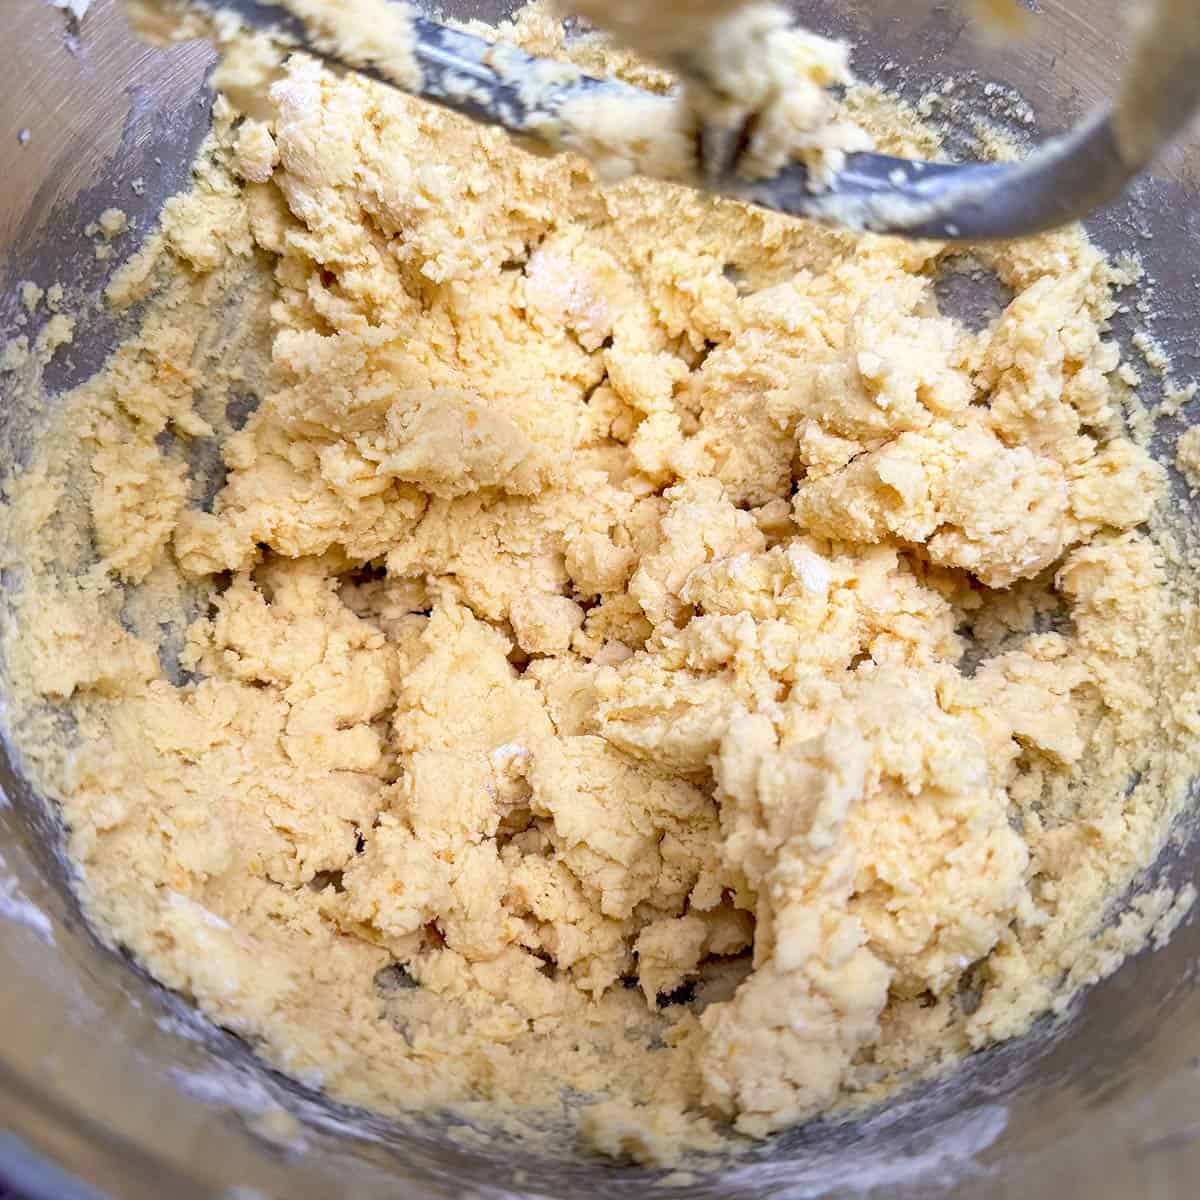
Finally, scrape down the sides. Turn the mixer onto a low speed and slowly add the flour mixture. It is going to look lumpy and a little dry. Don't over mix, you want to mix just until the flour is incorporated.
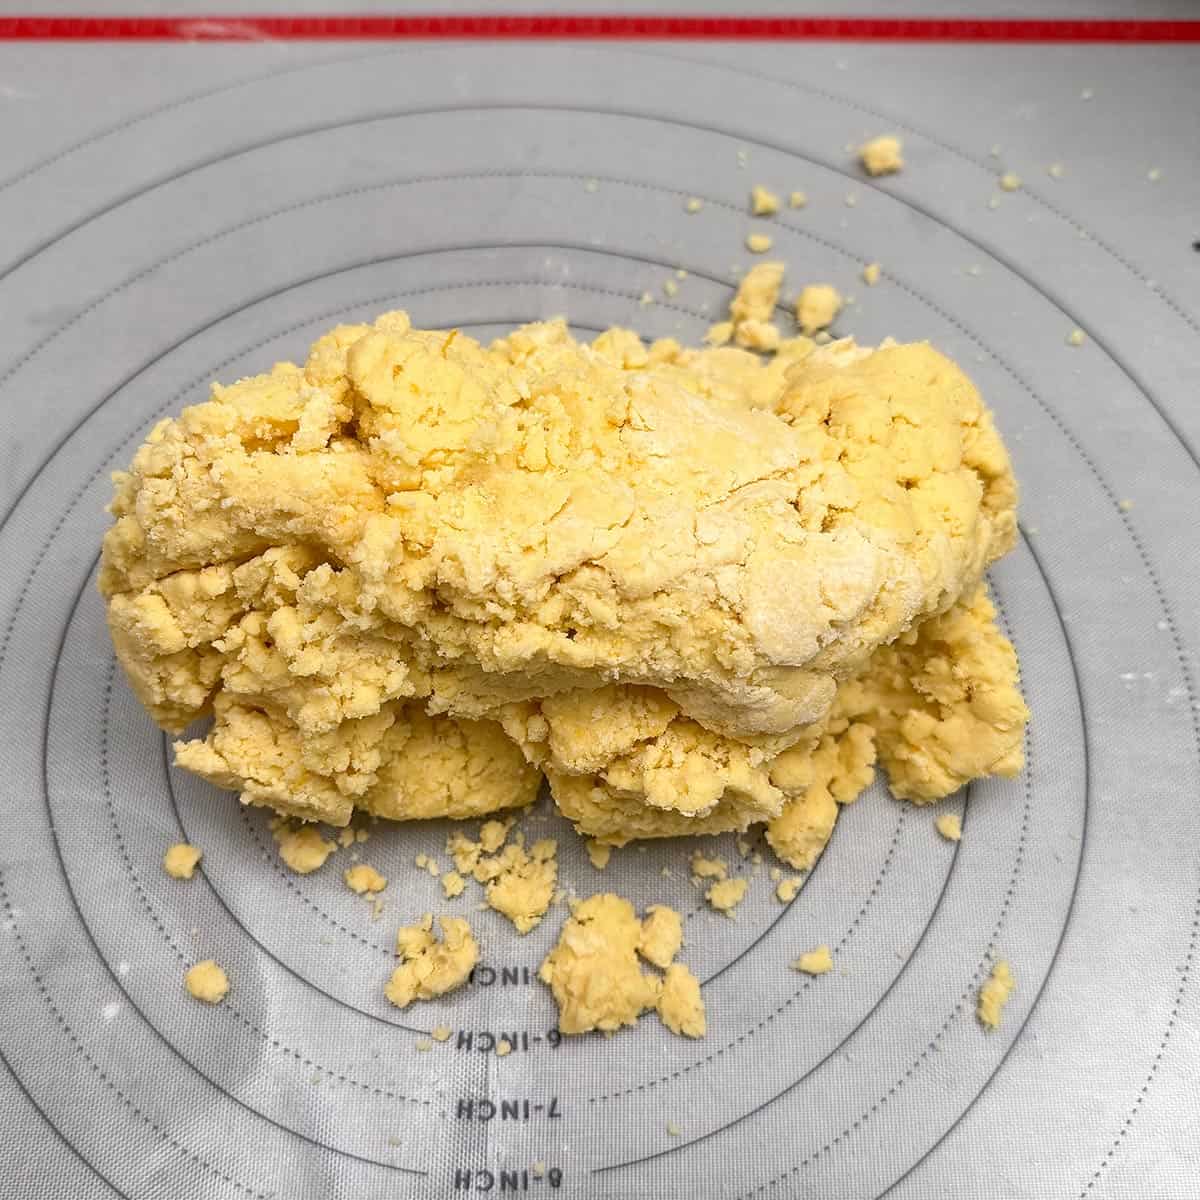
Dump the cookie dough onto a pastry mat. So to fully incorporate the flour into the butter knead the cookie dough. It will come together.
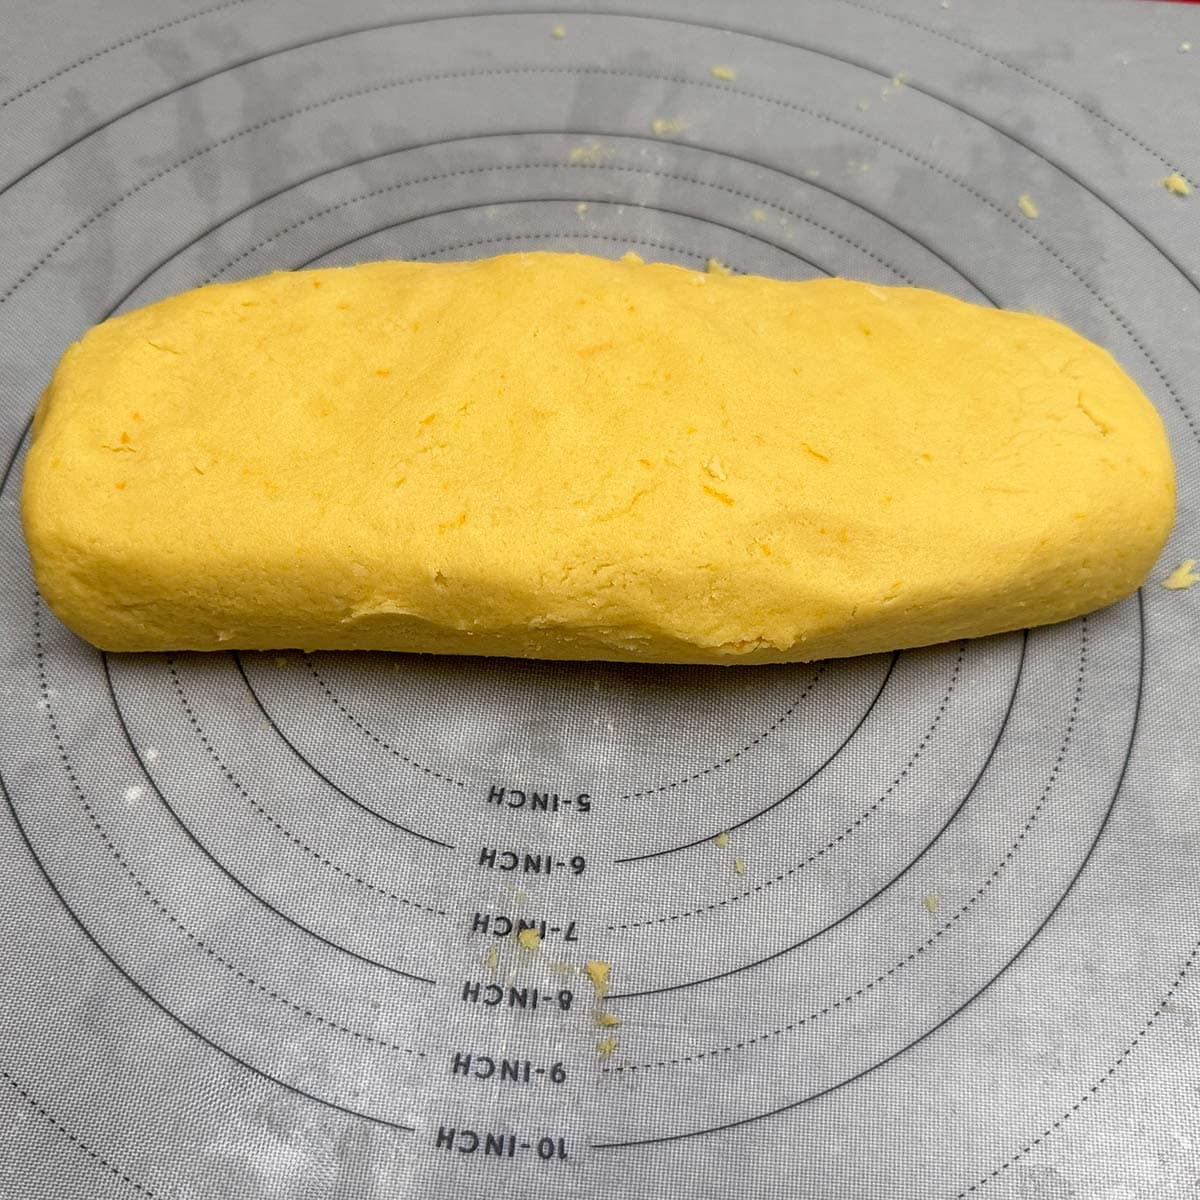
After you form a rectangular shape, divide the log in half and form round flattened disk shapes.
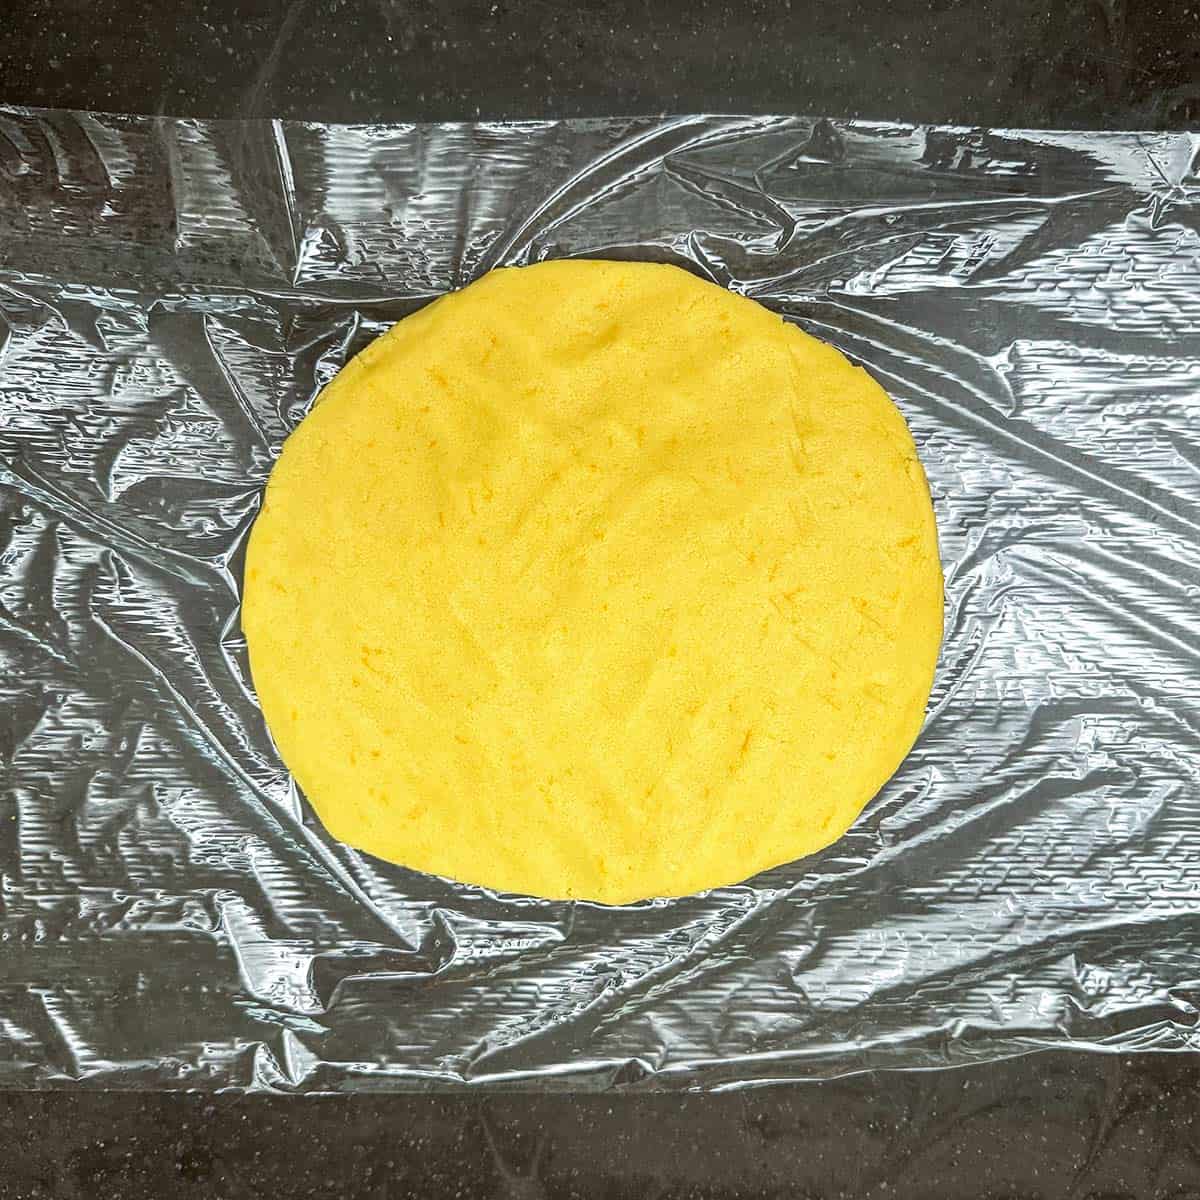
Wrap each disk with plastic wrap.
I lay the wrapped disks on a sheet pan. Refrigerate the cookie dough for 30 minutes.
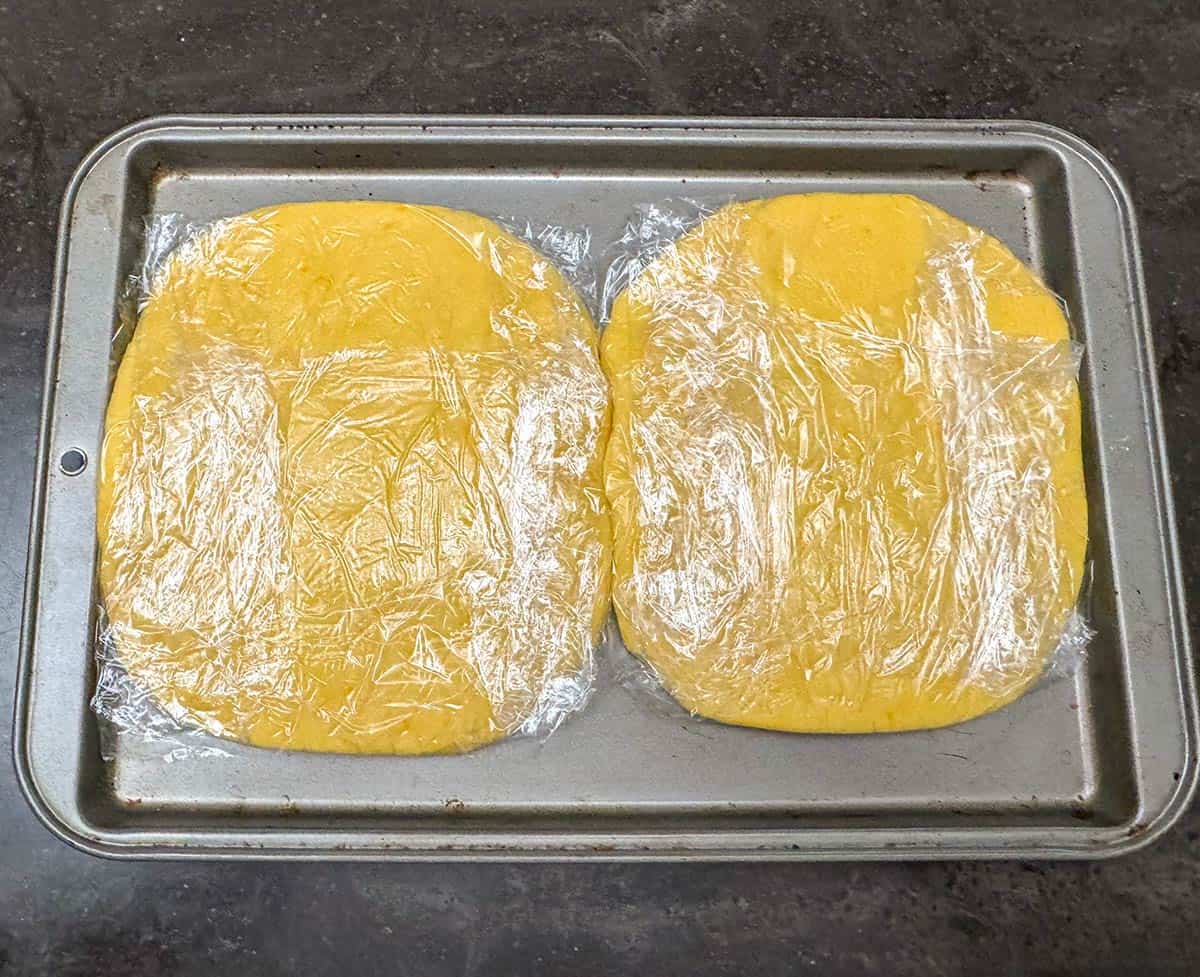
You refrigerate to chill the butter that became warm when mixing the cookie dough. The second is to give the flour, sugar, and butter time to meld together.
Baking Sugar Cookies
I purchased the stencils online at Amazon. Designer Stencils Double Happiness, Luck, Prosperity Symbols Cake and Cookie Stencil Set, Beige/Semi-Transparent Whenever you are using a stencil before you start to do the cutouts of your cookie dough, make sure it is big enough for the stencil.
Preheat the oven to 350°F (175°C or 180°C) and line 2 cookie sheet pans with parchment paper.
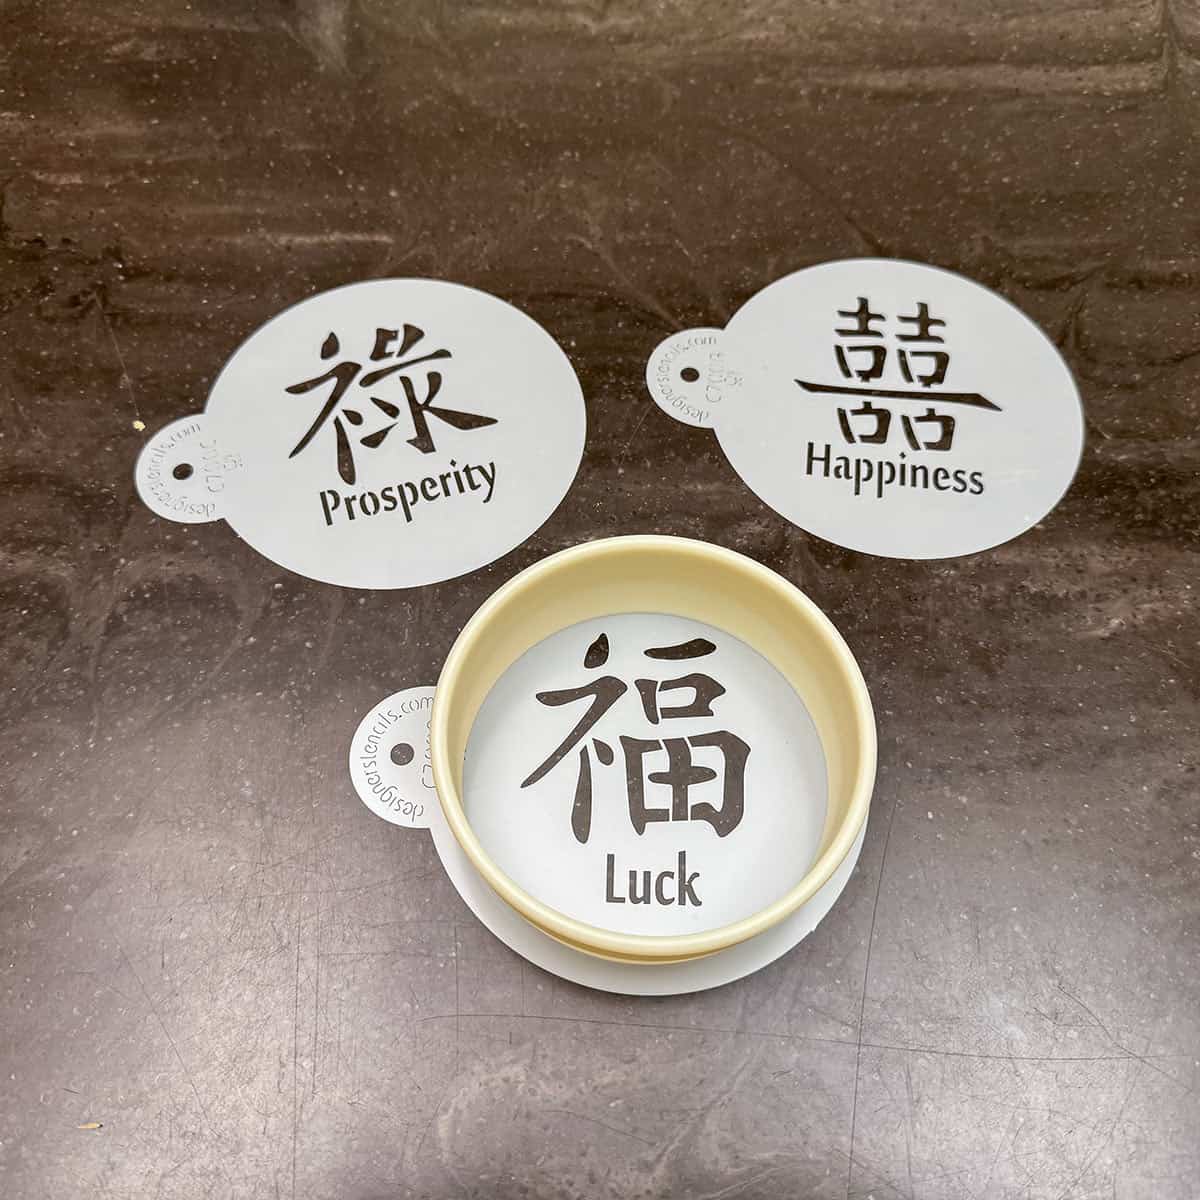
To ensure the cookie was big enough, I put the cookie cutter onto the stencil to make sure there was enough space around the words. These stencils are 3.25", so I needed a 4" round cookie cutter.
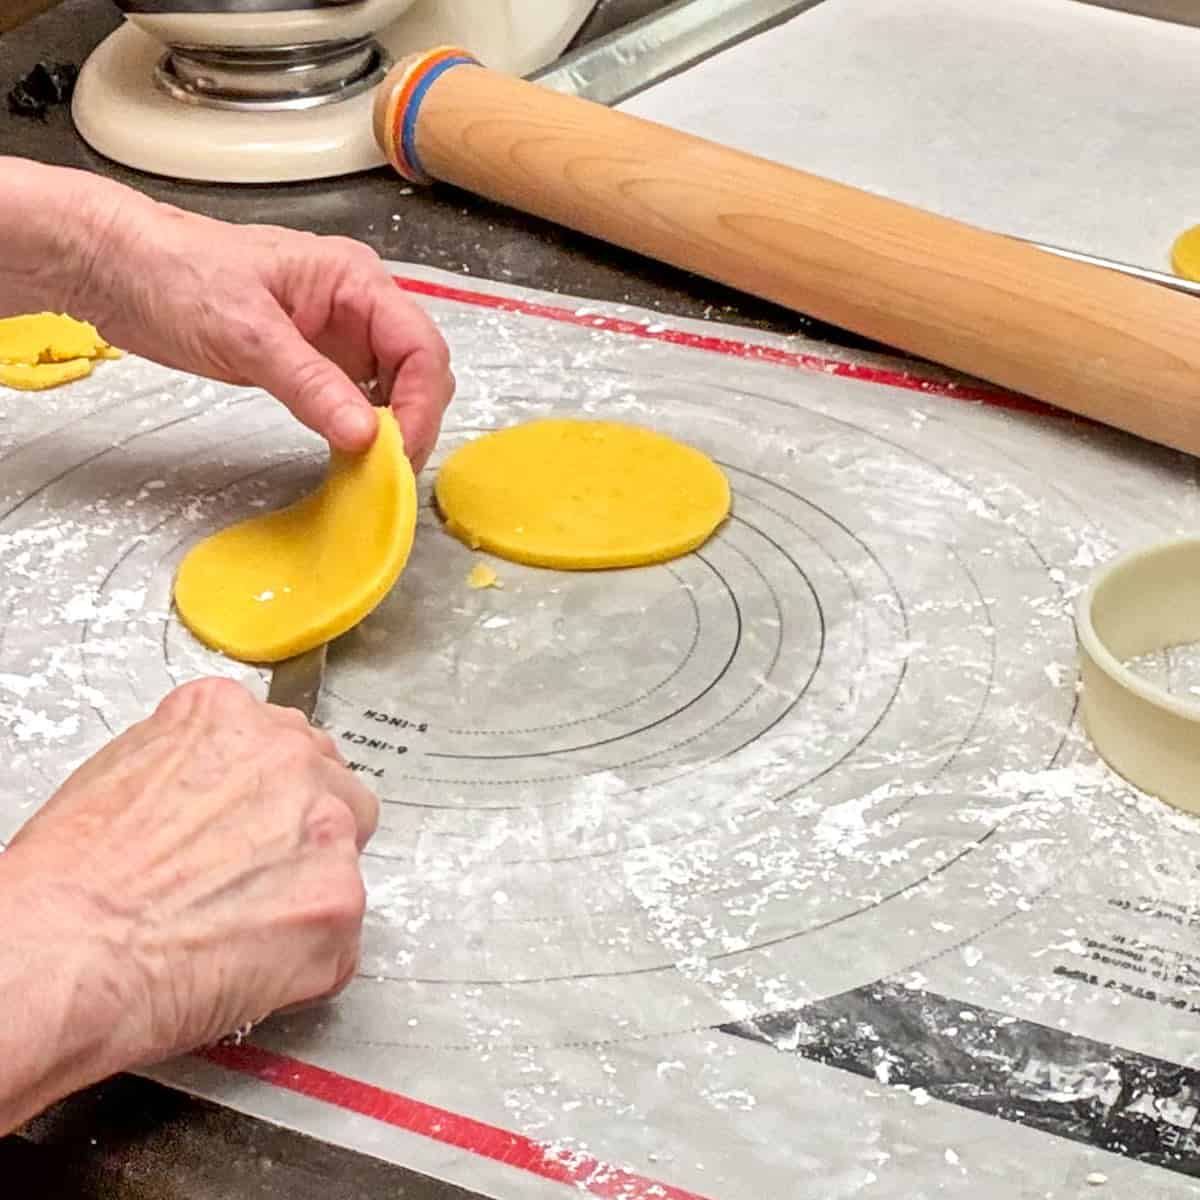
With a large cookie, the trick is getting it off the pastry mat. I used powdered sugar under and on the cookie dough to roll it out. I also used 3/16" bands on the ends of my rolling dowel to ensure an even rollout of the cookie dough. To help get the cookie off the mat, I used a butter knife to gently help lift it by working the knife down and lifting it with the other hand.
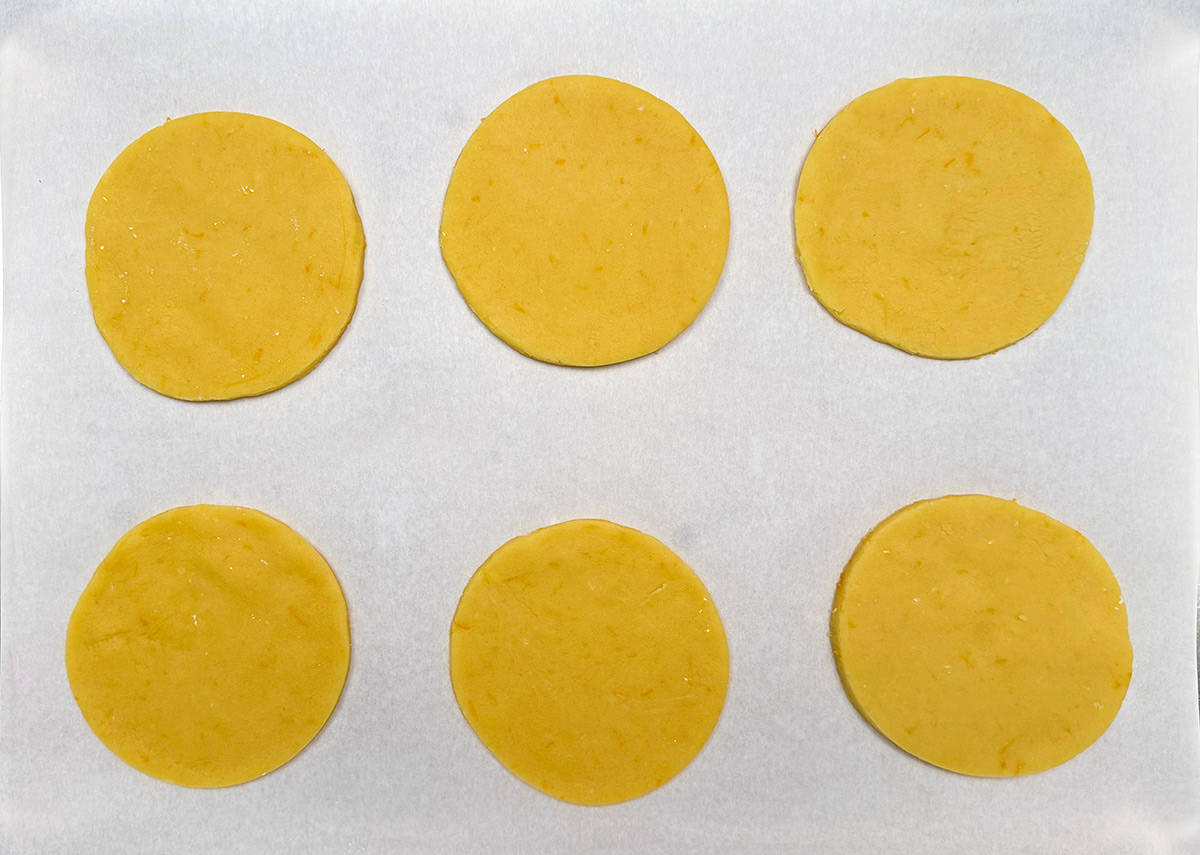
I laid six cookies on a prepared sheet pan and baked them at 350°F (175°C or 180°C) for 8-10 minutes. As always, you know your oven; adjust time as needed. Leave the cookies on the pan after taking them out of the oven; it is easier to move them after they have cooled on the sheet pan. Then, move to a cooling rack.
Making the Buttercream Icing
After the cookies have completely cooled, I start the icing. Since these are large cookies, you want them solid before handling them.
Cream the room temperature butter on a medium mixer speed. Stop and scrape down the sides.
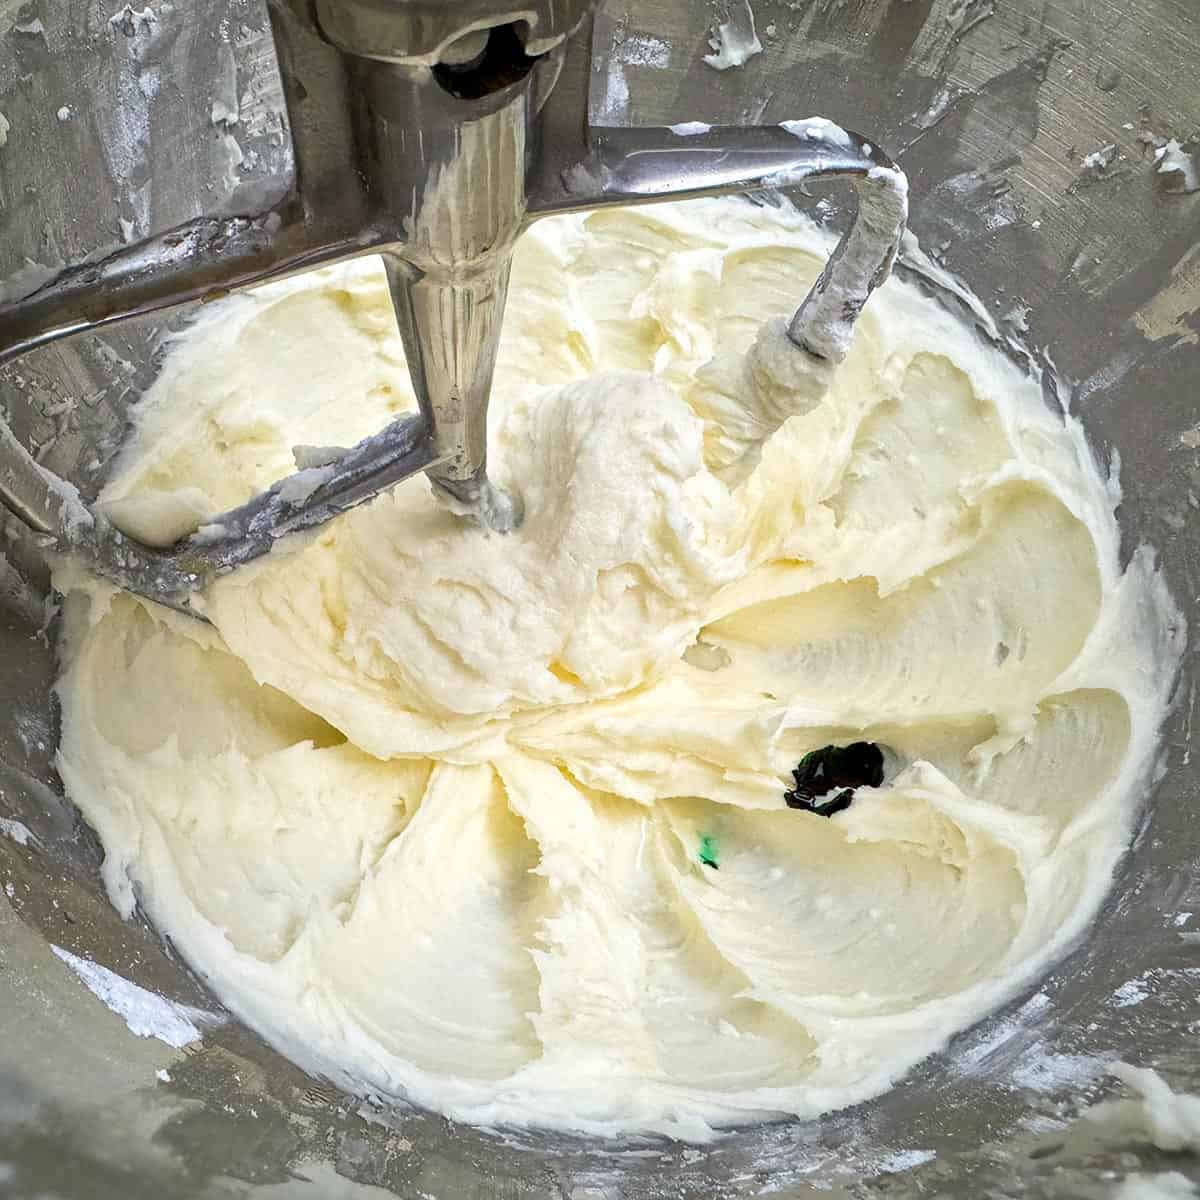
Add the powdered sugar, orange juice, and the orange extract. Start the mixer on the lowest speed until mixed, then turn it up to medium-high speed for 3 minutes. Stop and add the green coloring gel and return to medium-high speed for 4 to 5 minutes.
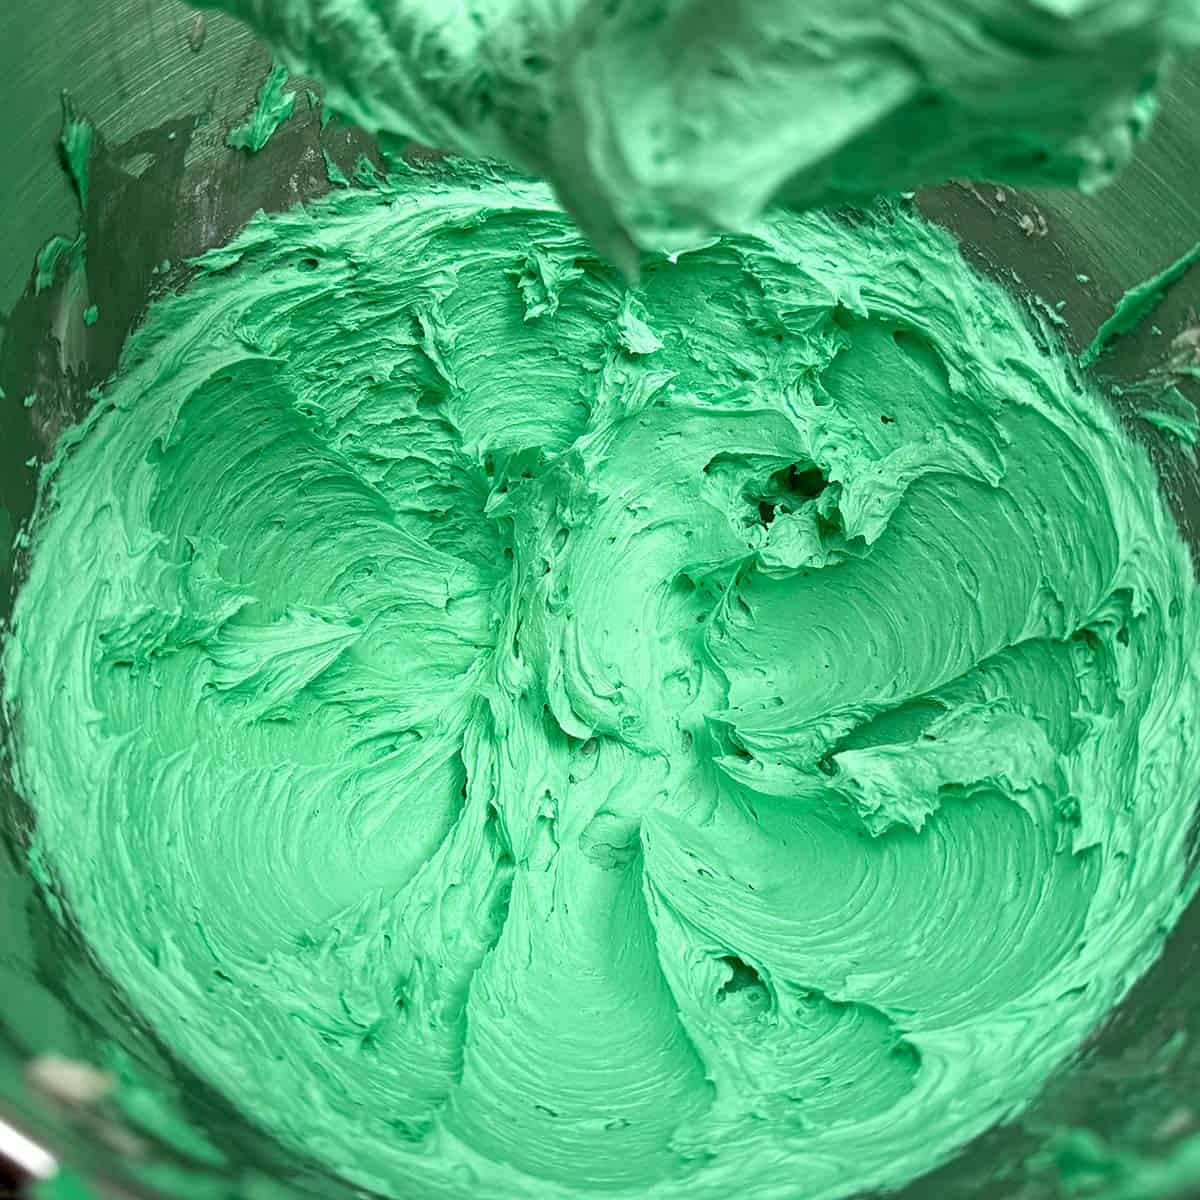
As the buttercream is mixed you will notice a gradual change in color. It is pretty easy to tell with the green.
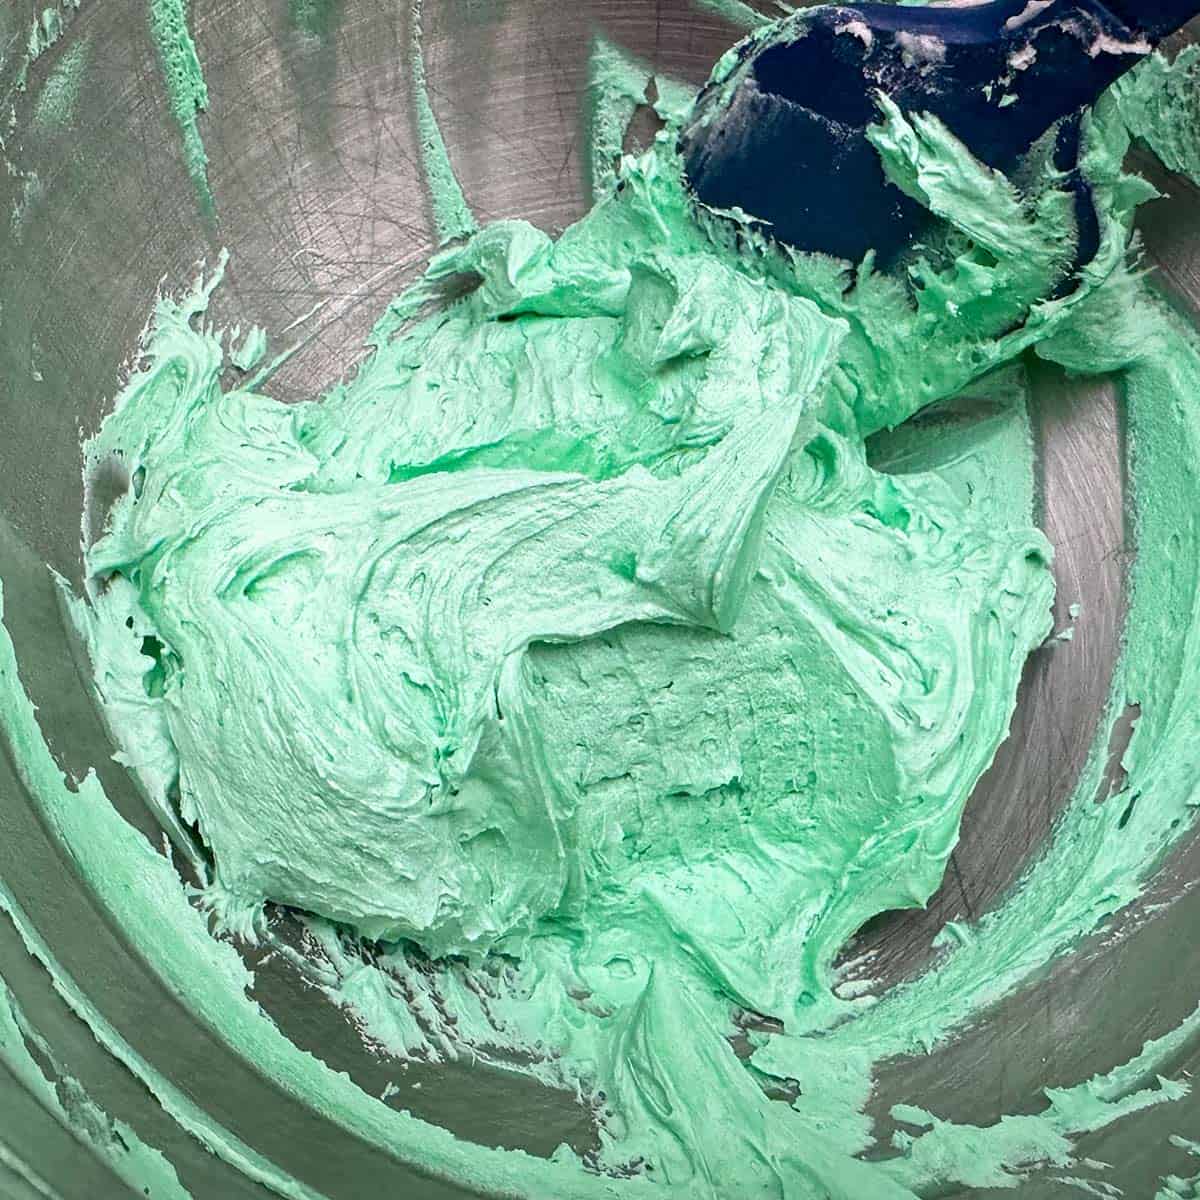
The icing is done when you can put a little between you fingers and it is a little stiff and creamy.
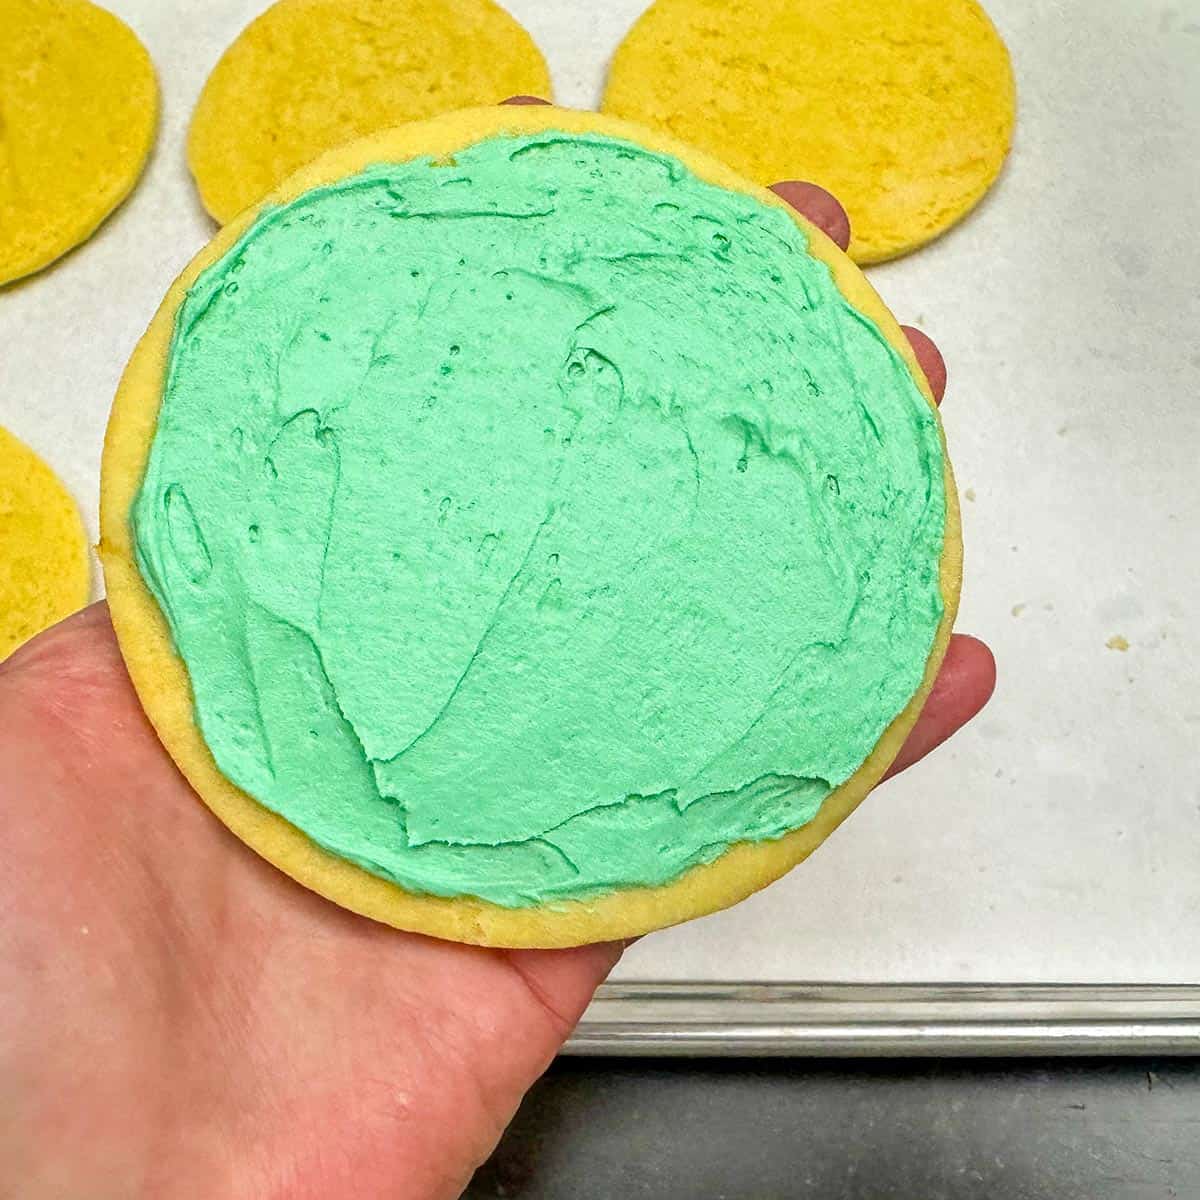
Line your cookie sheet pans with parchment paper. Spread a layer of the icing onto the cookie (about the same thickness as the cookie). Don't go totally to the edge.
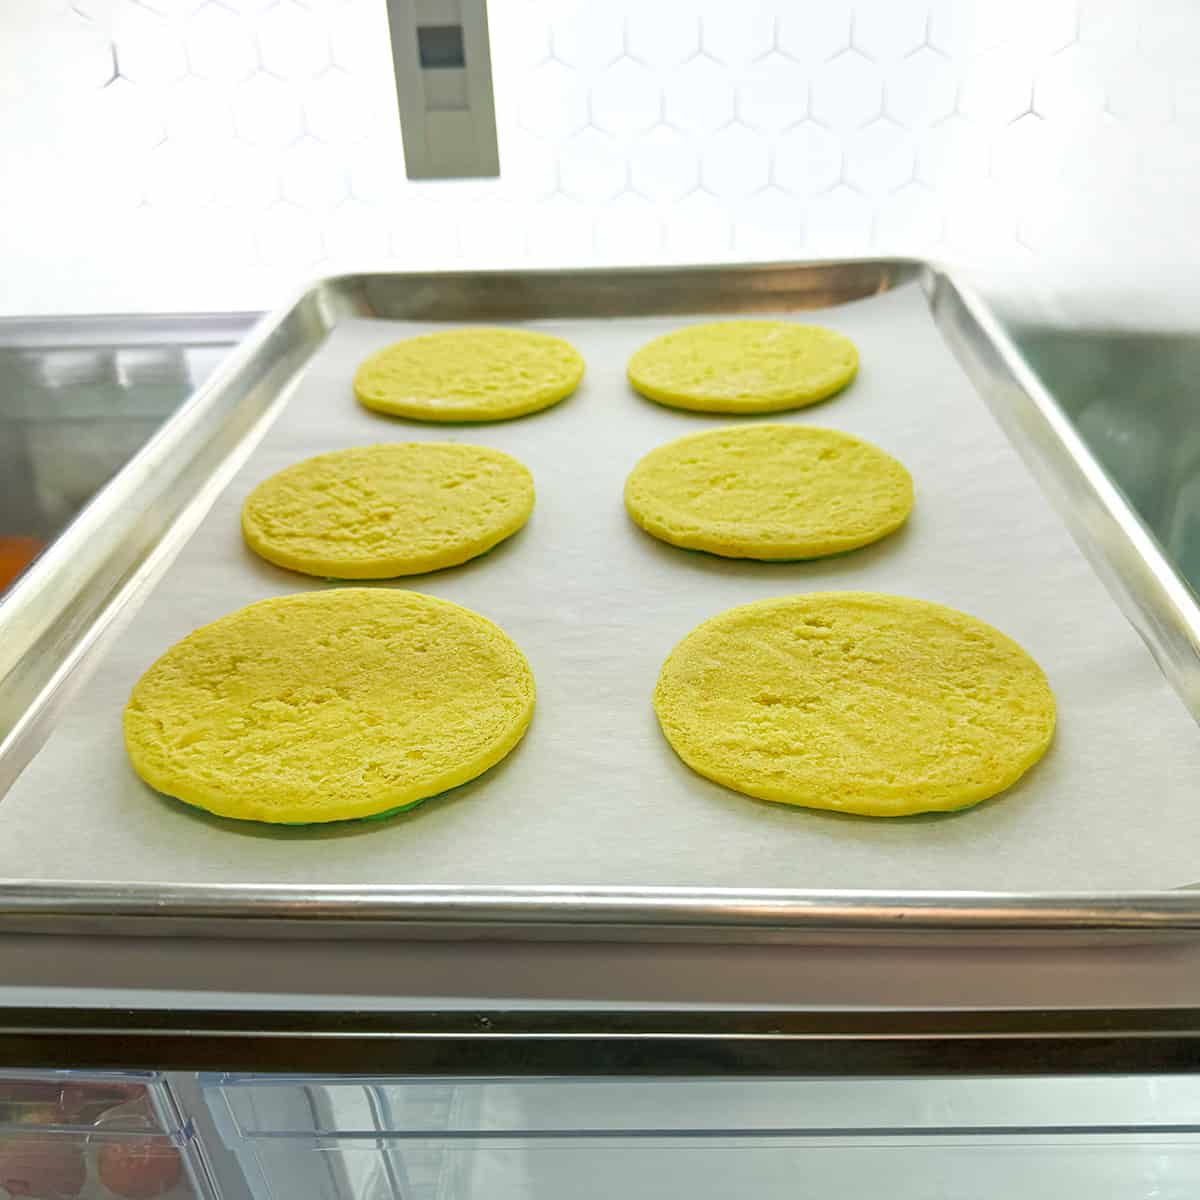
Place the cookies with the icing side down onto the parchment paper and press lightly to flatten the icing, making it easier to stencil. Place the sheet pan into the fridge for 15 minutes.
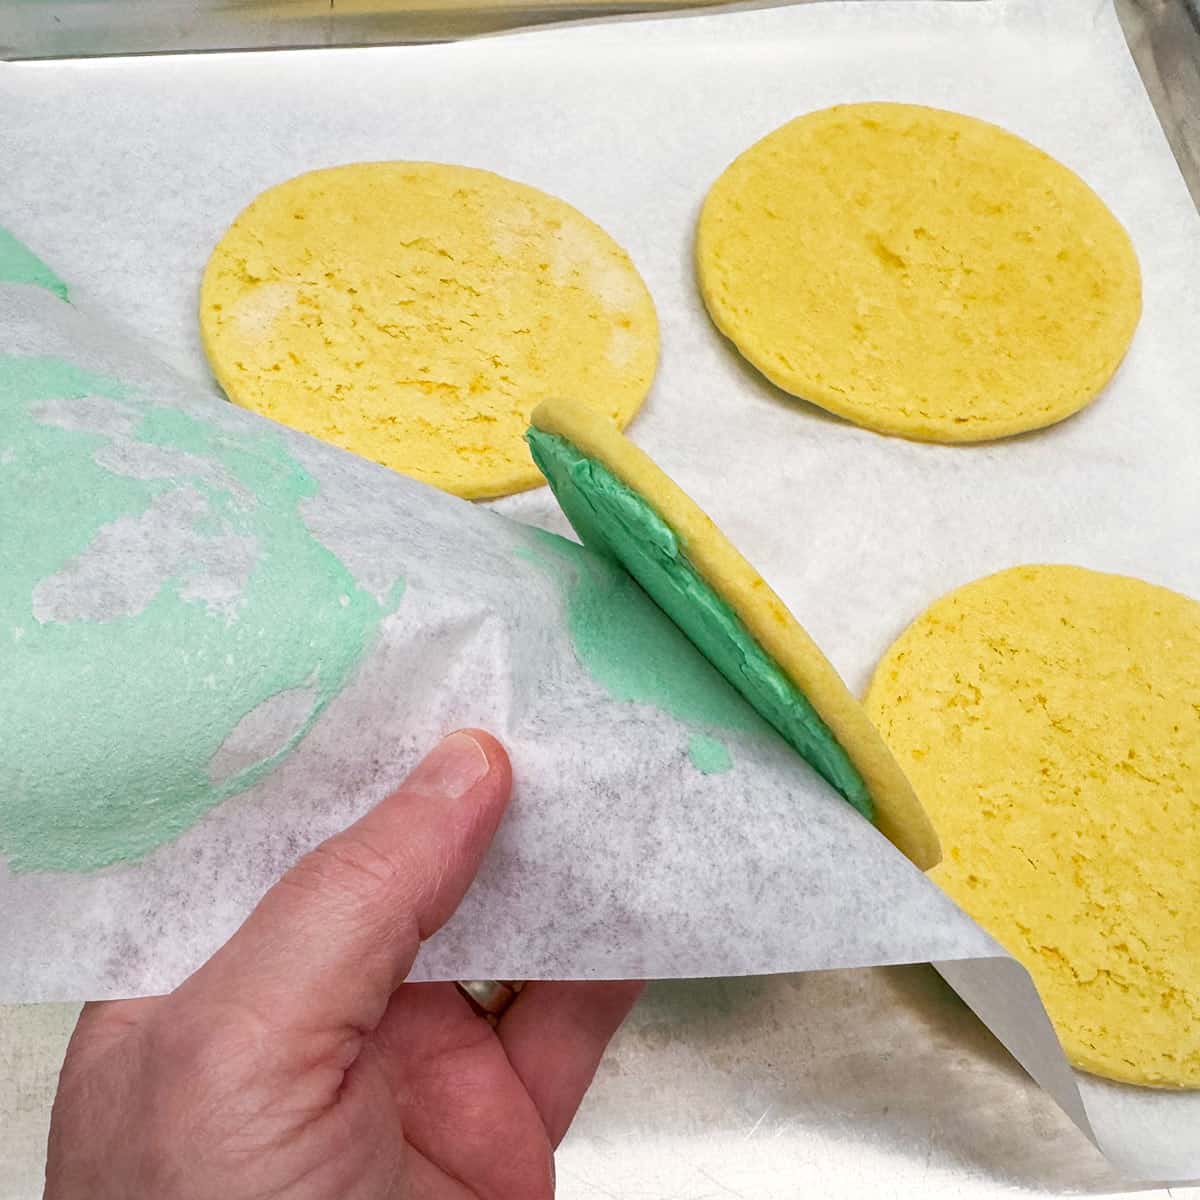
To take the iced cookies off the pan, peel the cookie off the parchment paper. You will be surprised at how solid and flat the icing becomes. It is so much easier to stencil with a solid and flat surface.
Stenciling the Cookies
Since I am not a real decorator of cookies, I could stencil some decorations on cookies for the holidays and have some cool-looking cookies. I found some glitter on Amazon called MONÉGASQUE Edible Luster Dust Glitter Set and thought I would give them a try. The glitter looks great but unsure about the brushes I picked up. So, I will be looking for a different type of brush.
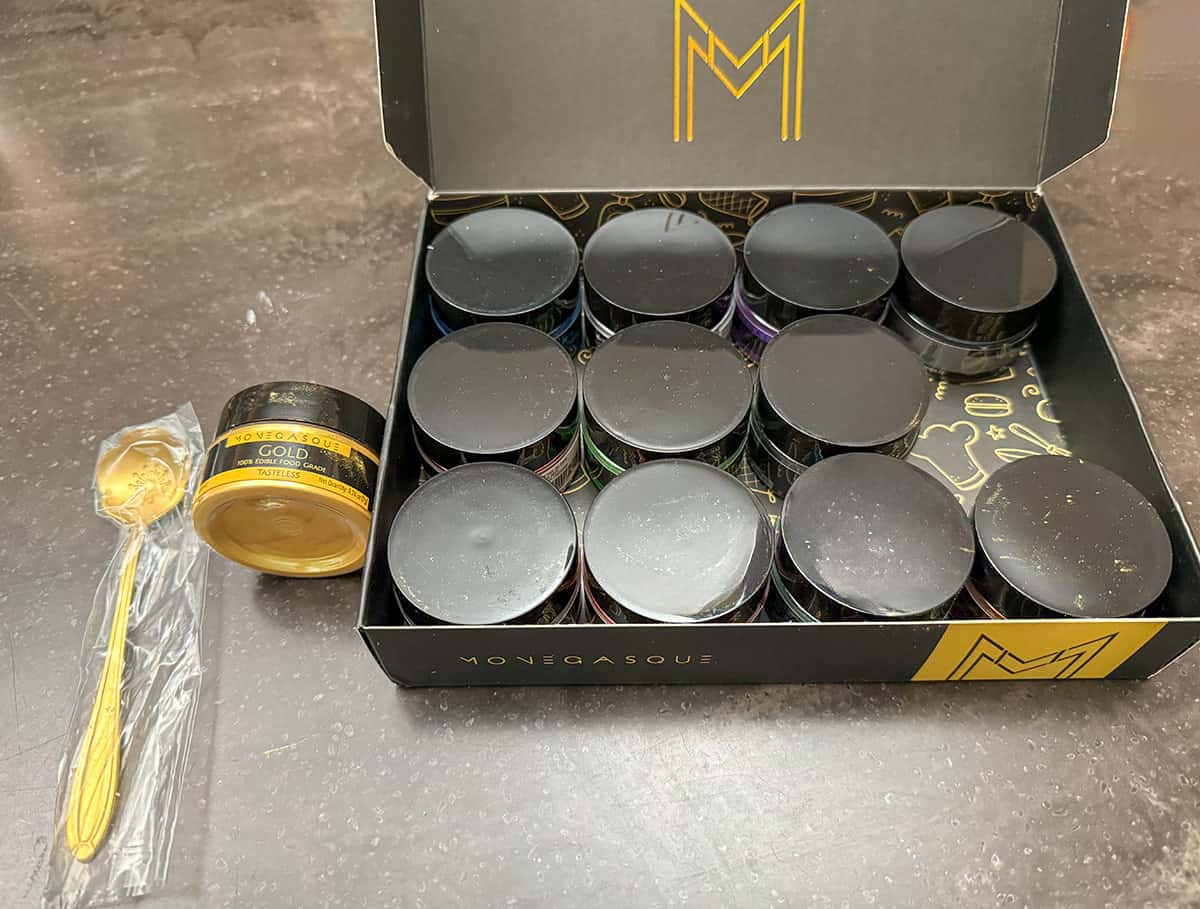
So I grabbed the gold luster dust, and the spoon made it handy to get the dust out of the jar.
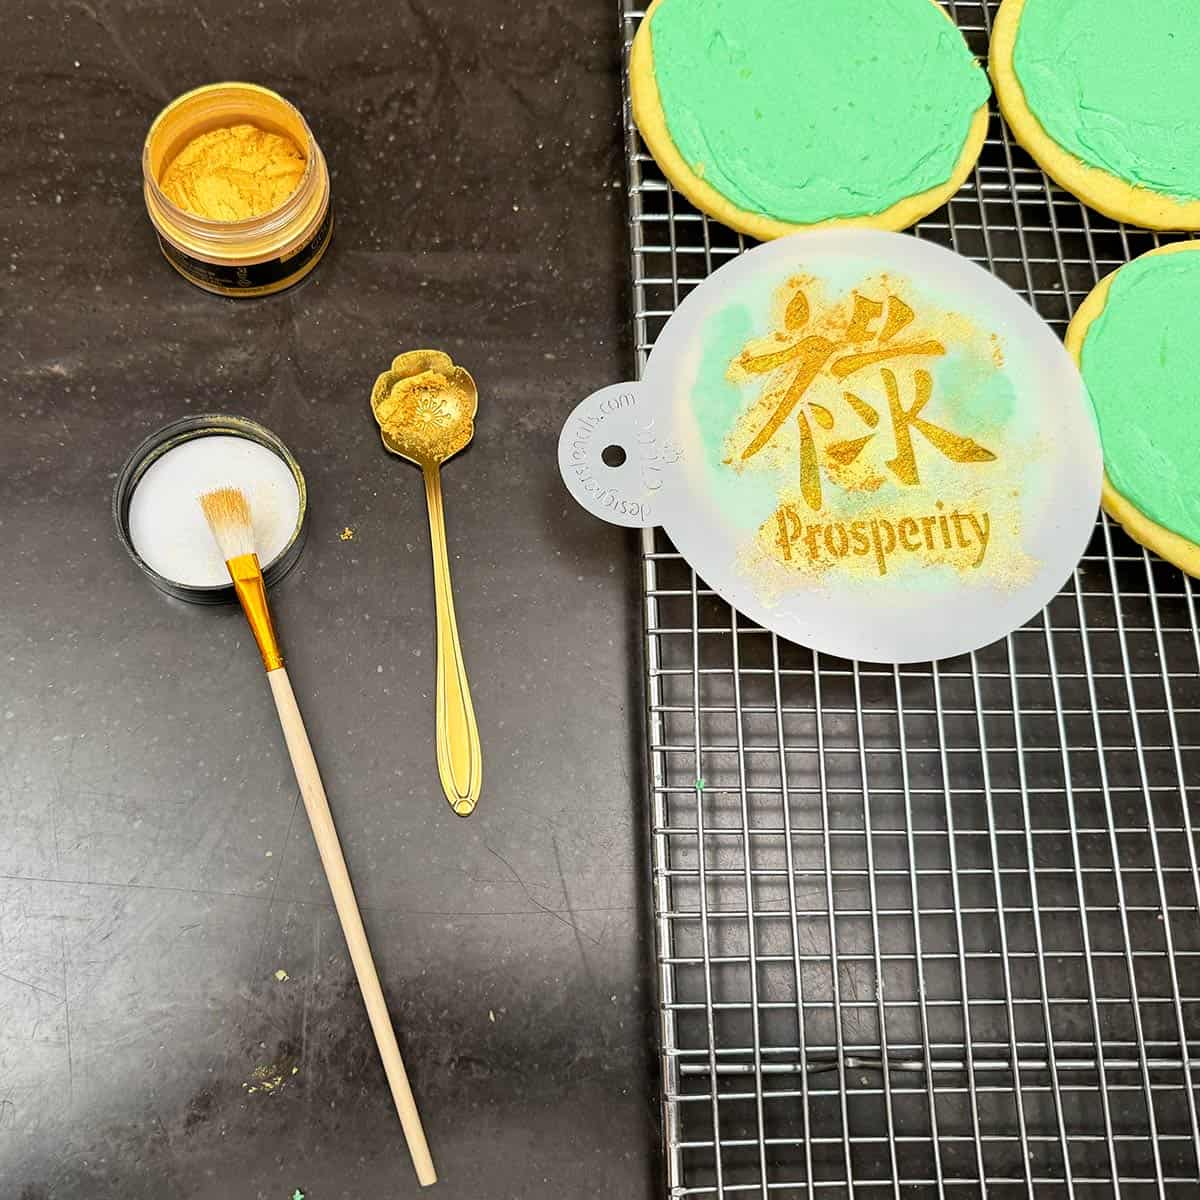
You want to lay the stencil on top of the icing. With the stencil being semi-transparent, it is easy to see the green under the stencil to line it up. The tricky part is keeping the stencil flat without the icing coming up through the openings where you want to put the glitter. If the icing does come up through the stencil, this could mean that the icing is not hard enough.
If the icing is still soft, you may have to pop the cookies back into the fridge for another 5 to 10 minutes. I dabbed the glitter over the openings while holding the stencil as flat and still as possible. It took a little practice but was much easier than I thought.

Enjoy!
FAQ's
No, royal icing would be easier to stencil, but I love and prefer the taste of buttercream icing. If you have the talent and like royal icing it is a great choice.
When stored in an air-tight container 4-6 days.
Yes, just don't add the coloring gel. I would also make the cutout cookies smaller and add more icing if you are not going to stencil them. I love orange so these are a favorite of mine.
Other Orange Cookies to Try
Recipe
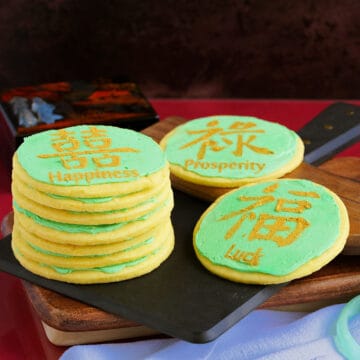
Orange Sugar Cookies with Orange Buttercream Icing
Barbara HallWould you like to save this recipe?
Ingredients
Orange Sugar Cookies
- 1 cup Butter unsalted room temperature
- 1 cup Sugar white
- 1 Egg room temperature
- 1 teaspoon Orange extract
- 1 Tablespoon Orange Zest
- 3 cups All-purpose flour
- 2 teaspoons Baking powder
- ½ teaspoon Kosher Salt
- 1 drop Yellow coloring gel
Orange Buttercream Icing
- ½ cup Butter unsalted room temperature
- 2 cups Powdered sugar
- 1 teaspoon Orange extract
- 2 Tablespoons Orange juice
- 1 drop Green coloring gel
Stenciling
- 1 jar Monegasque gold luster dust edible
Instructions
Orange Sugar Cookies
- Weight or measure the sugar and set it aside. Next, weigh or measure the flour, baking powder, and salt in another bowl. I run a whisk through to blend the flour mixture. Zest and juice the orange into separate bowls and set the bowls aside.
- Cream the butter for a minute or two before adding the sugar. After adding the sugar, mix on medium speed for 3 minutes or until it forms soft peaks. Next, incorporate the orange zest, orange extract, and yellow coloring gel. Finally, scrape down the sides, turn the mixer to a low speed, and slowly add the flour mixture. It will be dry and chunky looking. But if you put some between your fingers, it will remind you of play dough.
- Dump the cookie dough onto a pastry mat and knead it together until it becomes a smooth, short-log shape. Divide the dough in half and flatten each half into a disk before wrapping it in plastic wrap. Refrigerate for 30 minutes.
- I sprinkled powdered sugar on a pastry mat before adding one of the cookie dough disks, then dust the top of the disk with powdered sugar. I am using a 3/16" band on the ends of my dowel and a 4" round cookie cutter. This will give me a big enough circle to use the stencil.
- I got six cookies to a parchment-lined sheet pan. Bake at 350°F (175°C or 180°C) for 8-10 minutes. Leave the cookies on the pan after taking them out of the oven; moving them after they cooled on the sheet pan is easier. Then, move to a cooling rack. You need the cookies solid before icing and stenciling them.
Orange Buttercream Icing
- Weigh or measure the powdered sugar into a bowl and set it aside. Cream the butter for a couple of minutes, then add the powdered sugar along with the orange extract and orange juice, mixing on a low mixing speed until incorporated. Then, turn the mixer speed to medium-high for 3 minutes. Stop and scrape down the sides before adding the green coloring gel. Turn the mixer to a medium-high for 5 minutes or until it is a little stiff to the touch.
- Have a parchment-lined sheet pan ready. Add a smooth layer about the same thickness as the cookie, but leave a little open around the edges. You want to lay the cookie with the icing side on the parchment paper and the bottom of the cookie up. Then, gently press down on the cookie evenly. This helps to spread the icing and make the surface flat for the stenciling. I got 6 cookies on a sheet pan. Pop into the refrigerator for 15 minutes. Peel the cookies off the parchment paper; the icing should be firm. If not, place it back into the fridge for another 10 minutes.
Stenciling Cookies
- I used gold luster dust and a brush to apply the gold. Center the stencil over the green icing and dab the gold over the cutouts on the stencil. I try not to use a bushing stroke. It seems to brush the icing too much and smear. Try to hold the stencil using one hand and dab it with the brush using the other. I leave the cookies on the rack to harden a little before storing them in a container. I also use a half sheet of parchment paper between the layers.
Share this recipe
NUTRITION DISCLAIMER
I am not a certified Dietitian or Nutritionist. The nutrition amounts given below are provided through a program and are only a guideline.

Leave a Reply