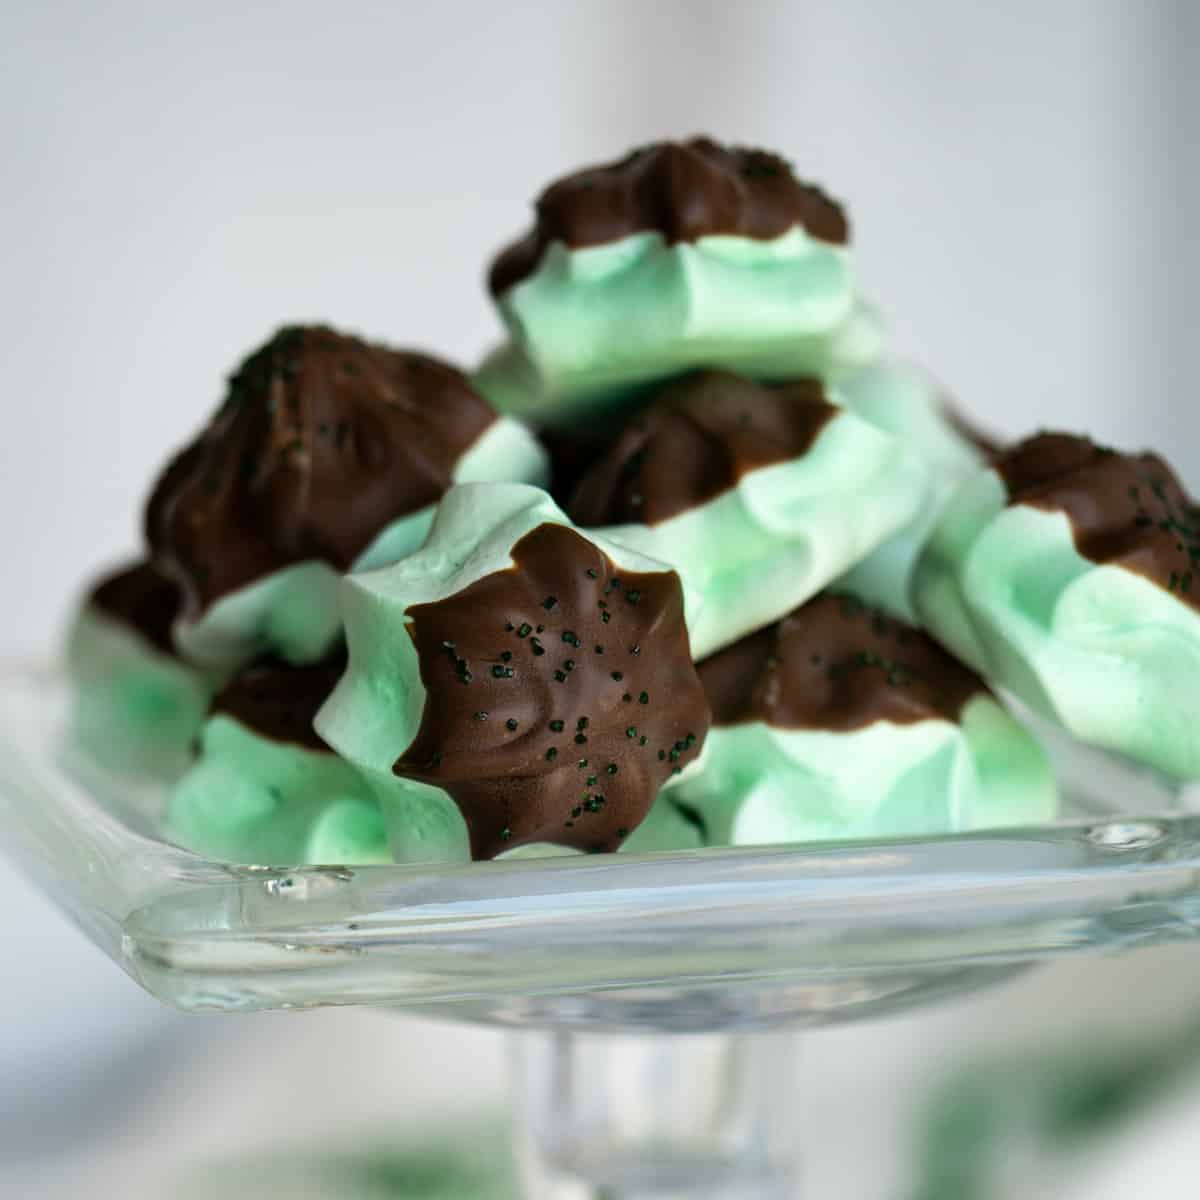
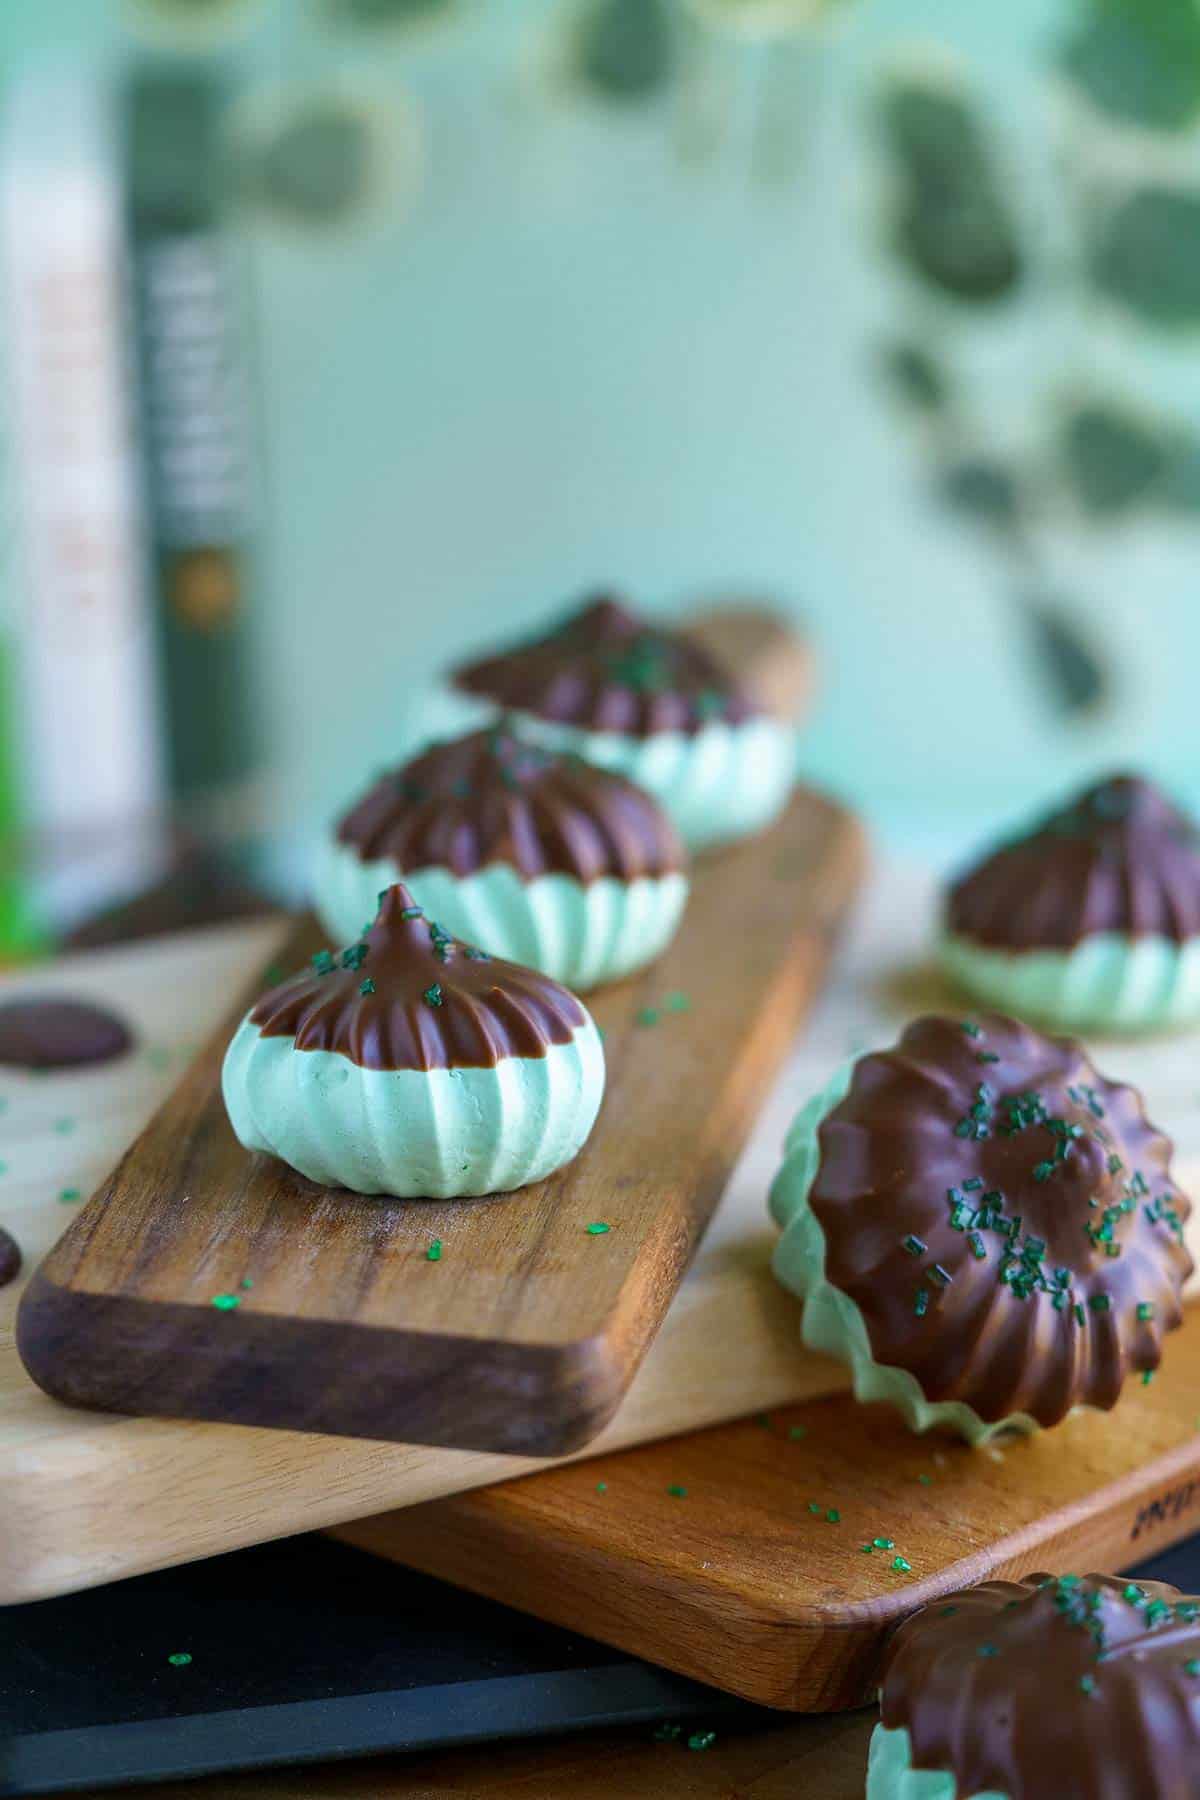
Mint and chocolate are perfectly matched when you want something refreshing and sweet. Of course, what can you say about the light and airy meringue except for yummy? So, I put the two together for an Irish Mint Chocolate Meringue Cookie.
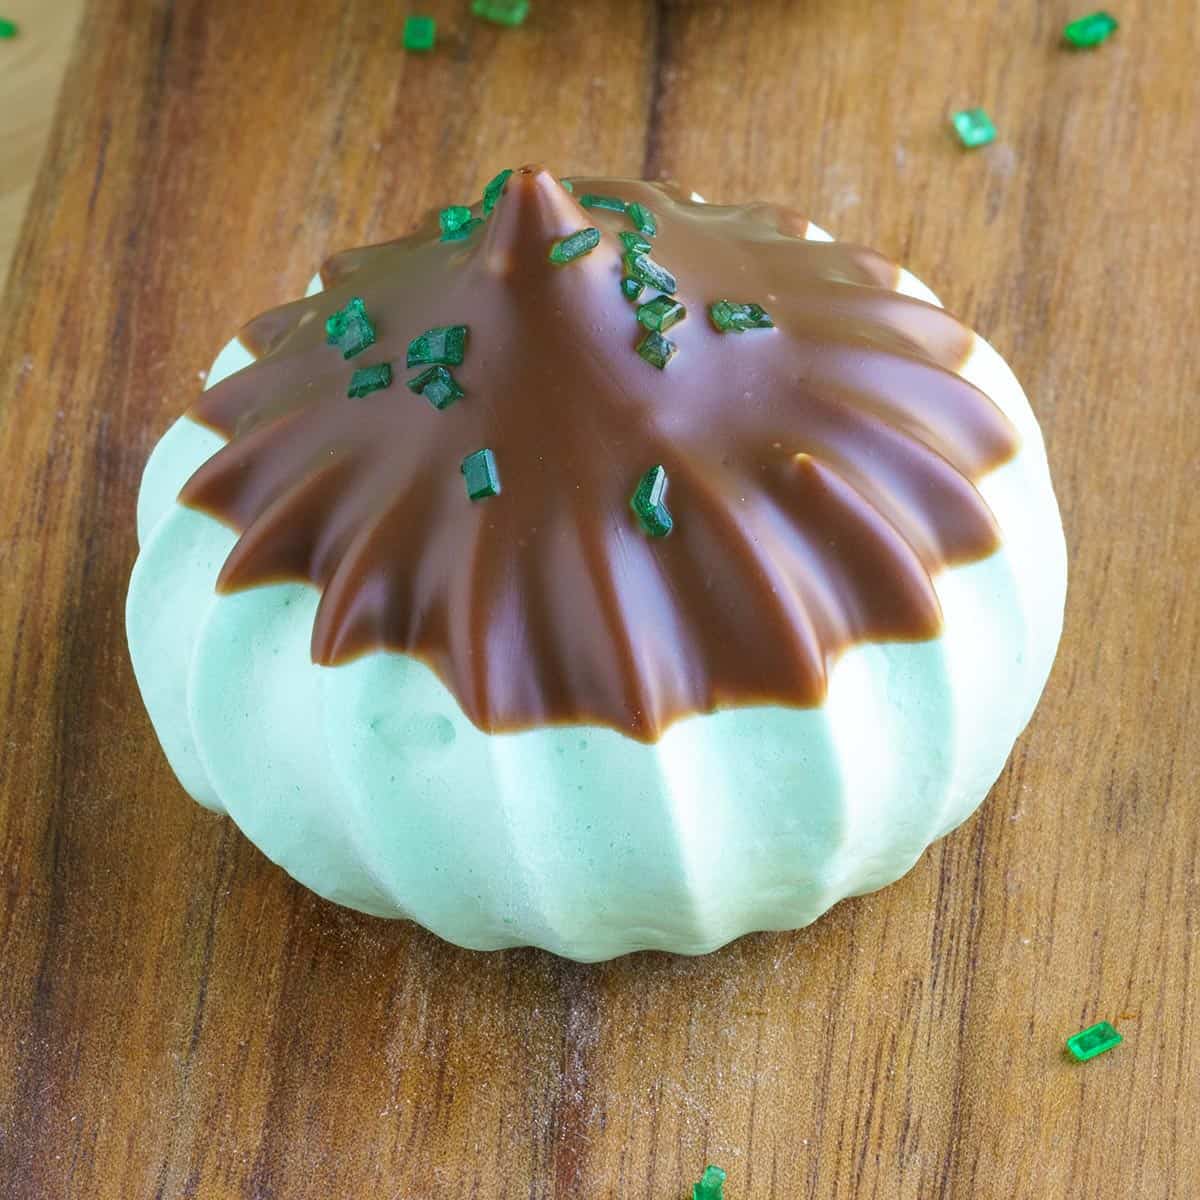
When I was shopping, I found mint and peppermint extract and didn't know which one I wanted to use; I chose mint. Of course, when you think of mint, you think green. So this is how I decided for my St. Patrick's cookie.
Jump to:
Ingredients You Will Need
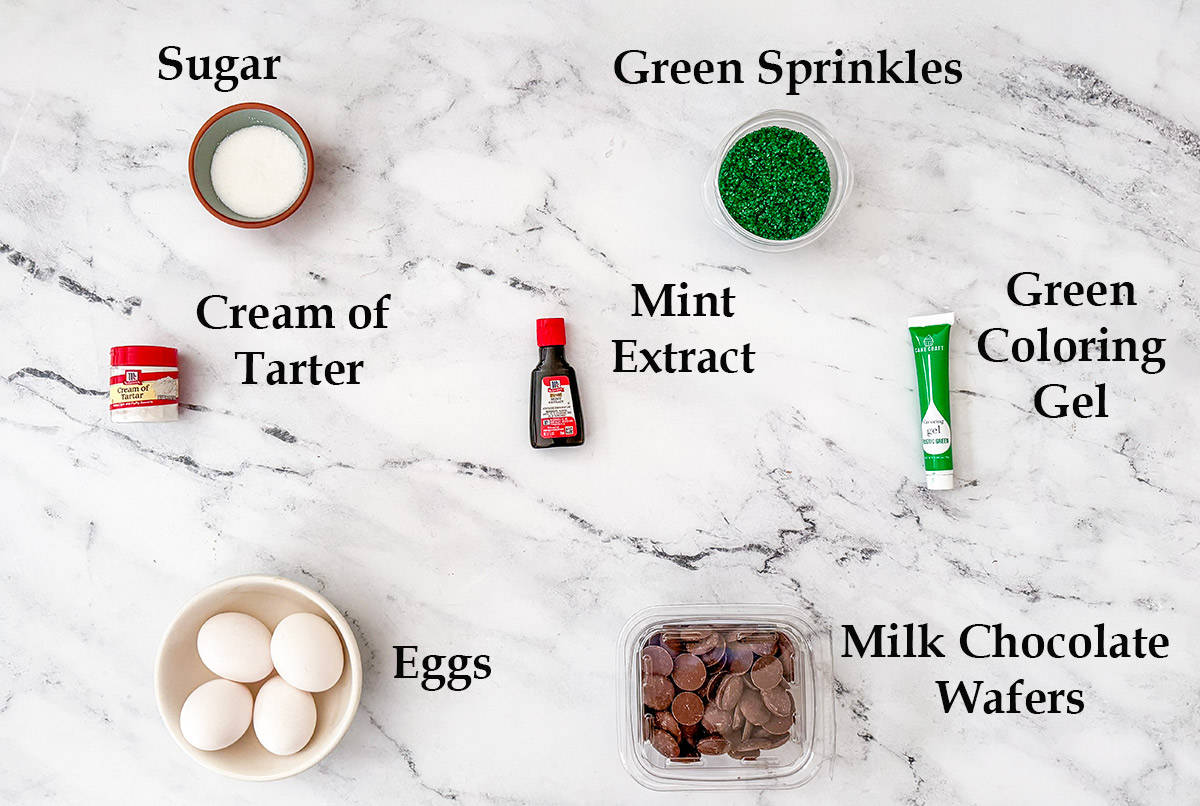
- Egg whites
- Cream of tarter
- Sugar white
- Mint extract
- Coloring gel green
- Milk chocolate wafers
- Colored sugar green
Open or Closed Star Piping Tips
If you are new to piping and tips, here are the two types I have used for this cookie. I did use two different green coloring gels since these cookies were made at different times.
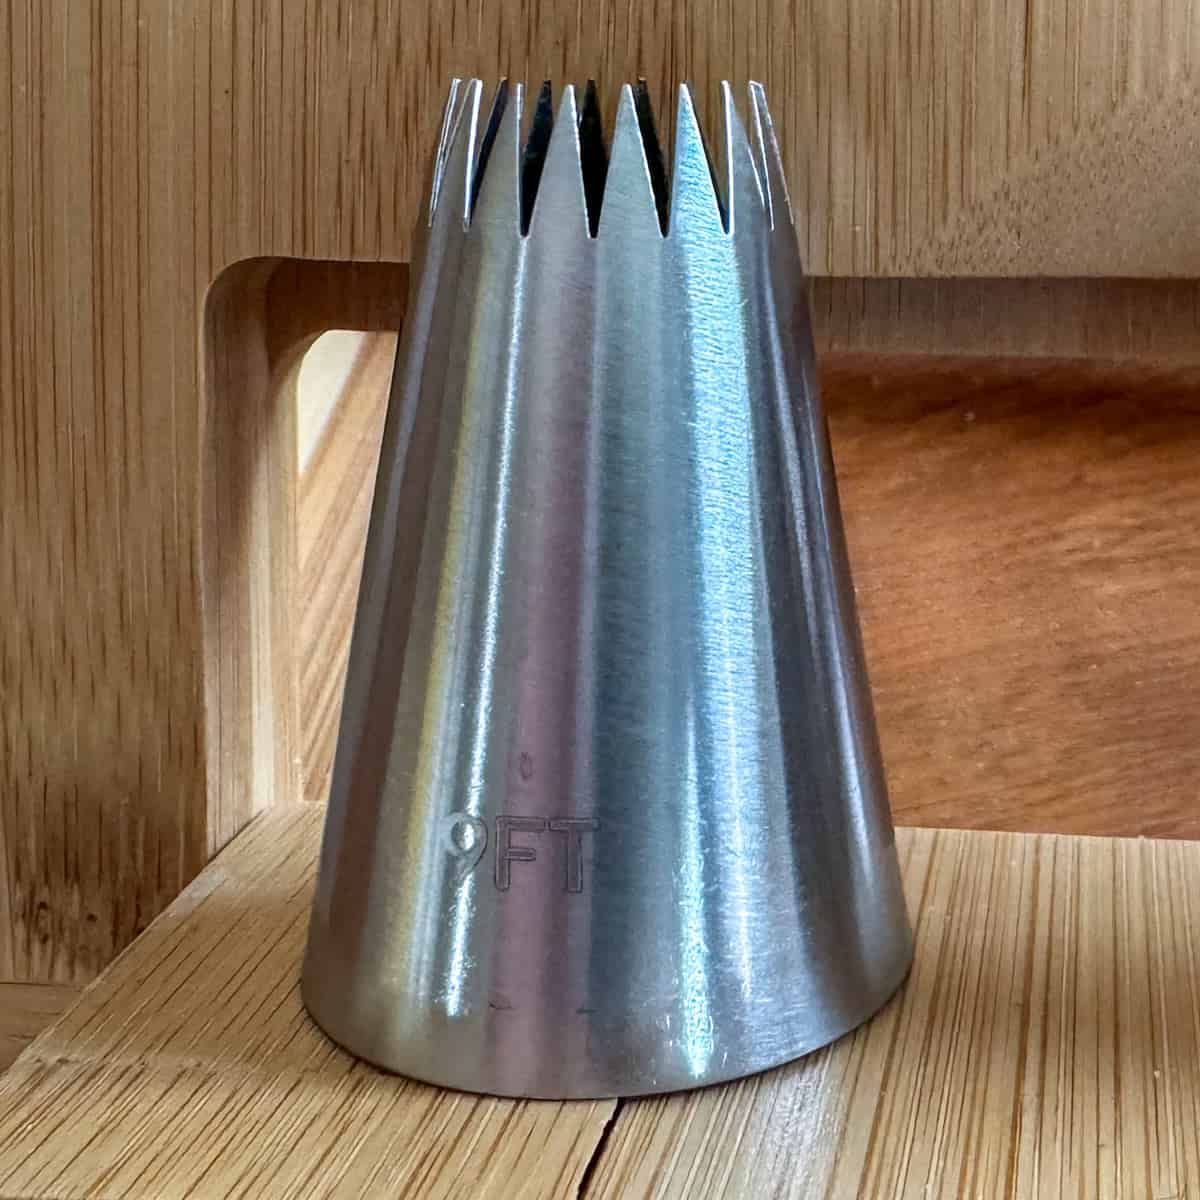
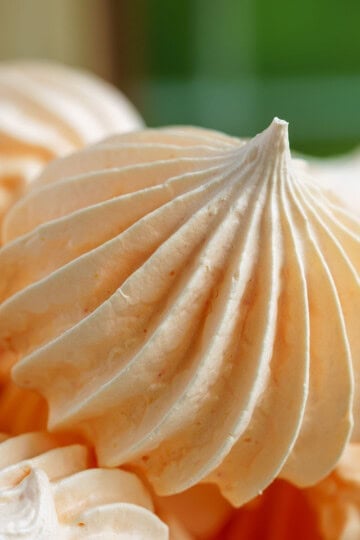
This is a large open star tip.

When piping with this tip, you get close-together ridges. One thing to be aware is when you are piping the cookie with this tip, you end up with a small peak at the top. When dipping the cookie into the chocolate, you may need to break the tip off so it will go down far enough into the chocolate. But it is a pretty pattern.
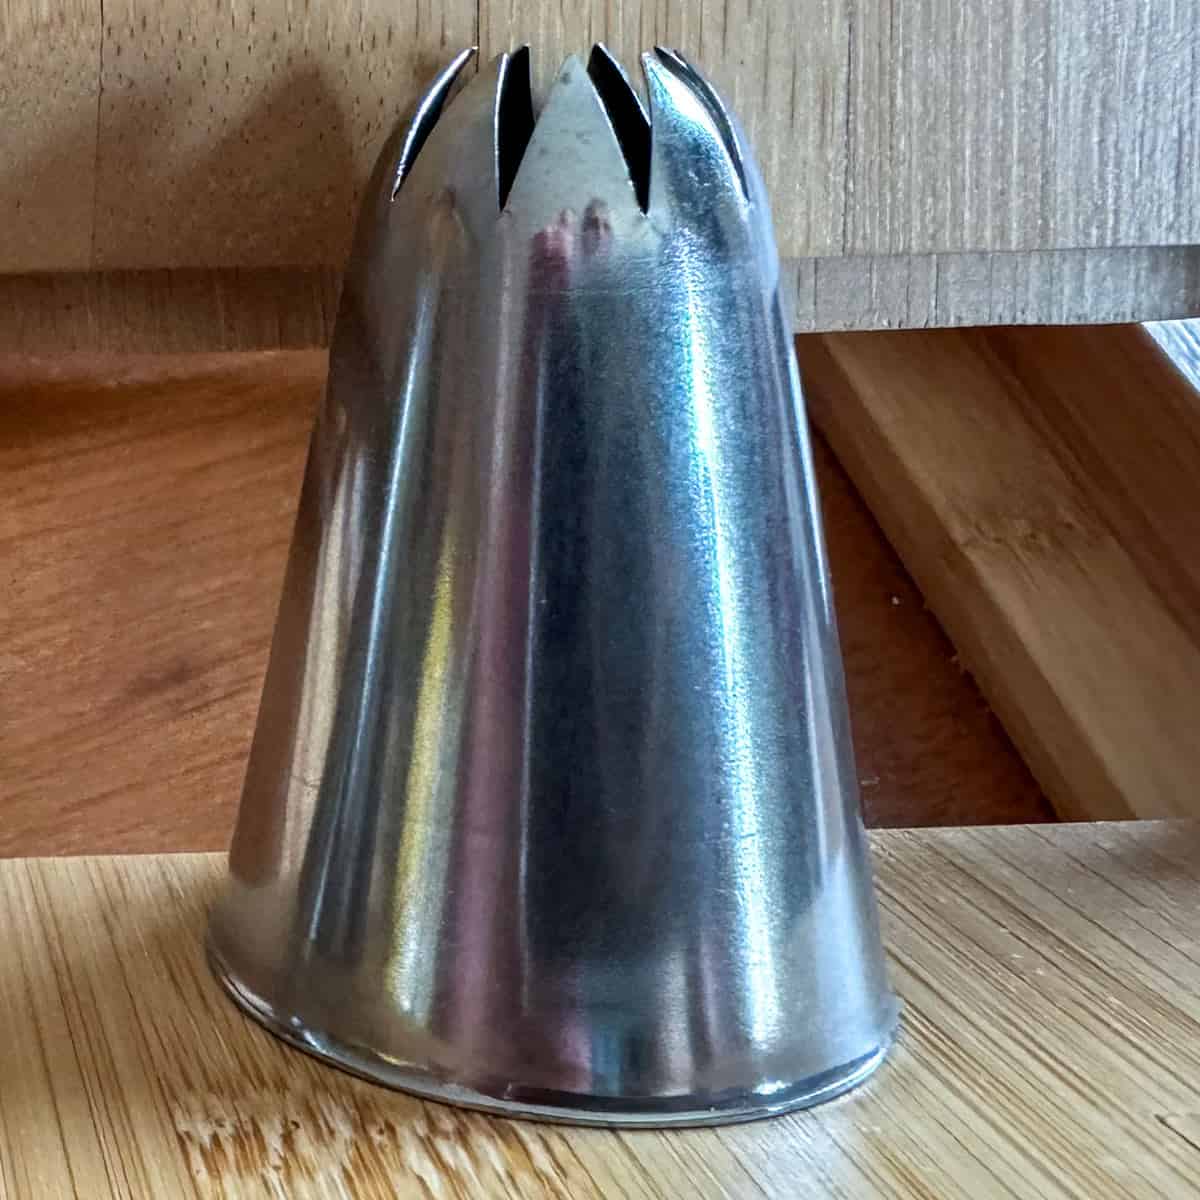
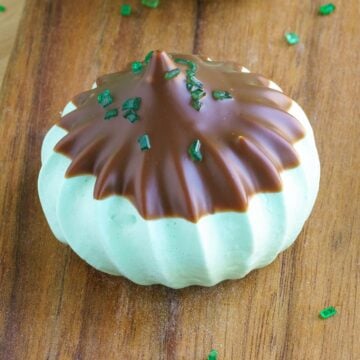
This is a large closed star tip.
The ridges are further apart, and you get that 7-pointed star. You do not get the peak at the top like you do with the open star so it is easier to dip the top of the cookie into the chocolate.
No matter which tip you use to design your cookies, you can't go wrong with either one.
Making Meringue Cookies
Making meringue cookies is not hard, but you want to make sure you do everything you can to ensure success. A clean mixer bowl and eggs with only the whites and NONE of the yolk is a great start.
Prepping
I always start by cleaning my mixer bowl. After I wash the bowl and dry it, I take a paper towel, dab it with a little white vinegar, and wipe it around the bowl to get any residue of grease (oil or butter) that may be lingering. Then, wipe it dry.
Next weigh or measure the sugar into a bowl and set it aside.
Now, I set up three bowls for the egg whites to separate the egg yolks from the whites. I use an egg separator which you can usually pick up at the grocery store. They are pretty cheap and will make this part a lot easier. For meringue cookies you do not want any egg yolk in with your egg whites.

Here is my three bowl method:
- Bowl 1 - I use this bowl to separate the egg yolk from the white.
- Bowl 2 - After separating the egg, the yolk goes into bowl 2. The egg white in bowl 1 is checked to make sure that it is free of any egg yolk.
- Bowl 3 - If the egg white in bowl 1 is clean, it is added to bowl 3. This bowl will hold all the accumulated clean egg whites.
If you break a yolk, you only have to discard one egg instead of everything you had done to that point.
Let's Make Meringue Cookies
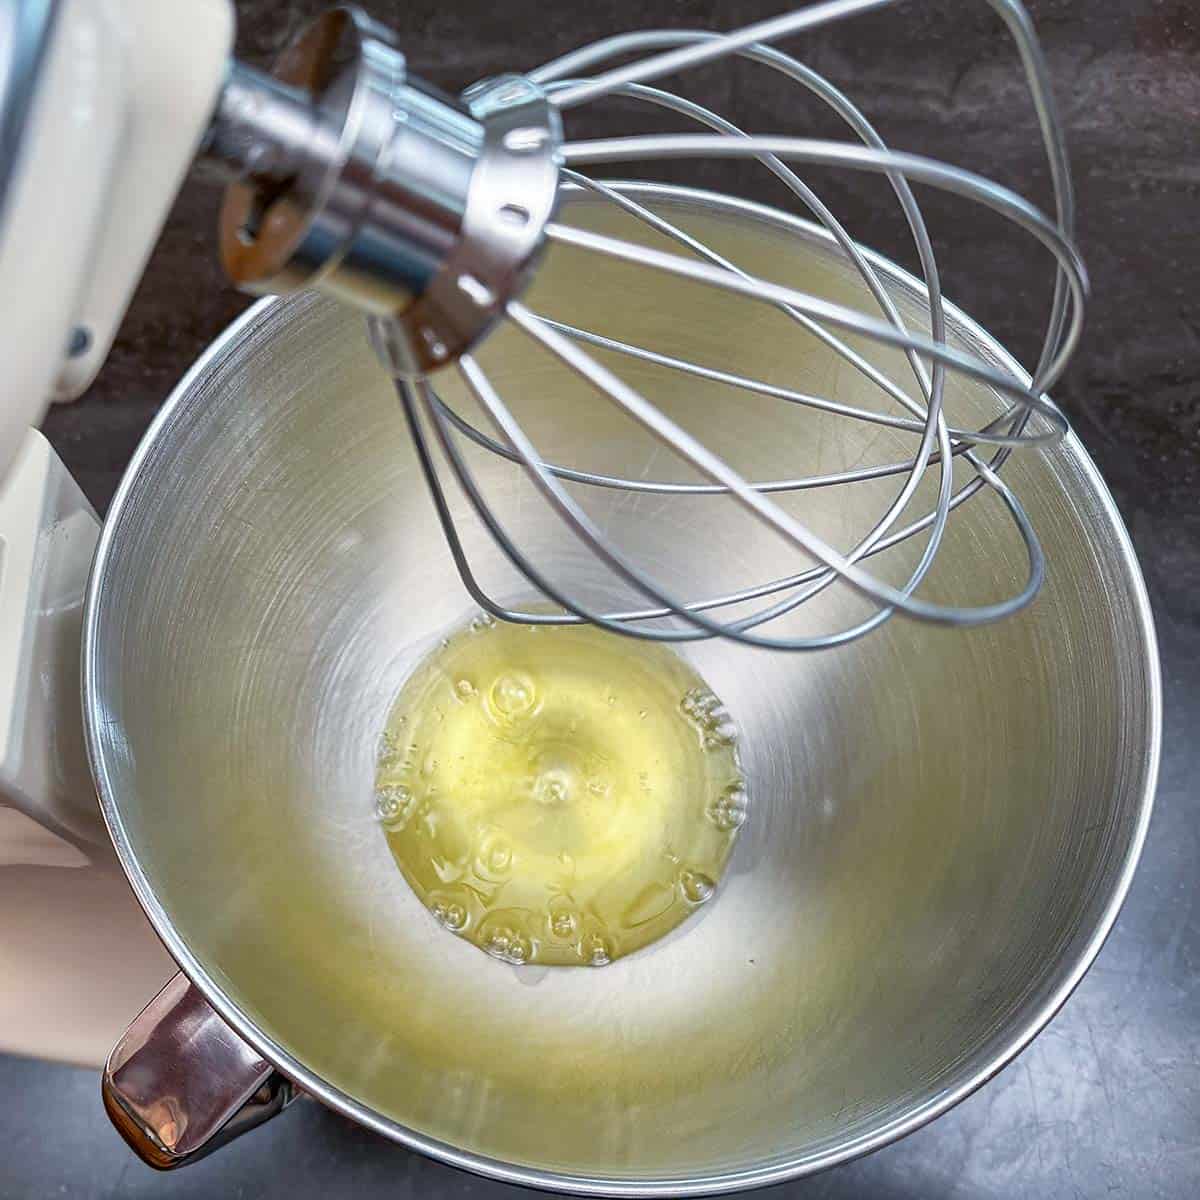
Add the egg whites to your mixer bowl, and you have the whisk beater attached. Whip for a minute or two at medium mixer speed until the egg whites are frothy.
Next, add the cream of tartar and the mint extract. You want to turn the mixer to a medium-high setting and mix for about a minute.
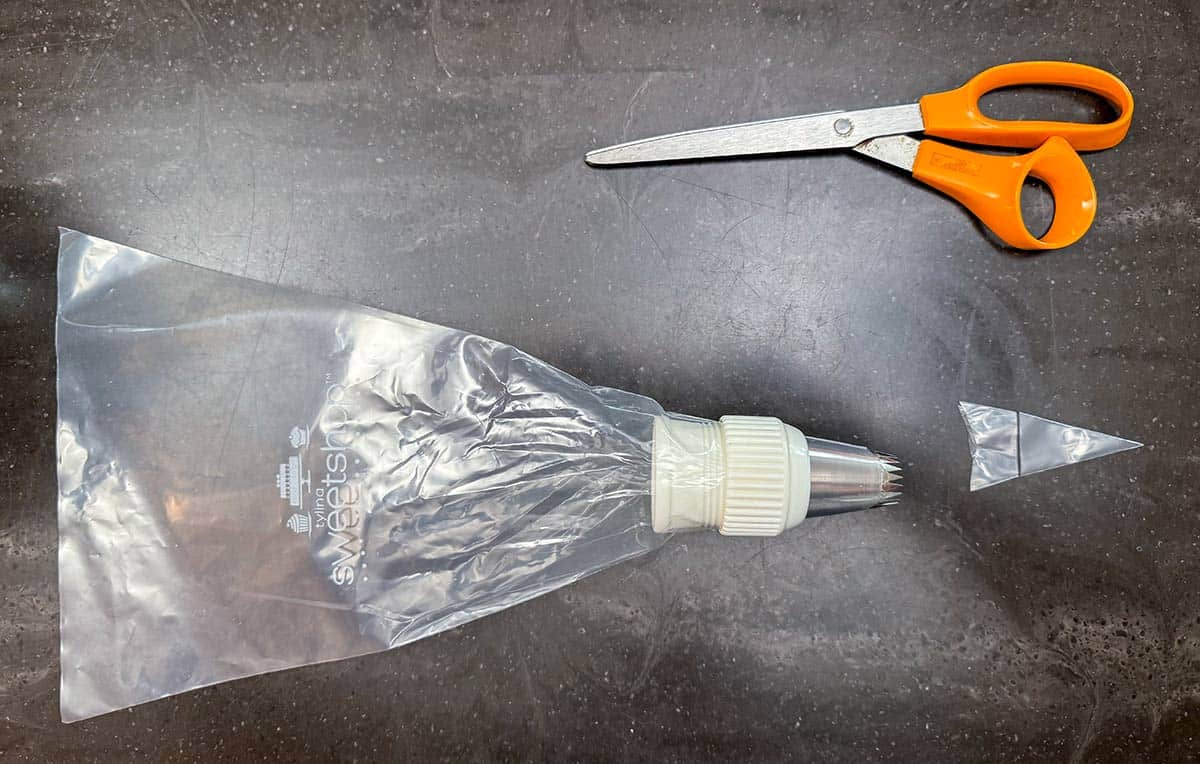
I try and get my piping bag ready while my mixer is whisking the meringue.
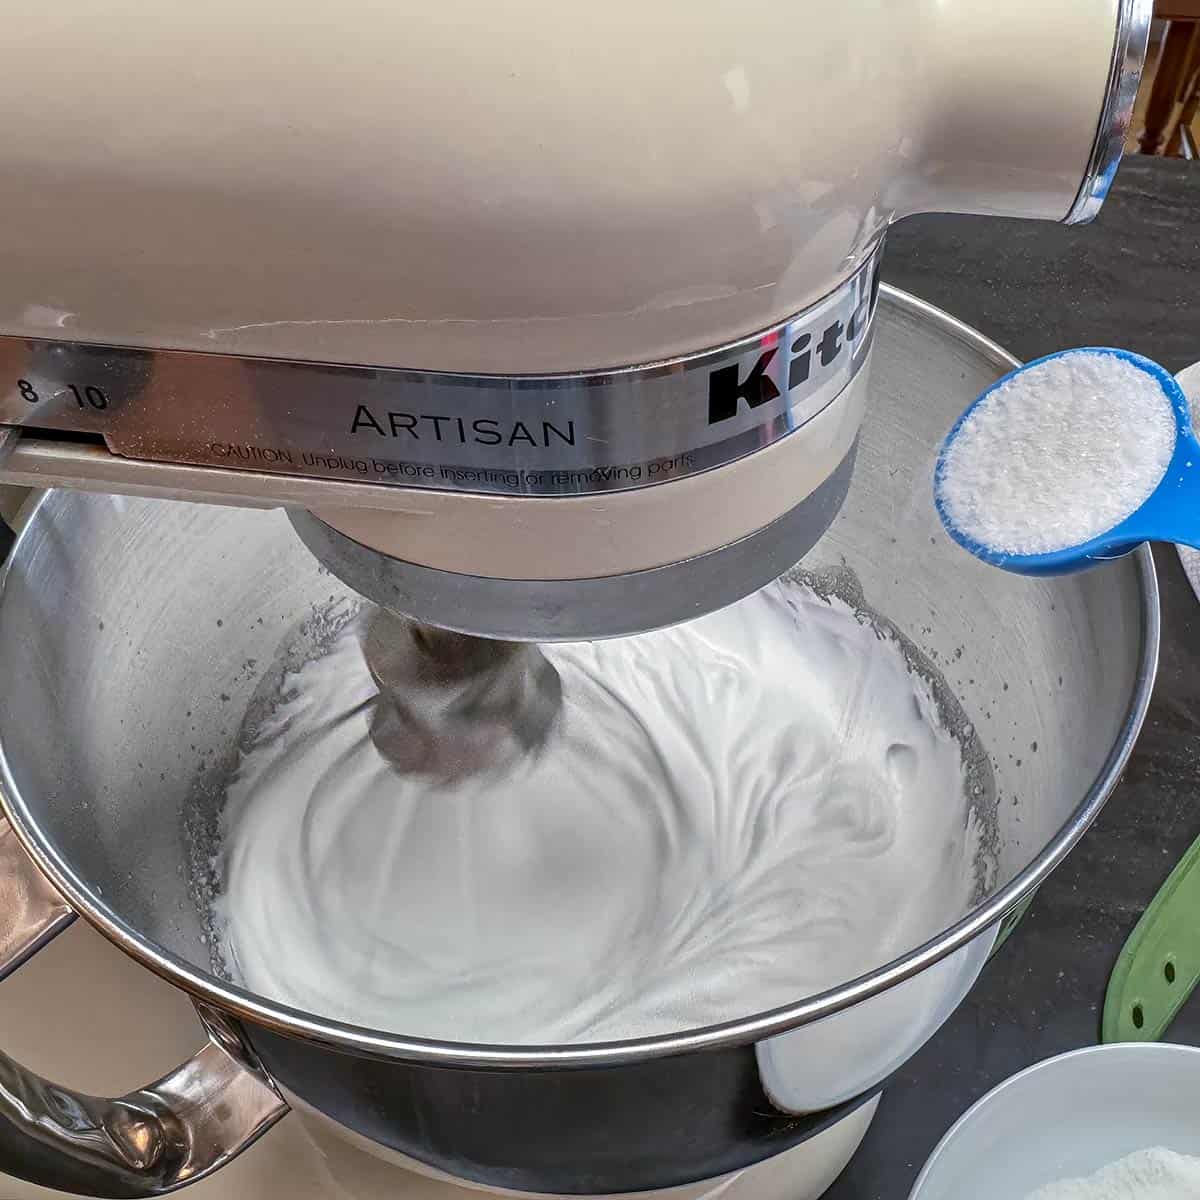
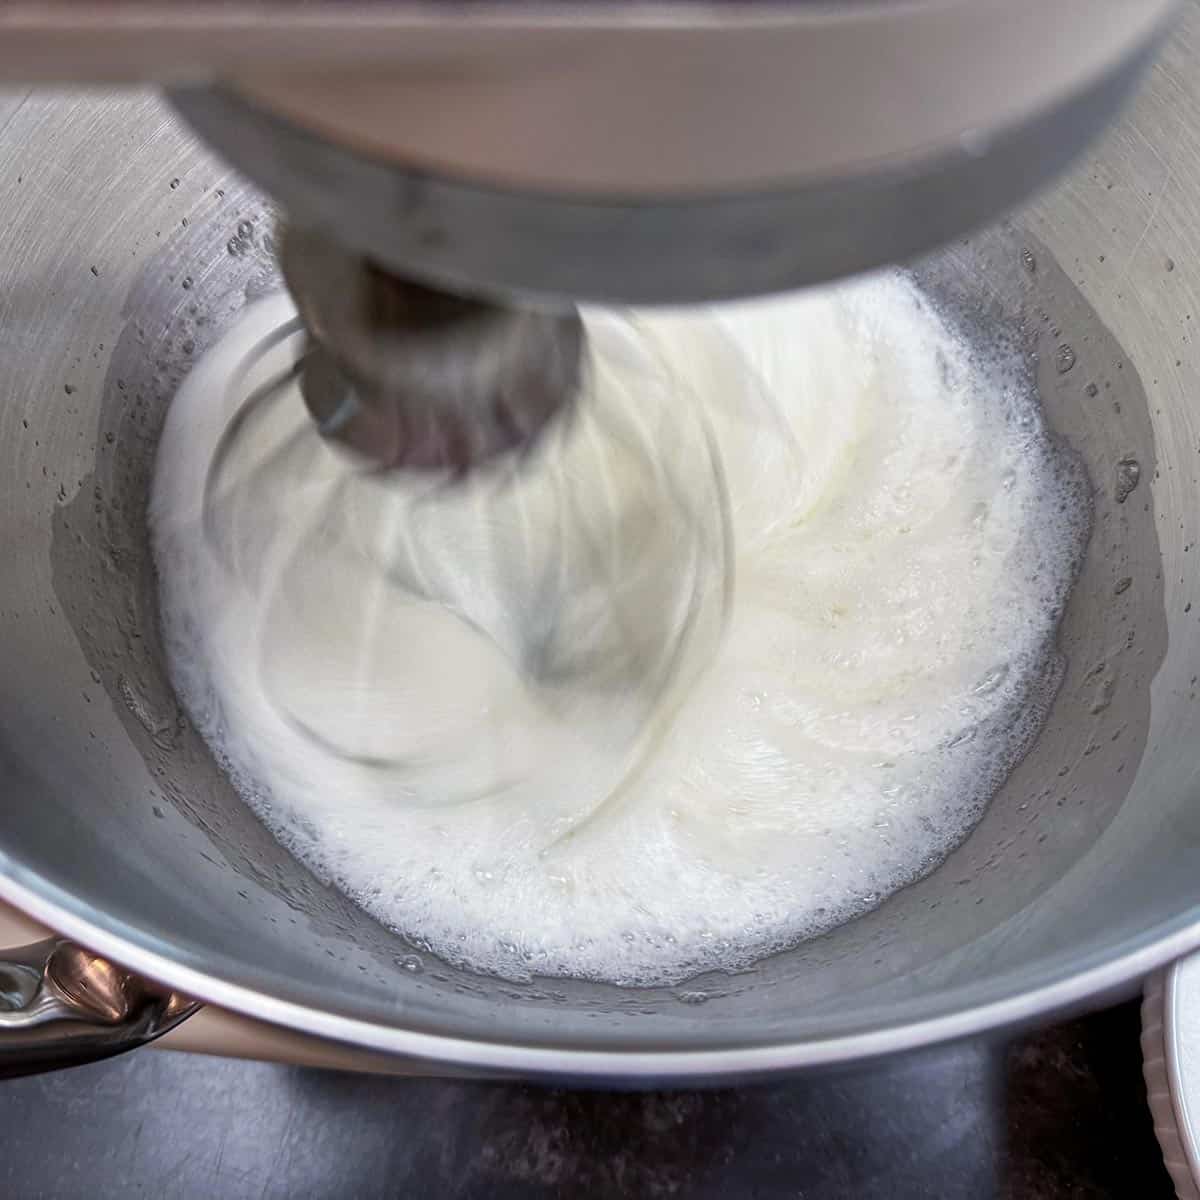
Keeping the mixer speed on a medium-high start to add the sugar 1 tablespoon at a time. This is an important step - Add the sugar a little at a time from the spoon. You want the sugar to incorporate into the egg white. This step should not be rushed or you will get grainy meringue. After the sugar is all added turn the speed to high. Whip for 6 minutes.
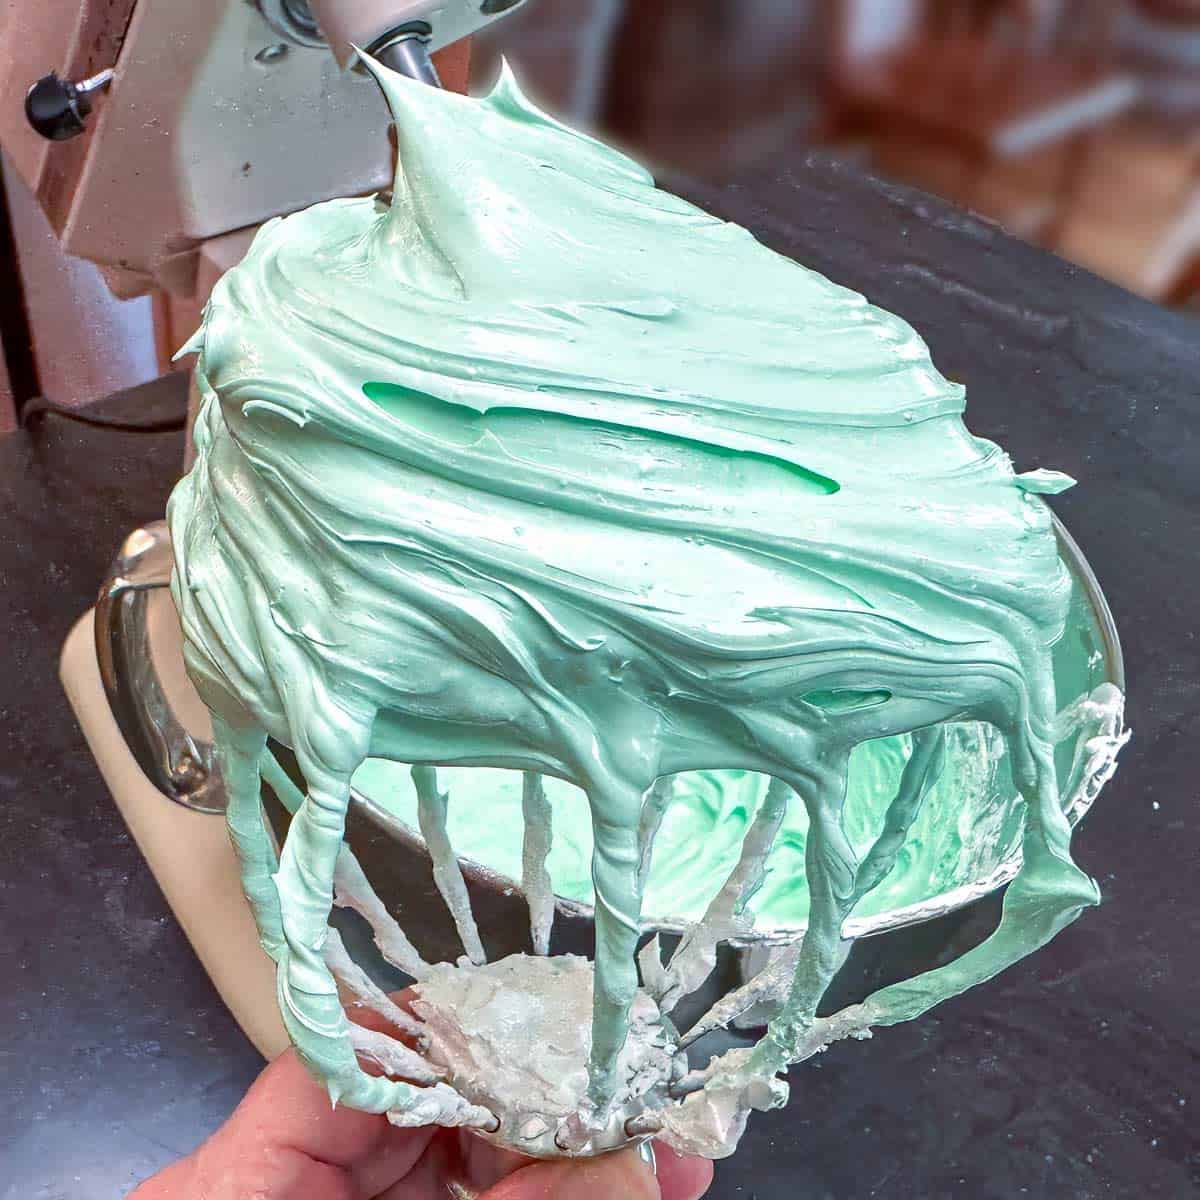
You should have at least soft peaks (peaks bend if the attachment is turned upside down) after 6 minutes, so stop the mixer and add the 1 or 2 drops of the coloring gel. Scrape down the bowl and return the mixer to the highest speed. Mix for 5 to 7 minutes to reach that stiff peak stage. I test for stiff peaks by turning the attachment right side up and making sure the meringue does not bend at all. I also take a little and rub it between my fingers, it should be silky and not gritty. If it is still gritty, whip the meringue for another few minutes.
Piping and Baking Meringue
Preheat the oven to 225°F (110°C) and line two sheet pans with parchment paper.
I did use a large open star tip for this meringue cookie. My meringue never all look the same when I am piping them out; I will never win a perfect full batch of meringue cookies contest. But this is what makes them special.

I had to fill the piping bag twice to use all the meringue. When piping the cookies, I leave a little more space down one side of one of the pans.
Baking Meringue
I leave a little room down the one side so I can slightly overlap them in the oven, but you can put the sheet pans on 2 racks if one is right under the other. I find it easier to do the overlap trick since the meringue does not move once it is piped.
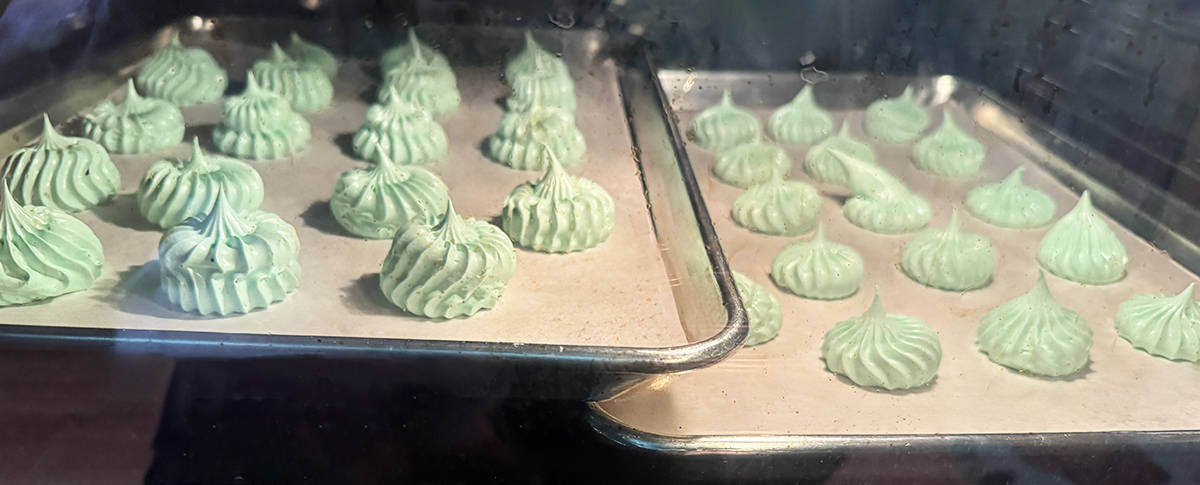
Bake at 225°F (110°C) for 45 minutes, then turn the oven off. Do not open the oven door! Let them sit in the oven for 2 hours. If you peak, the middles may collapse, and you will lose the drying out time for your meringues. The cookies need this time to dry.
The cookies are done when they pull off the parchment paper with no resistance, and they are as light as a feather.
Chocolate Caps on Meringue Cookies
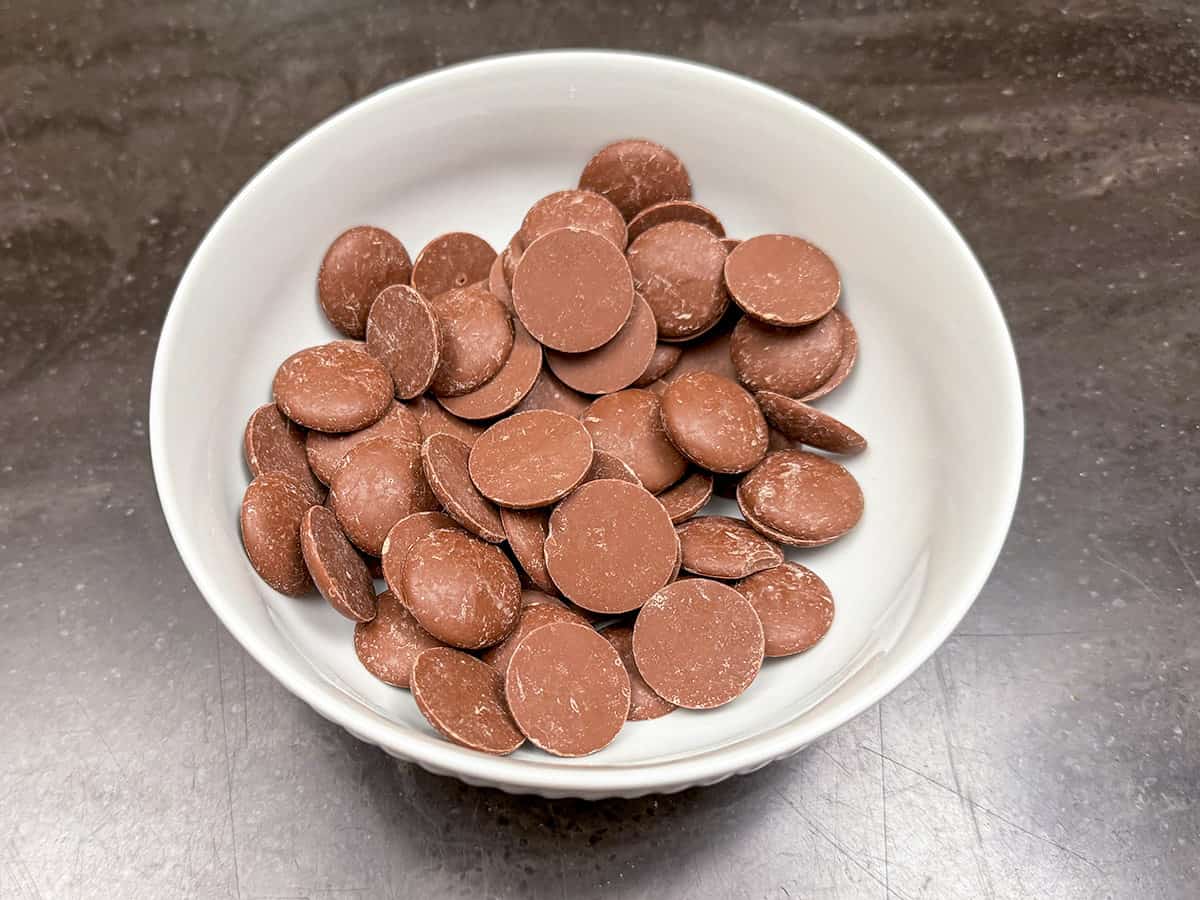
Add the coating chocolate wafers to a microwaveable bowl. Heat for 30 seconds. The wafers will still be in this shape but slightly soft. Stir and then heat for 15 seconds. Stir and ¾ of the wafers are really soft and becoming more liquidly.
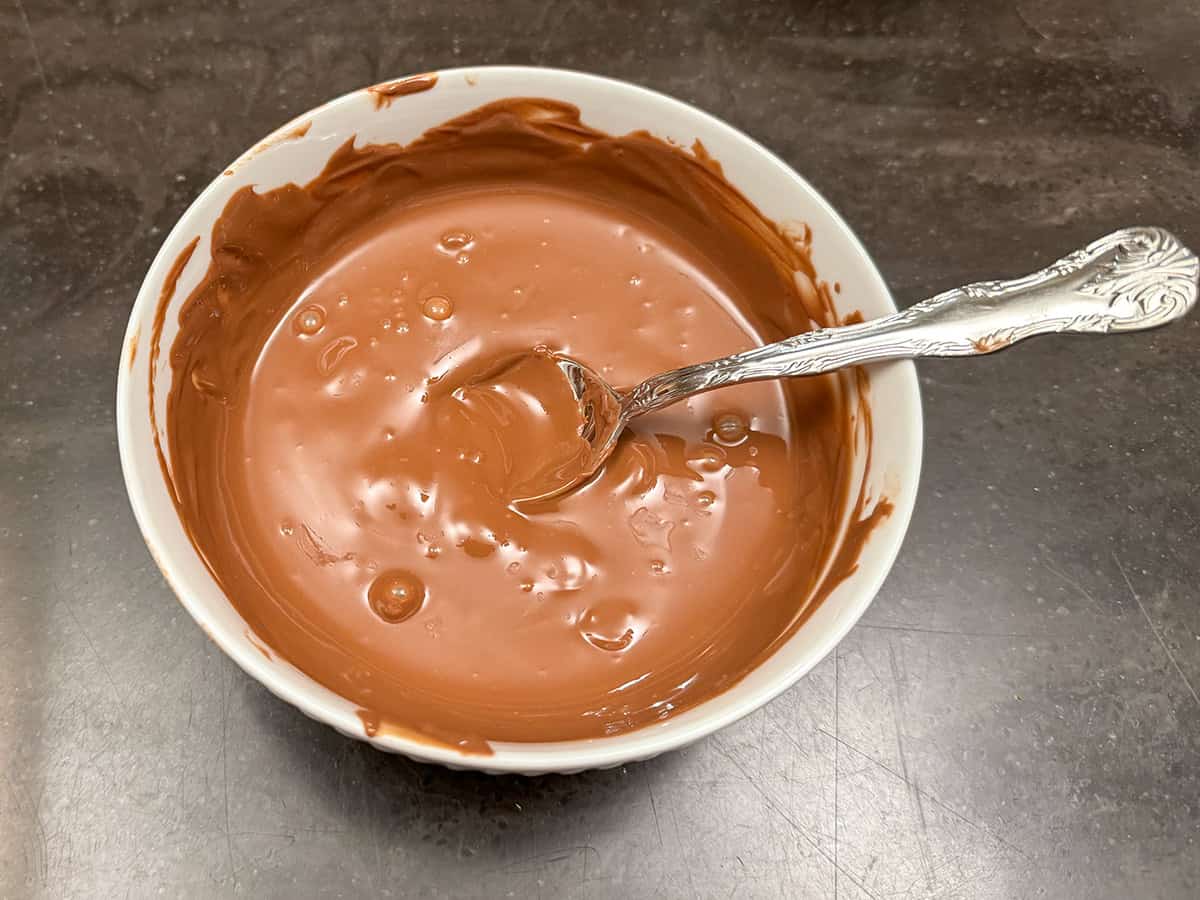
Heat for another 10 seconds and stir again. You may have some small wafer pieces, but they should melt if you stir for a minute. If you have to, you can heat for 10 more seconds. Be careful not to overheat because it will seize. It will look start to look dry and dull in color.
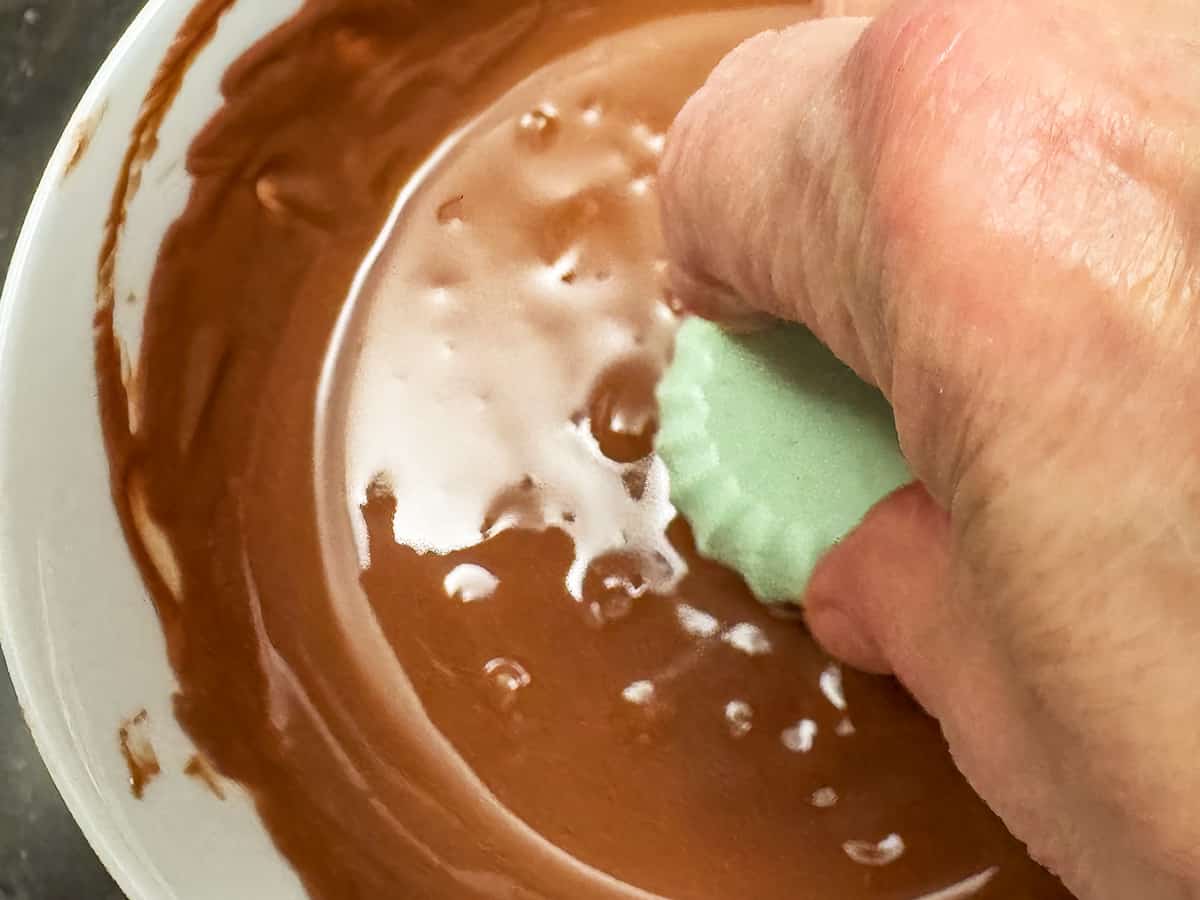
Some of my meringue cookies had peaks that stuck up too far for dipping into the bowl. So I just snipped it off. Turn the cookie upside down and dip the top into the melted chocolate. Try to keep them straight when going into the chocolate.
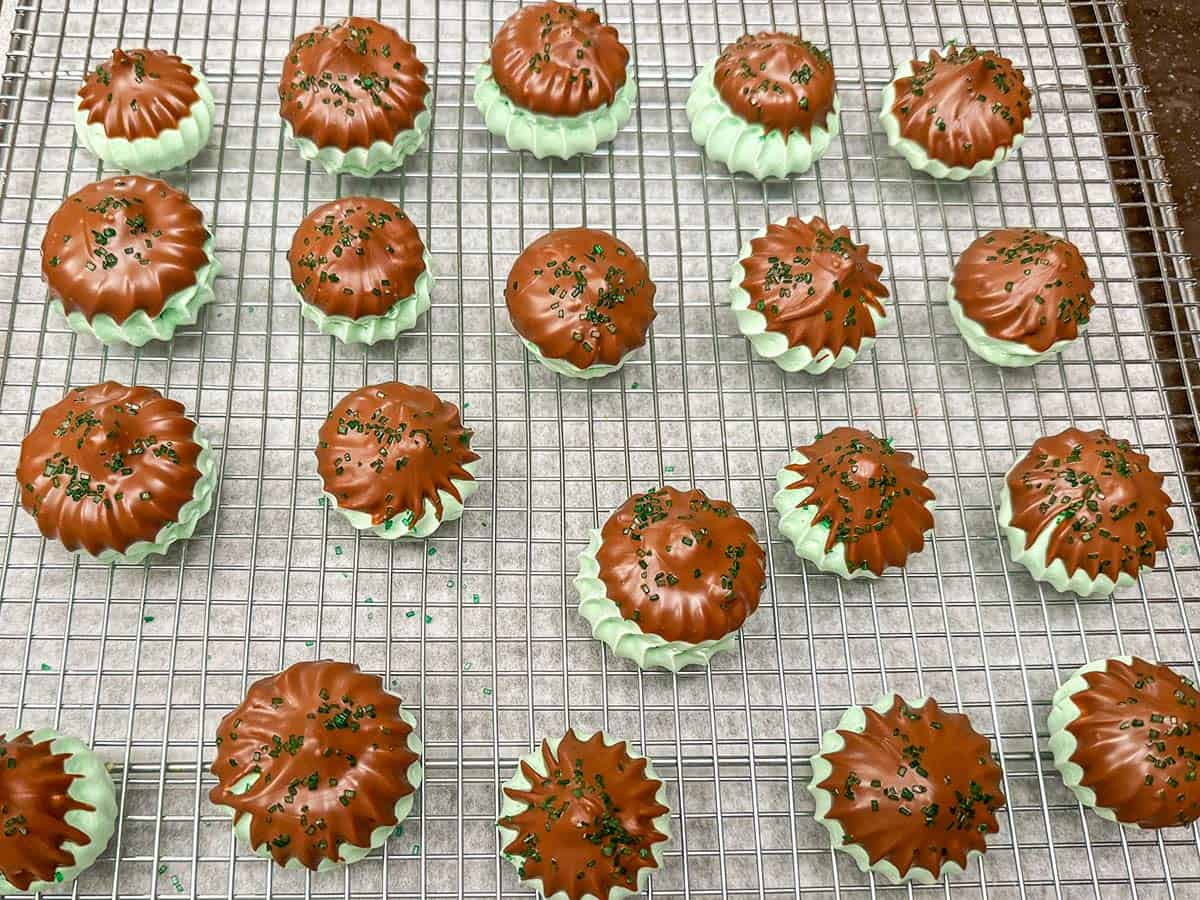
Return them to the cooling rack and sprinkle a few sparkling green colored sprinkles on top before the chocolate hardens.
Enjoy these wonderful treats!
FAQs
This is why the drying time for the meringue is 2 hours long. If you open the oven door, the cold air comes into the oven, stopping the drying of the meringue, and it will be chewy. You will need to regulate if 2 hours is long enough in your oven, but 2 hours worked for me.
I add them to an air-tight container, and they should be good for at least a week.
Absolutely, I love orange, vanilla, and lemon. I try to use pure extract, but if you have a favorite extract give it a try.
Other Meringue Cookies


Recipe

Irish Mint Chocolate Meringue Cookies
Would you like to save this recipe?
Ingredients
- 4 (4) Egg whites room temperature
- ½ teaspoon (0.5 teaspoon) Cream of tarter
- 1 cup (200 g) Sugar white
- ½ teaspoon (0.5 teaspoon) Mint extract
- 1 drops (1 drops) Coloring gel Add 2nd if not green enough
- 1 cup (236.59 g) Coating Chocolate Milk chocolate wafers
- 1 Tablespoon (1 Tablespoon) Colored Sugar Optional
Instructions
- Separate four eggs; you only want the whites. Be careful; you don't want even a small amount of yolk in the mixer. Tip! I use three bowls to make sure there is no egg yolk. I crack the egg into an egg separator in one bowl before adding the yolk to another bowl. Then, in the 3rd bowl, I accumulate all four egg whites. Add the four egg whites to your mixer. Make sure you are using the whisk beater. Turn on to medium speed (4 on my KitchenAid) and whisk for a couple of minutes till frothy. Add the cream of tartar and the mint extract and turn the mixer to the 6 settings (medium-high) for another minute.
- IMPORTANT STEP - Slowly add the sugar a tablespoon at a time to incorporate it into the egg whites. After adding sugar, turn the mixer to 7 (high) and step away. After about 6 minutes, it should be at least to the soft peak stage. (this is when the peaks bend over if you turn the whisk beater facing up). Add one or two drops of green coloring gel and continue to whisk for at least another five to seven minutes on a high mixer speed. You want the egg whites at the stiff peak stage. If you touch it on the beater, it will feel solid, and if you take the whisk beater off the mixer and turn it upright, the peak should stand upright; it will not wilt over. If you rub a small amount between your thumb and finger, it should feel smooth with no gritty feel. Whisk for a few more minutes on high if it still feels a little gritty.
- Preheat your oven to 225°F (110°C). I use a large piping bag with a large closed or open star piping tip and pipe the meringue onto two parchment paper-lined cookie pans. You can pipe them with about 1 inch in between each cookie. I bake the pans in the oven side by side by lifting one side just over the edge of the second pan. Bake for 45 minutes, then turn off the oven and leave the meringue in the oven for 2 hours. DO NOT OPEN THE DOOR! I have made that mistake more than once.
- After the meringue cookies have cooled on a rack, put the chocolate wafers into a microwave-safe bowl. Microwave for 30 seconds. Stir the wafers and microwave for 15 seconds and stir. If need be, you can heat it for another 10 seconds, but be careful that the chocolate does not seize. You want the chocolate to be smooth and glossy looking. Dip the tops of the meringue cookies into the chocolate and put them back on the rack for the chocolate to harden. TIP! I buy Coating Chocolate, which hardens faster and forms a crust on the top of the cookie. If you like, you can sprinkle colored sugar on the tops before the chocolate hardens.
Share this recipe
NUTRITION DISCLAIMER
I am not a certified Dietitian or Nutritionist. The nutrition amounts given below are provided through a program and are only a guideline.


Join the Discussion