
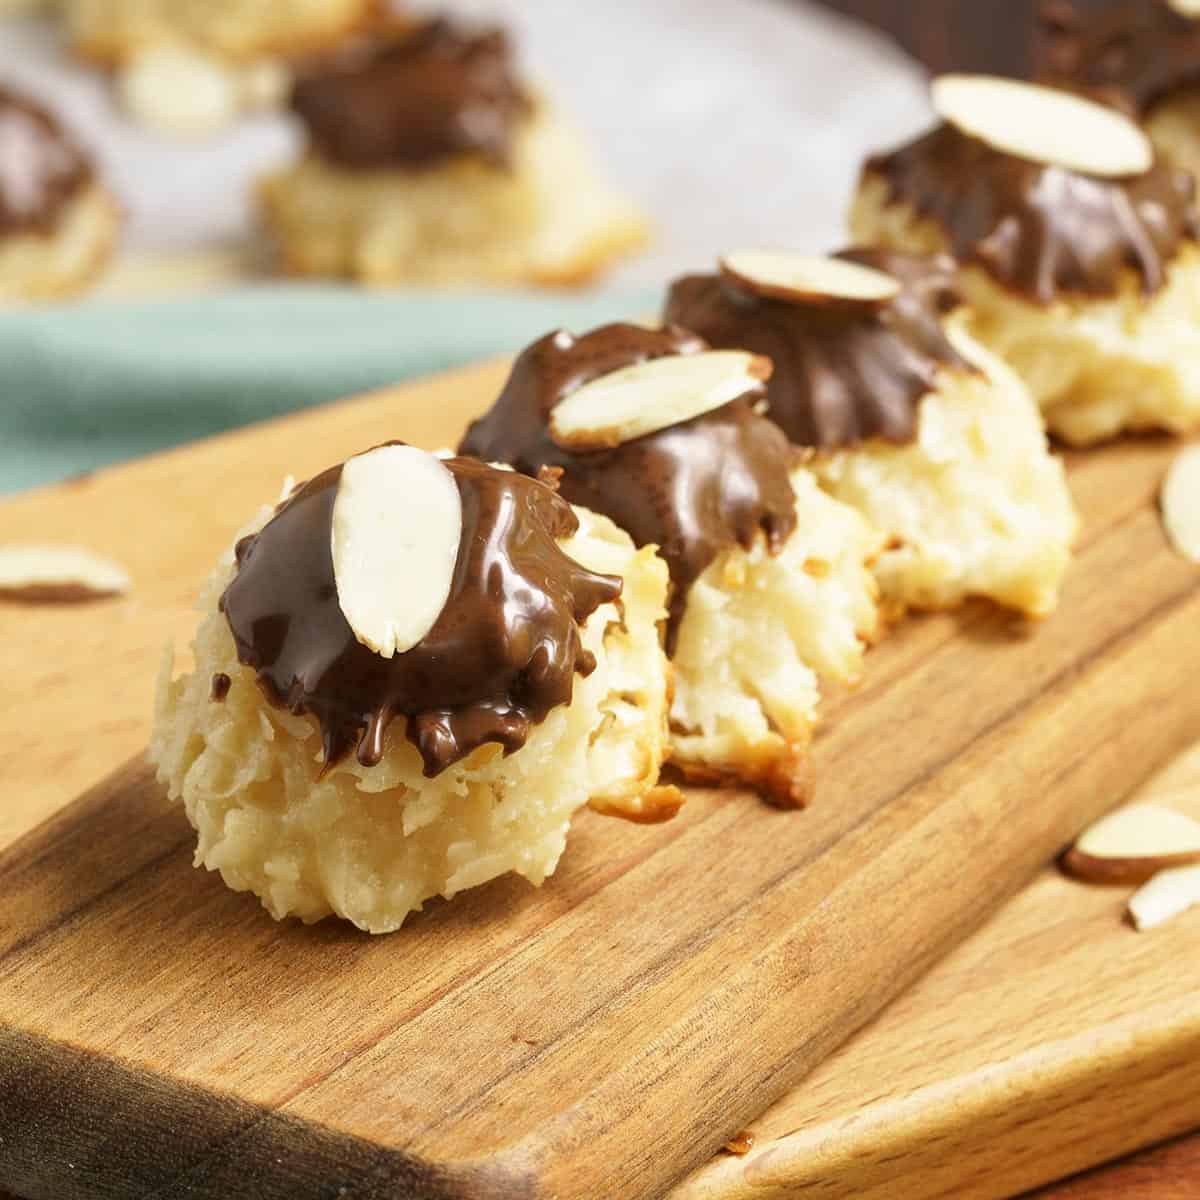
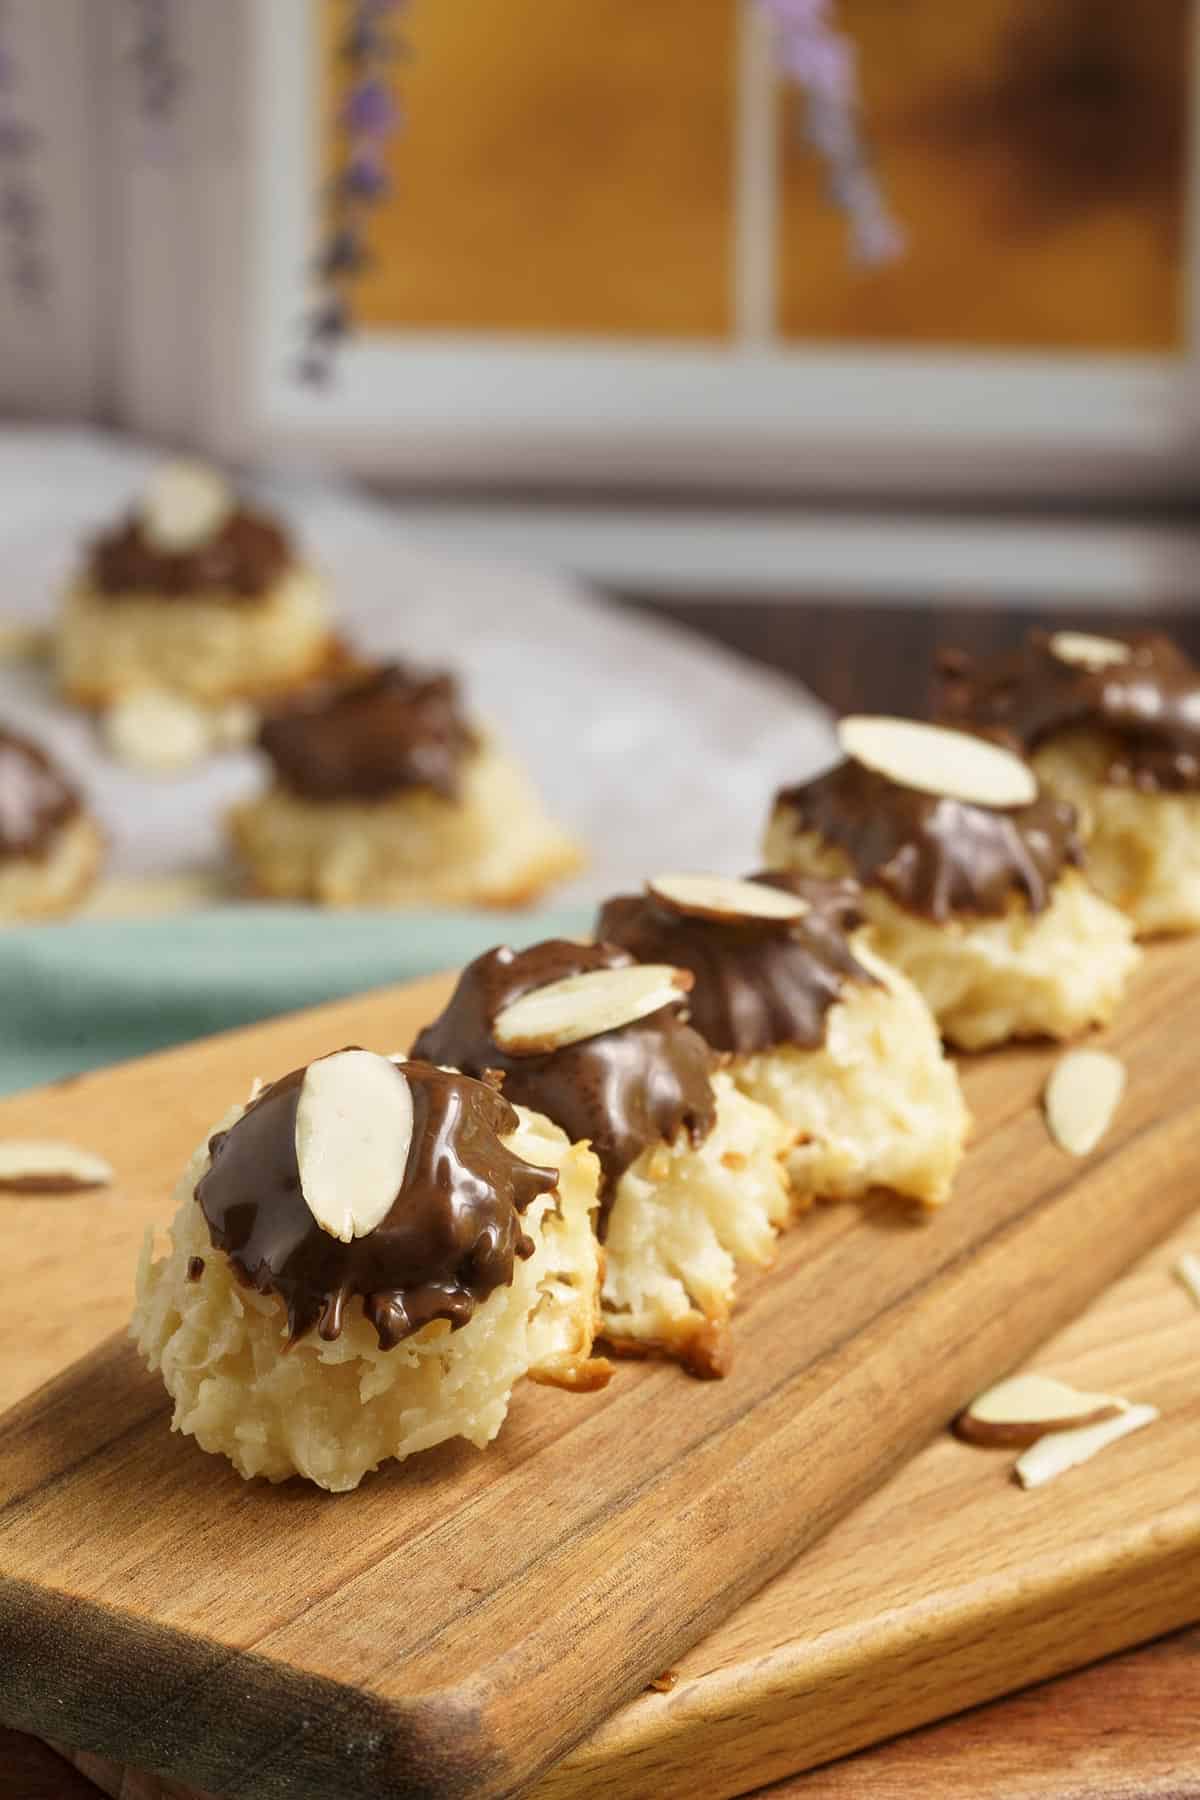
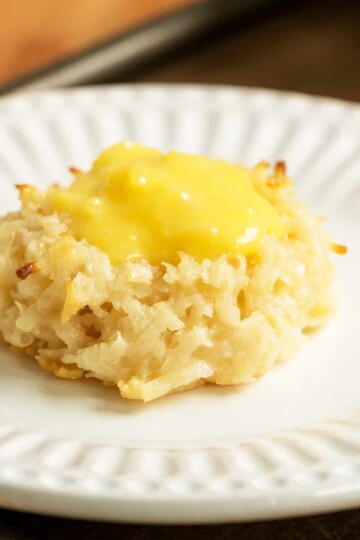
If you love coconut, these Easy Creamy Coconut Macaroons are bound to be a favorite. They're soft and chewy on the inside, just a little golden at the edges, and topped with milk chocolate for extra indulgence. Inspired by my childhood love of Almond Joy candy bars, these cookies are a sweet and simple way to enjoy coconut anytime.
Did you know coconut macaroons have been enjoyed for centuries? Originally made with almonds in Italy, they eventually made their way across Europe and evolved into the coconut version we know today. They've also become a traditional treat for Passover in many Jewish households.
Ingredients You Will Need
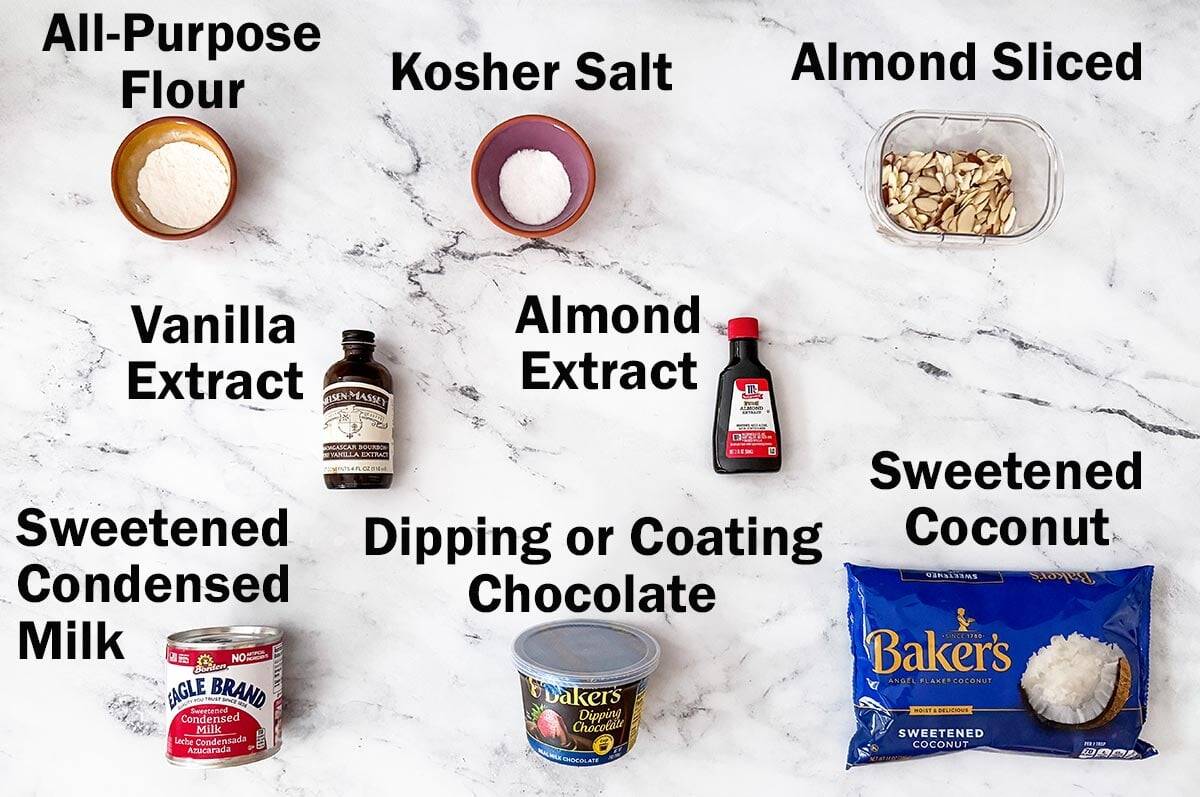
- Sweetened coconut shredded
- All purpose flour
- Condensed milk
- Vanilla Extract
- Almond extract
- Kosher Salt
TOPPING
- Melting chocolate wafers
- Almond slices
Ingredients Note
I went to the store to grab some melting chips for these cookies and spotted Baker's Dipping Chocolate, I just had to give them a try. These are chocolate wafers packaged in a microwave-safe container, which makes them super convenient if you need a deeper than wide opening. Since I needed a wider area, I poured the wafers into a bowl and followed the melting instructions from there.
You really can't go wrong with Baker's chocolate, but feel free to use your favorite melting wafers. I like using milk chocolate for this cookie, it adds just the right creamy sweetness.
Making Coconut Macaroons
These are easy cookies to mix and bake, perfect if you've only got a morning to spare!
Prep
I start this cookie by weighing out the flour. That is it for the prep work.
Mix
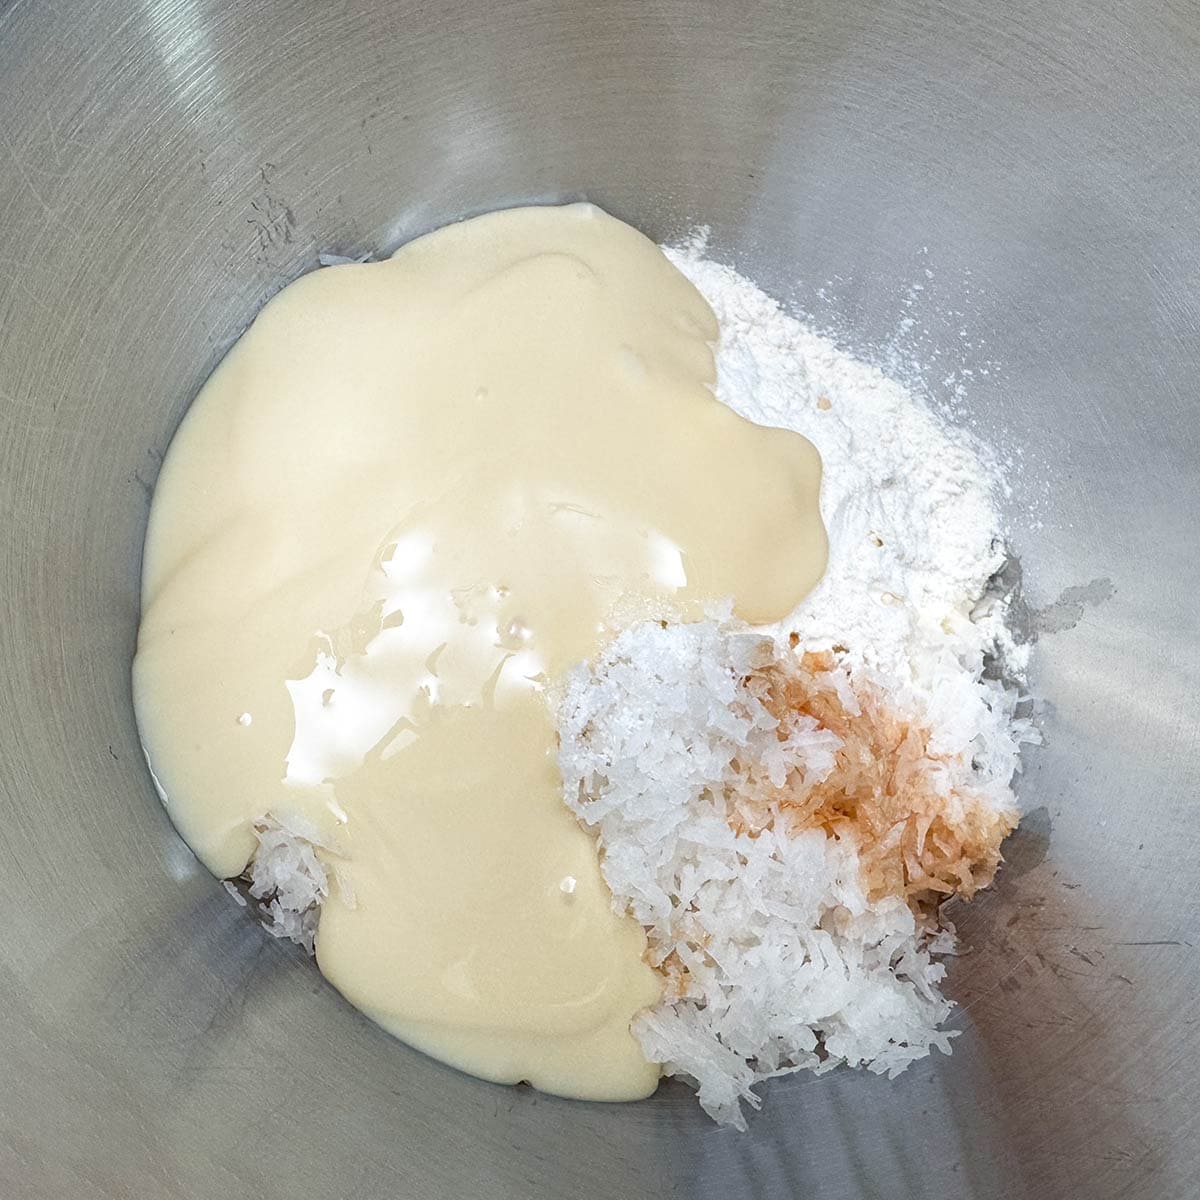
I put the whole bag of the sweetened coconut in the mixer bowl. Add right on top the can of condensed milk, vanilla and almond extract, kosher salt and the flour.
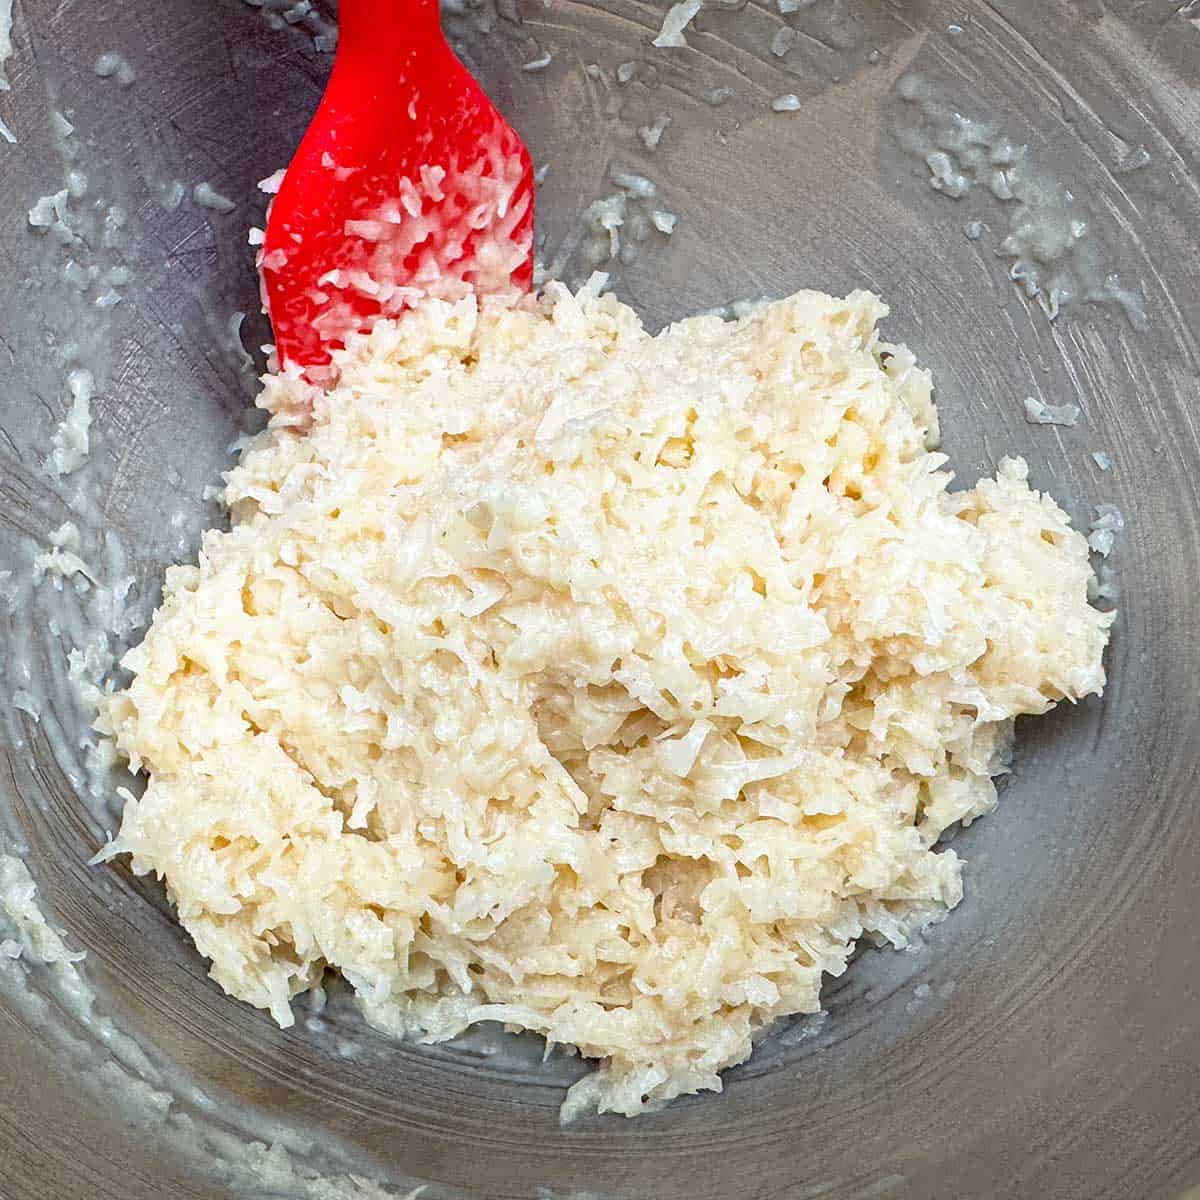
Mix until everything is combined. I will stop the mixer and using a spatula scrape the sides and across the bottom them finish mixing.
That is it for the mixing.
Scoop and Bake
Preheat the oven to 350°F (175°C or 180°C) and line two cookie sheet pans with parchment paper. For this cookie I am using a small scooper. You can certainly use what you have handy. These cookies do not spread so you can fit them closer than you normally do. I put 16 to a sheet pan.
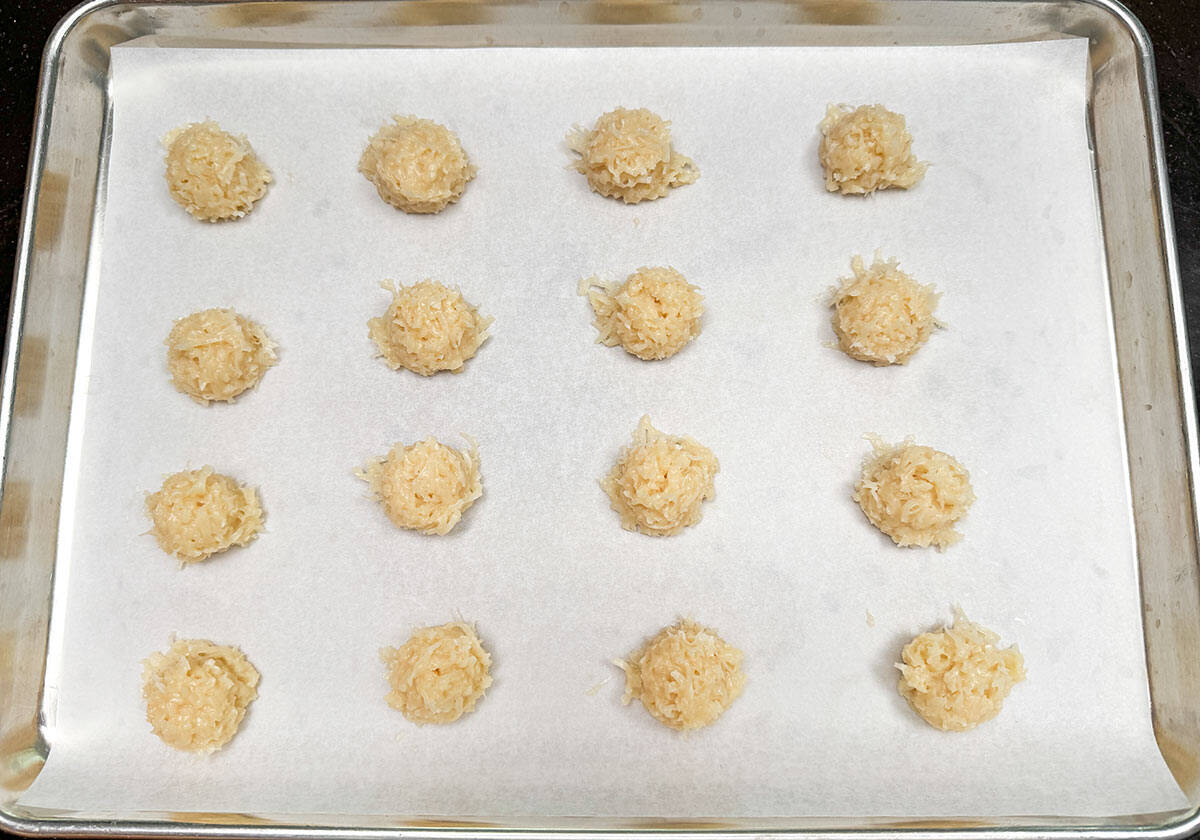
After scooping the mounds onto the pan, I like to go back and tuck a few stray coconut strands in around each cookie. I do like a few of the coconut ends to stick out. I think they look great with some crispy ends.
Bake for 10 to 12 minutes depending on the size of the scooper. I would say closer to 10 minutes for the small scooper. Move to a cooling rack right after you take them out of the oven.
Baking Tip!
- Use parchment paper, macaroons stick easily.
- Don't overbake, they're done when just golden on the edges.
- Chill for about 10 minutes if the mixture feels too sticky to scoop.
Adding the Chocolate and Almond Slice
After the coconut macaroons have cooled it is time to get the set up of the finishing touches for these scrumptious cookies. If you are using the Baker's Dipping cup I put the wafers into a bowl and follow the directions on the container.
If you have your own wafers I normally heat for 30 second, then stir and then 15 more seconds and stir. You may need another 10 seconds. By then, you may still see a few chocolate chunks, just keep stirring, and they'll melt right in. If you heat it to much it will become dry, dull and hard. At that point the chocolate has seized up. Here is a video on how to fix seized up chocolate by America's Test Kitchen.

So I have a bowl with the melted chocolate and another bowl with the almonds slices. I also put 2 sheets of parchment paper under my cooling rack so it captures any of the dripping chocolate.
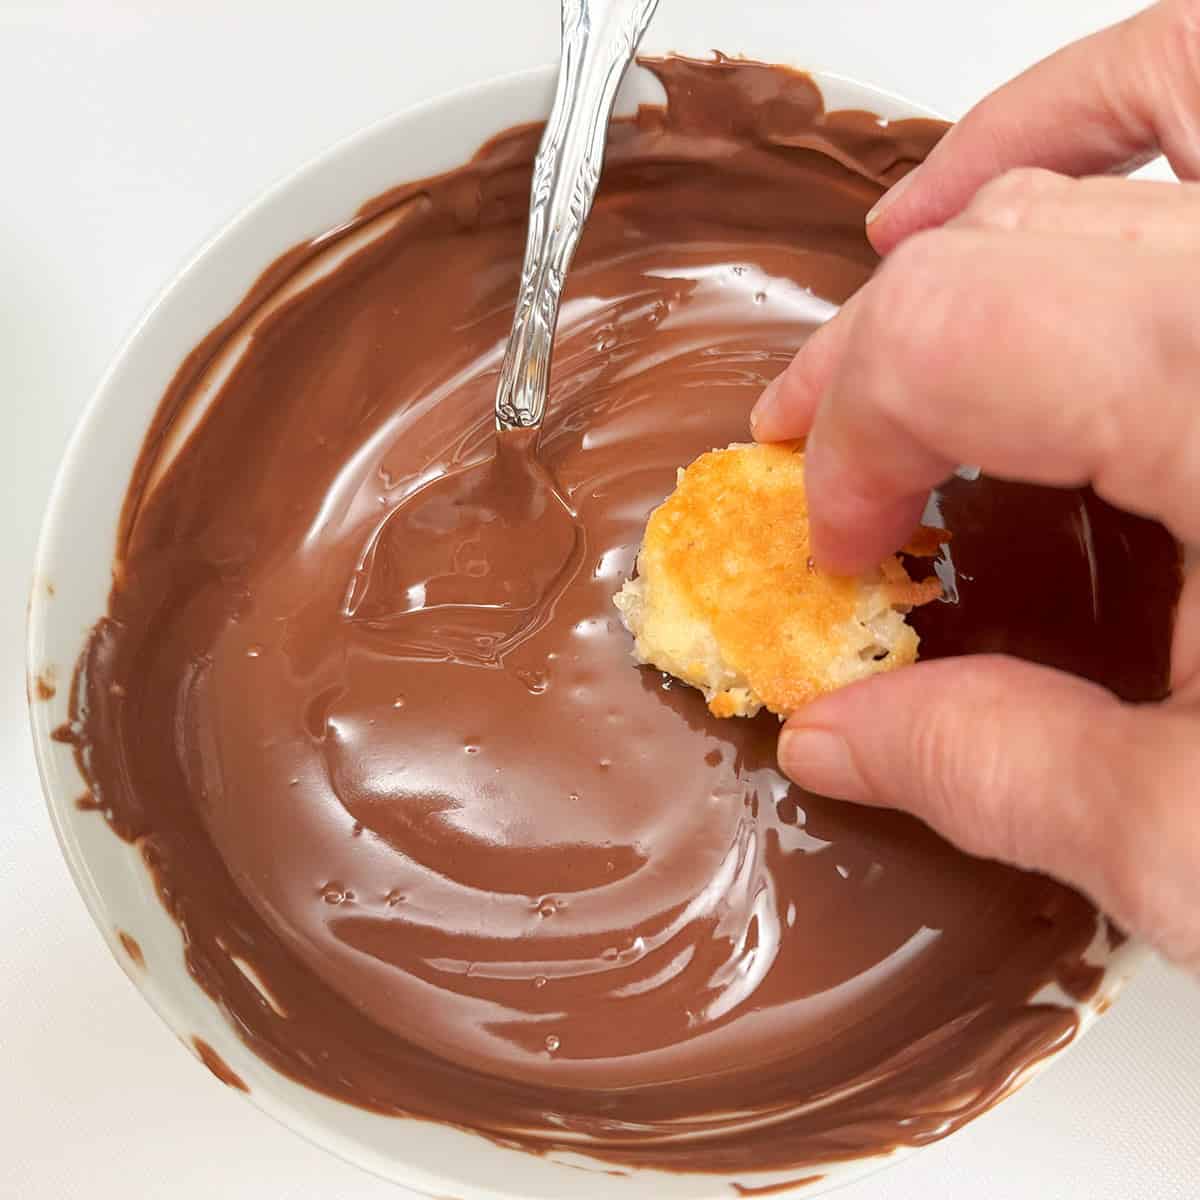
Turning the coconut macaroon over and dipping the top into the melted chocolate. I shake off any of the excess chocolate and put them back on the cooling rack.
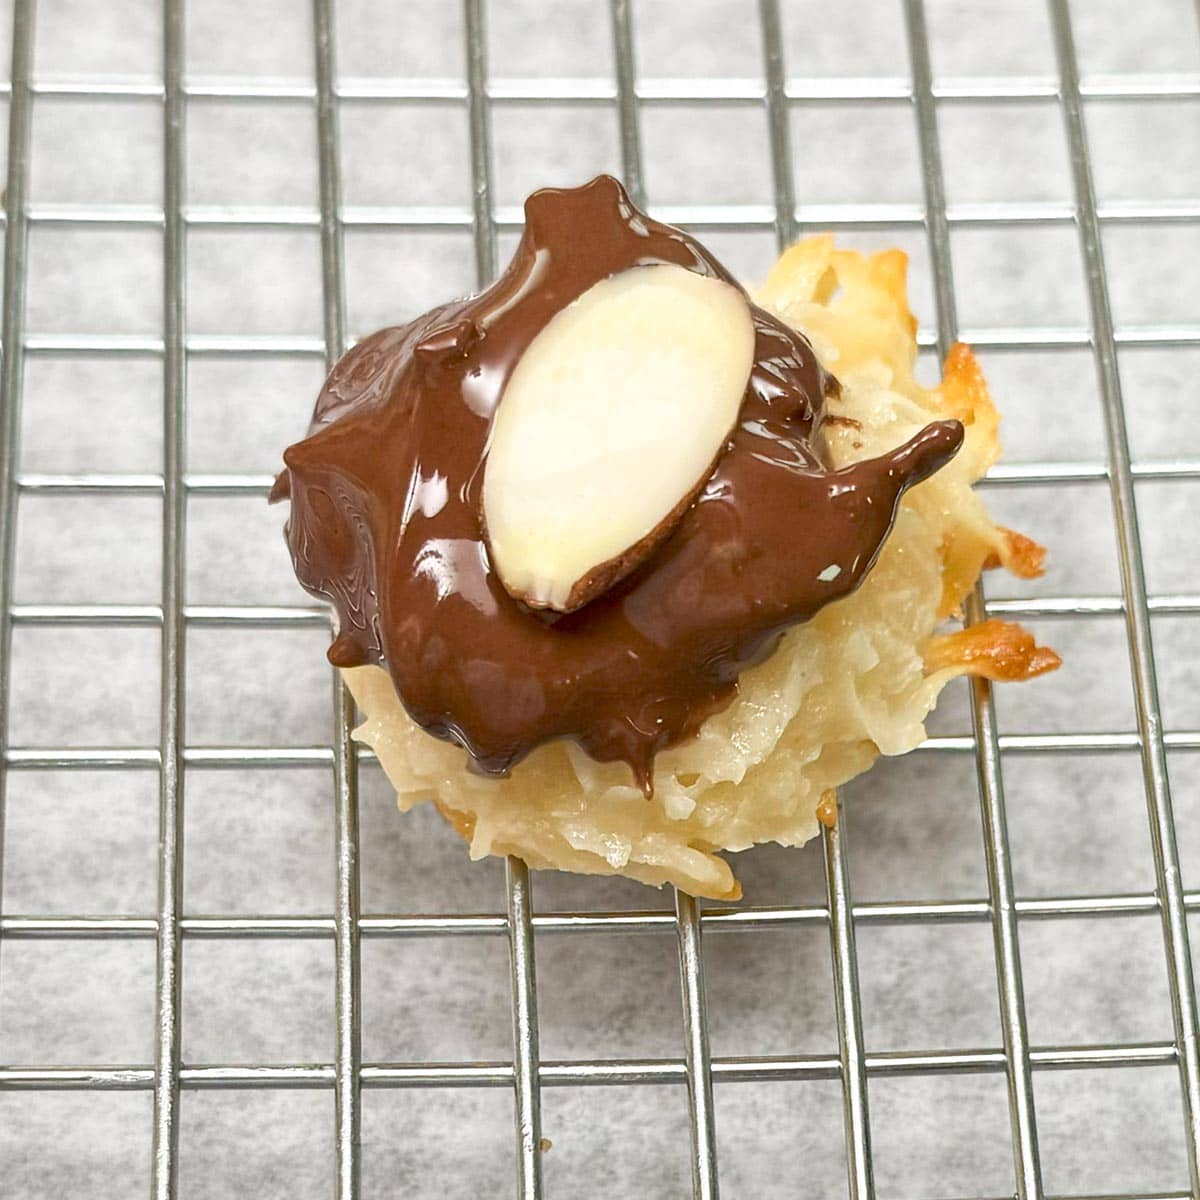
Then I just add a almond slice right onto the wet chocolate. I am doing this for 2 reasons: one so that everyone knows there are nuts and the other just to give it a little crunch.
Enjoy!
FAQs
When I bake coconut macaroons they are finished within three to four days so I just keep them in a container on my counter. If you are baking ahead of time and will not be serving them for a couple of weeks I would keep them in a container in the refrigerator.
My go-to coconut for macaroons is Bakers sweetened coconut. It creates a moist, chewy, and wonderful macaroon.
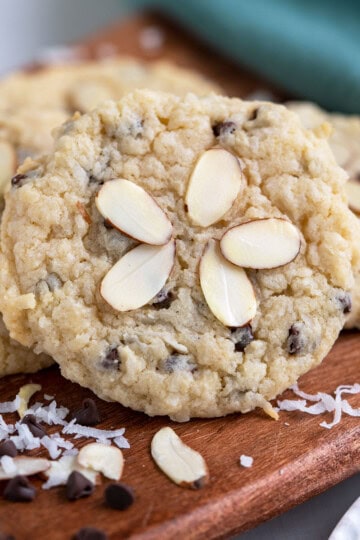
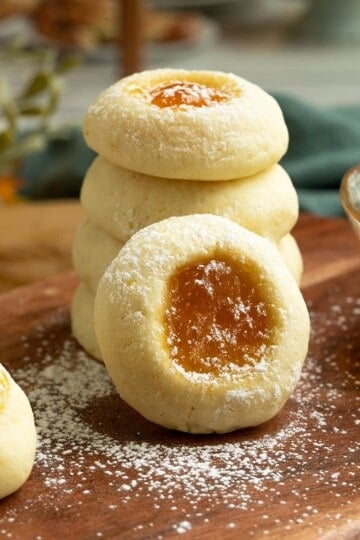
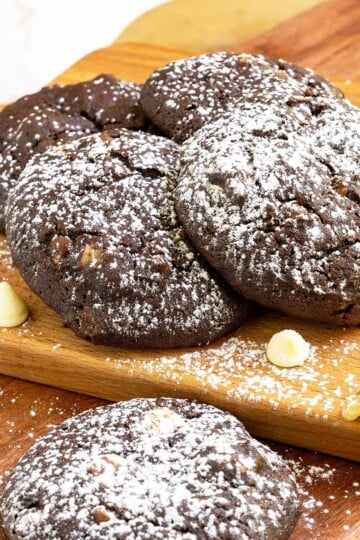
For Coconut Lovers


Recipe

Easy Creamy Coconut Macaroons
Would you like to save this recipe?
Ingredients
- 14 oz (396.89 g) Sweetened Coconut shredded
- ⅔ cup (83.33 g) All-purpose flour
- 14 oz (14 oz) Condensed milk
- 2 teaspoon Vanilla extract
- 1 teaspoon Almond extract
- ½ teaspoon Kosher Salt
TOPPING
- Melting milk chocolate wafers
- Almond slices
Instructions
- This recipe only uses six ingredients, making it quick and easy to throw together. Add the shredded coconut to your mixer bowl first. Next, weigh the flour and add it along with the salt, sweetened condensed milk, vanilla extract, and almond extract. Blend everything on medium speed until fully incorporated.
- Line your cookie pan with parchment paper. Using a small cookie scoop, place mounds of dough onto the pan. These cookies don't spread much, so you can place them fairly close together. Once they're scooped, you can tuck in any long strands of coconut sticking out at the base, though I'm not too picky. I actually like when a few coconut tips get a little toasty in the oven!
- Bake the macaroons at 350°F (175°C or 180°C) for 10-12 minutes. You want the bottom of the macaroons to be a golden color. Just be careful that the ends don't get burnt you want toasted. Move them to a rack for cooling.
- I like a little chocolate on top of my macaroons, so I melt milk chocolate wafers in the microwave for 30 seconds first, then stir, and heat again for 10 seconds. If it still needs a little more, I give it one more 10 second burst. Once the chocolate is melted, I dip the tops of the macaroons and gently press a sliced almond on top. I let the cookies set for a couple of hours before storing them in a container with a lid.
Share this recipe
NUTRITION DISCLAIMER
I am not a certified Dietitian or Nutritionist. The nutrition amounts given below are provided through a program and are only a guideline.

Join the Discussion