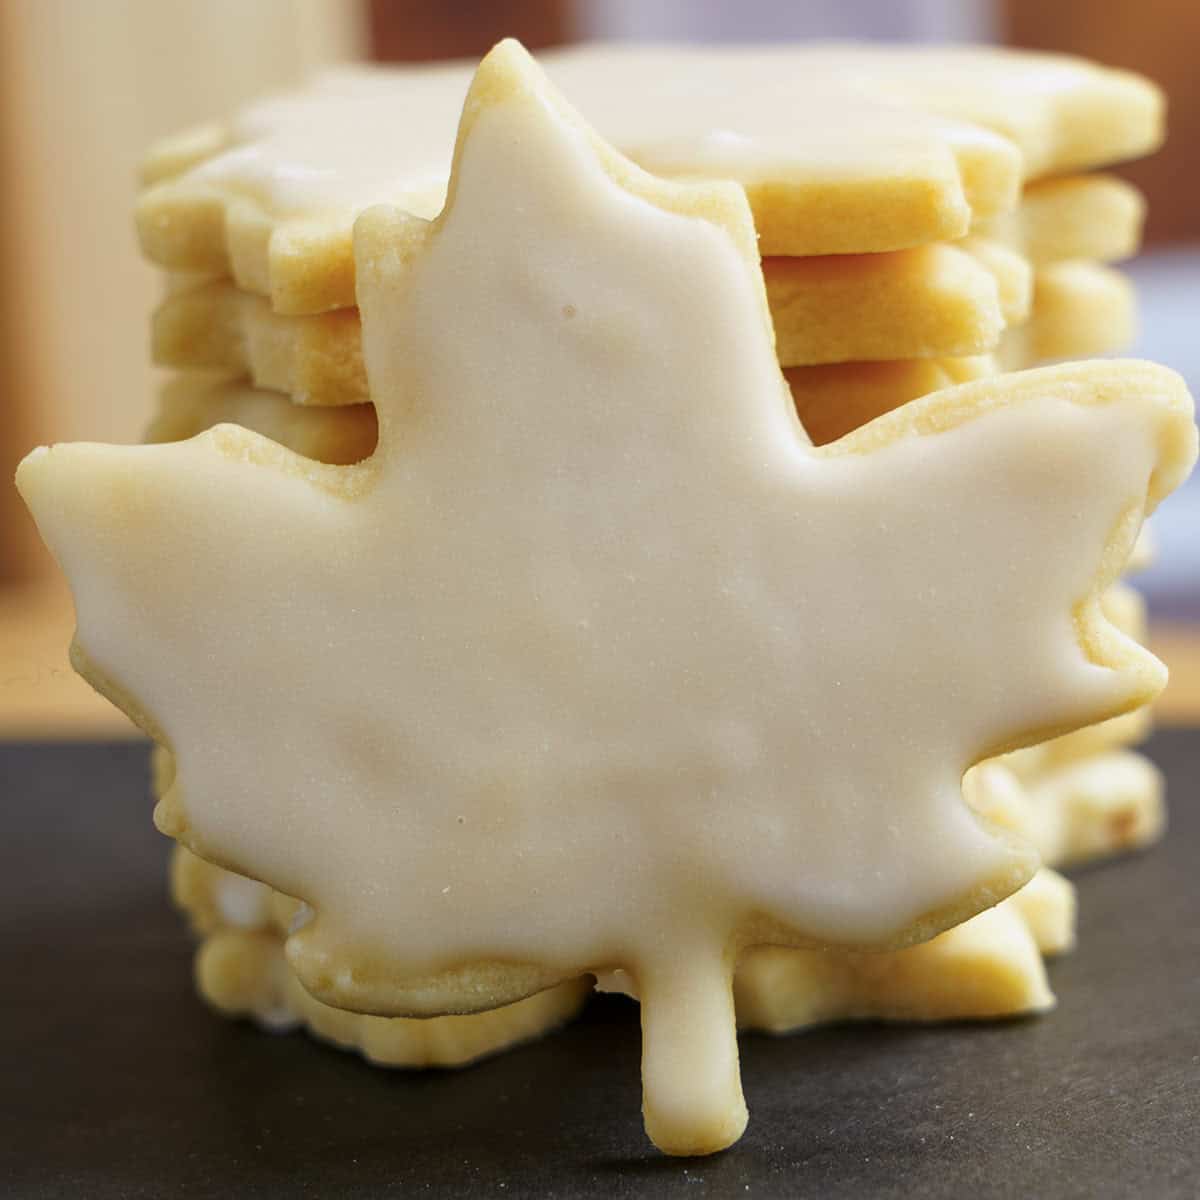
If you're craving a totally fall cookie that's sweet, soft, and full of maple flavor, these Double Maple Sugar Cookies will warm your kitchen and your heart. Made with real maple syrup, a splash of maple extract, and finished with a simple maple glaze, they're everything you love about fall, of course no leaf pile required.
If you enjoy baking with maple, you might also like my Fresh Blueberry Lemon Maple Cookies, where I infuse the blueberries for a more balanced flavor alongside the maple. For a warmer maple flavor with nuts, try my Glazed Maple Walnut Cookies, made with homemade glazed walnuts for extra maple goodness.
Maple Flavor Tip!
The maple flavor is the star of the show and there is nowhere to hide. I will start by saying please don't use pancake syrup. The syrup I used is from Canada and the brand and flavor is Great Harvest by Escuminac. I tried many brands both made in the US and Canada and this brand was my favorite.
Grades - Maple from Canada I found this poster that I thought did a great job in giving you what the grading system is for maple syrup and how they arrive at each grade.
The bottom line is get the best "Grade A" maple syrup that you can find and you will not be disappointed in this cookie's flavor.
Jump to:
Ingredients
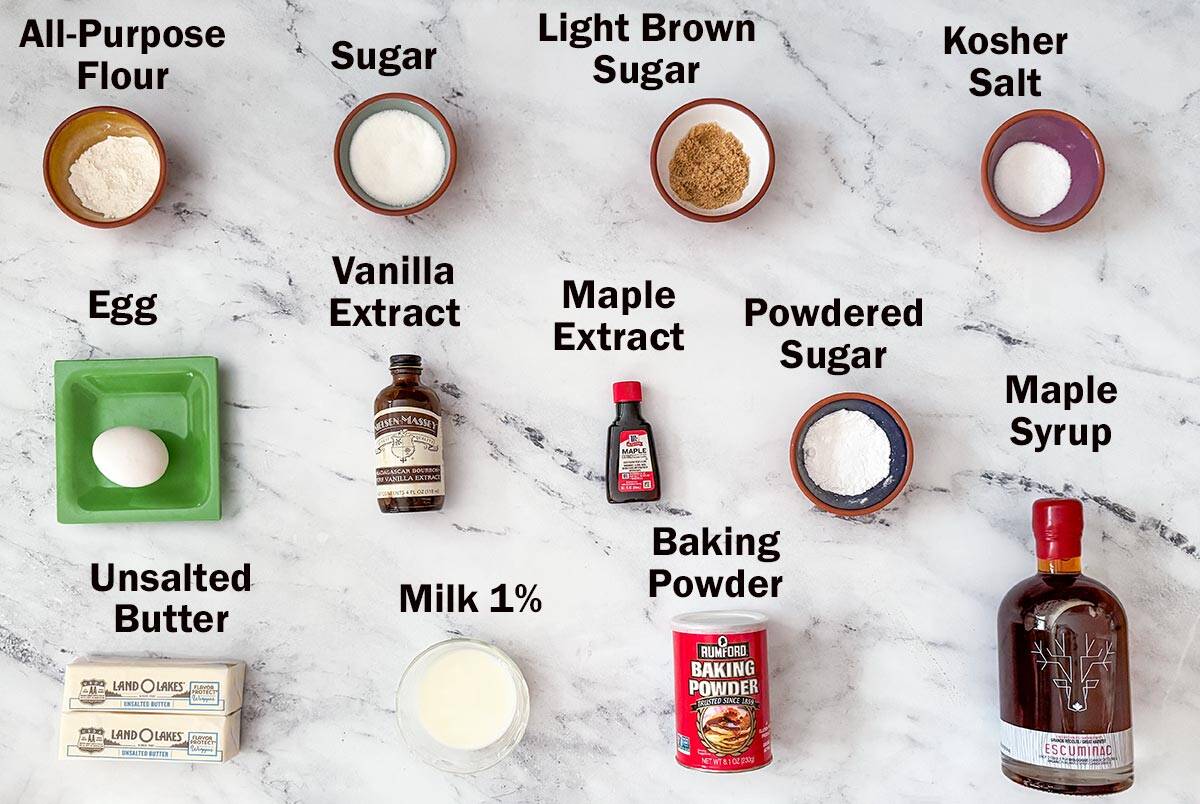
Maple Cookies
- Butter unsalted room temperature
- Sugar white
- Light brown sugar
- Egg
- Pure maple syrup
- Maple extract
- All-purpose flour
- Baking powder
- Kosher Salt
Maple Glaze
- Powdered sugar
- Pure maple syrup
- Maple extract
- Milk 1%
Step by Step Instructions
When I started to put this recipe together I just wanted to make sure the maple taste came through. I think it has a fantastic maple taste.
Prepping
I set out my butter so it can come to room temperature. Next, I weighed or measured the white (not the powdered sugar that is for the glaze) and light brown sugars into a bowl and set it aside. In another bowl I weighed or measured the flour. Add to the flour the baking powder and salt. I run a whisk through to blend.
Mixing the Sugar Cookie Dough
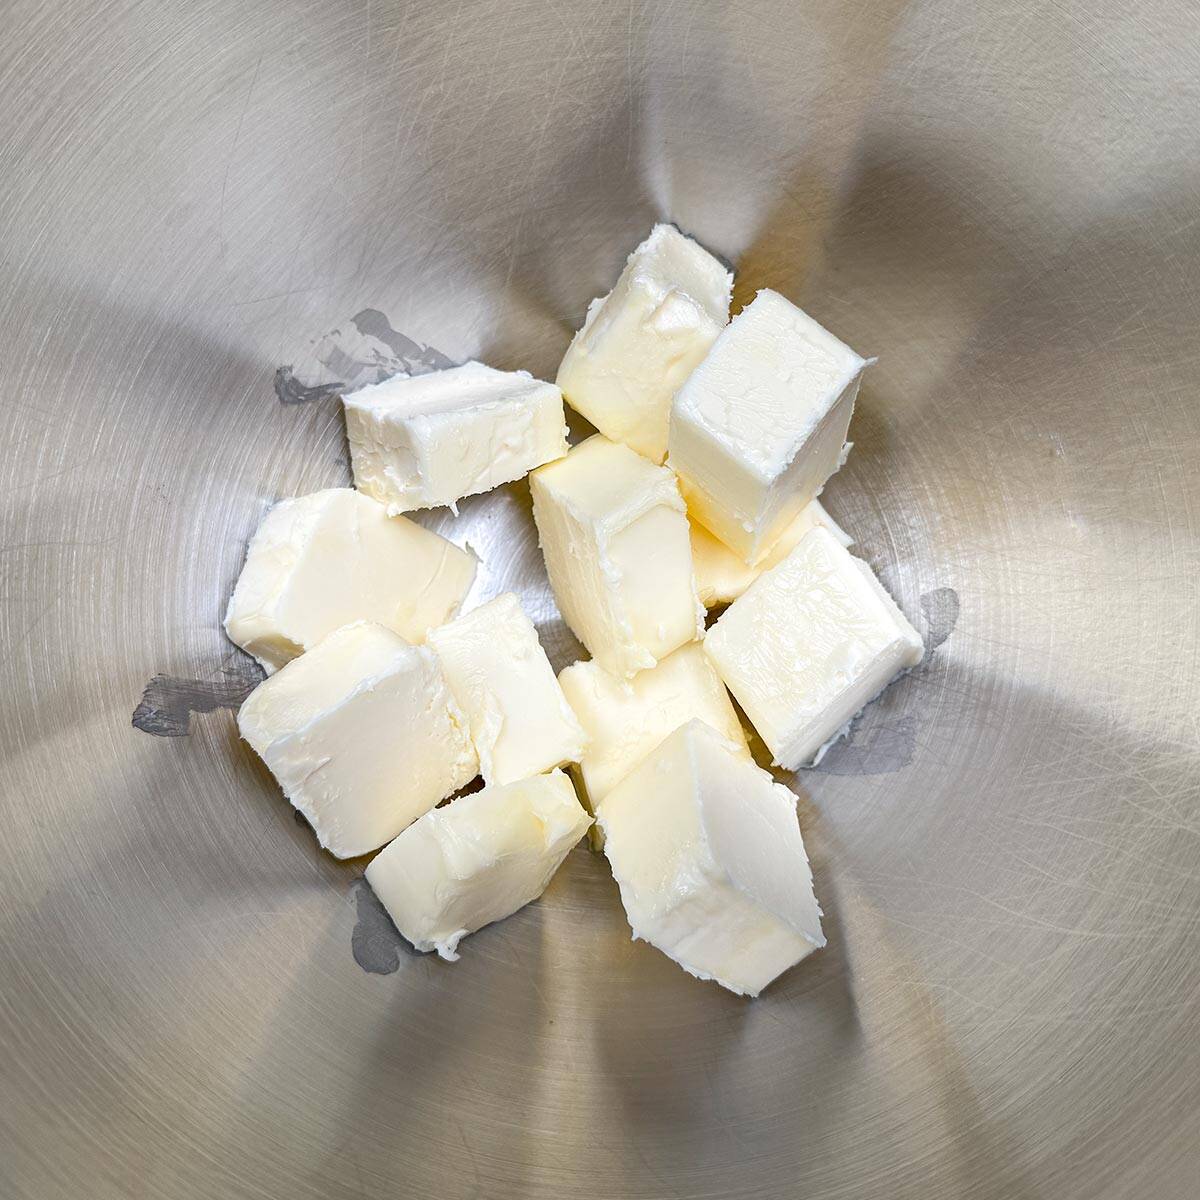
1. Cube the butter into a mixer bowl and cream the butter.
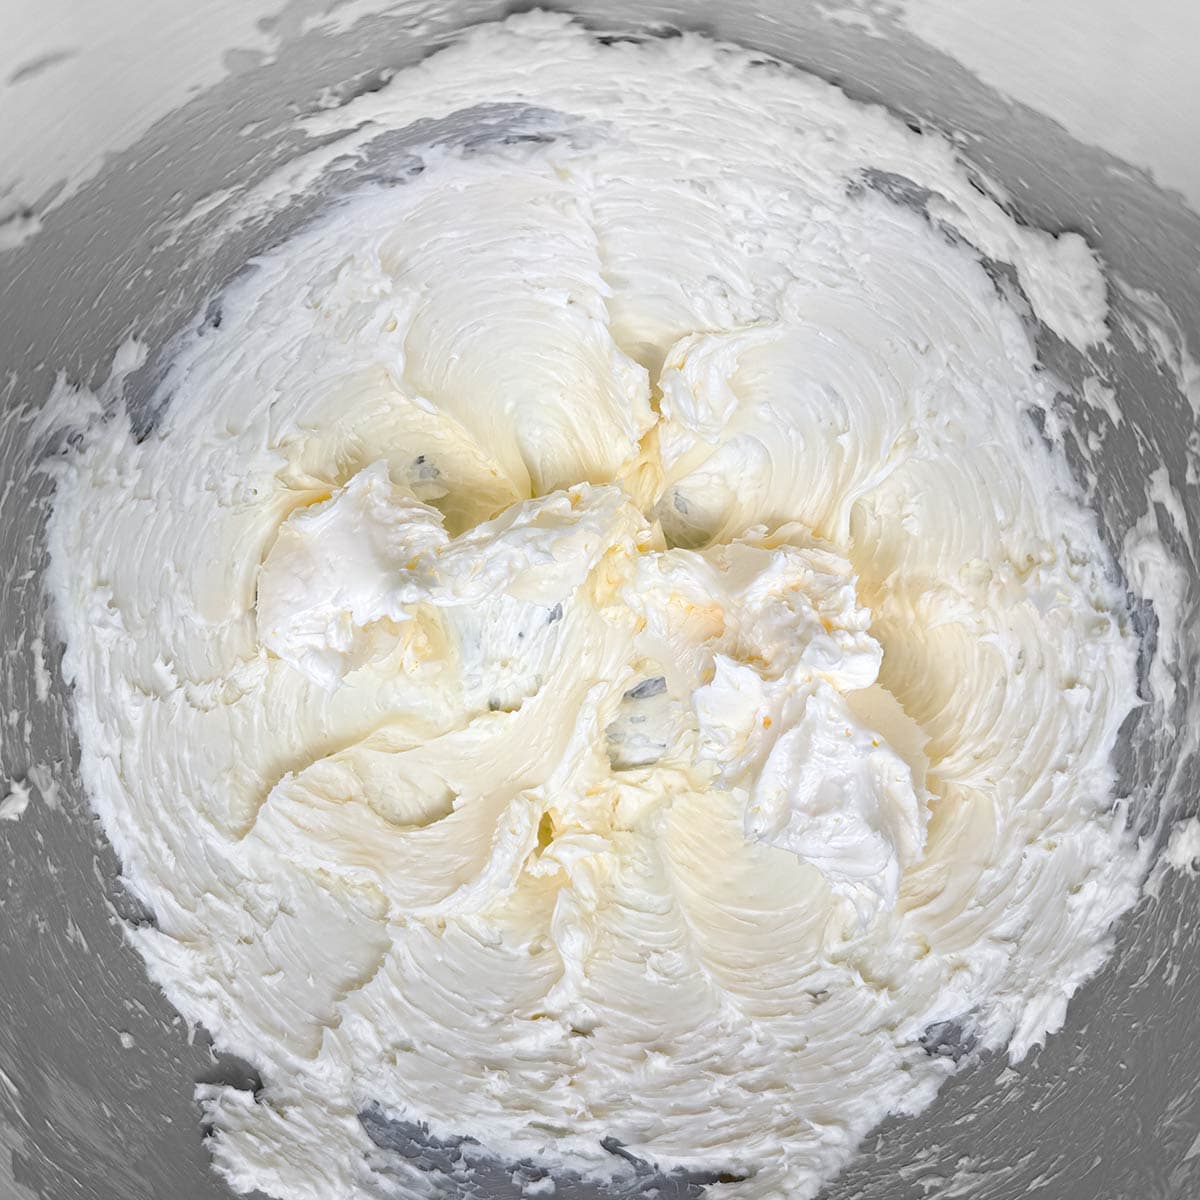
2. After a minute or two on a medium mixer speed setting you should have creamy looking butter.
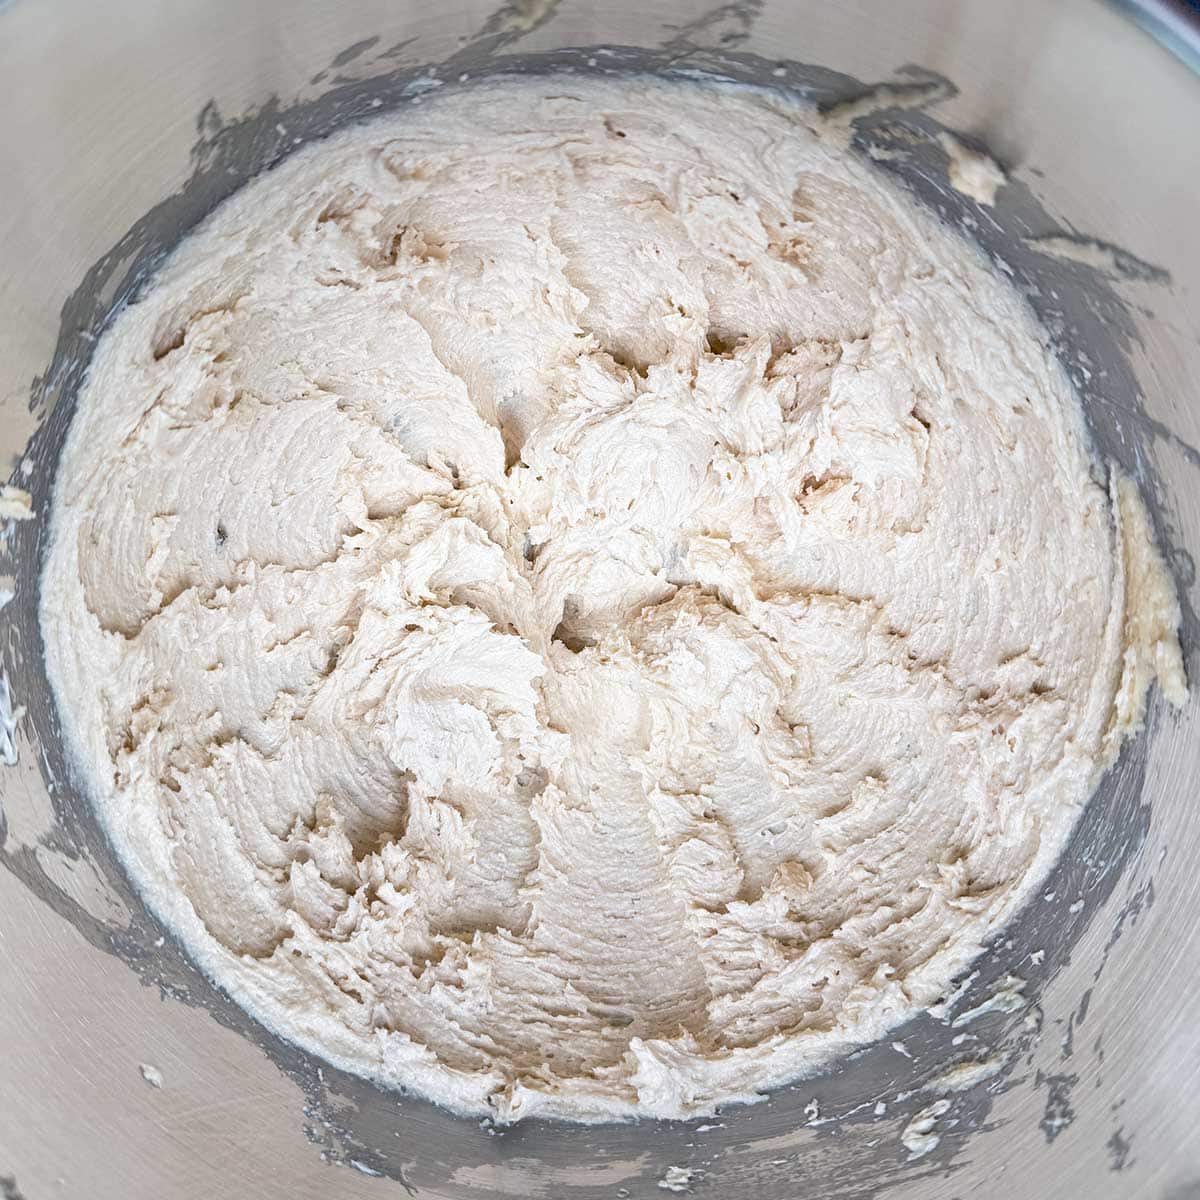
3. Add the white and light brown sugars and turn the mixer to a medium mixer speed for 3 minutes. It will be fluffy looking.
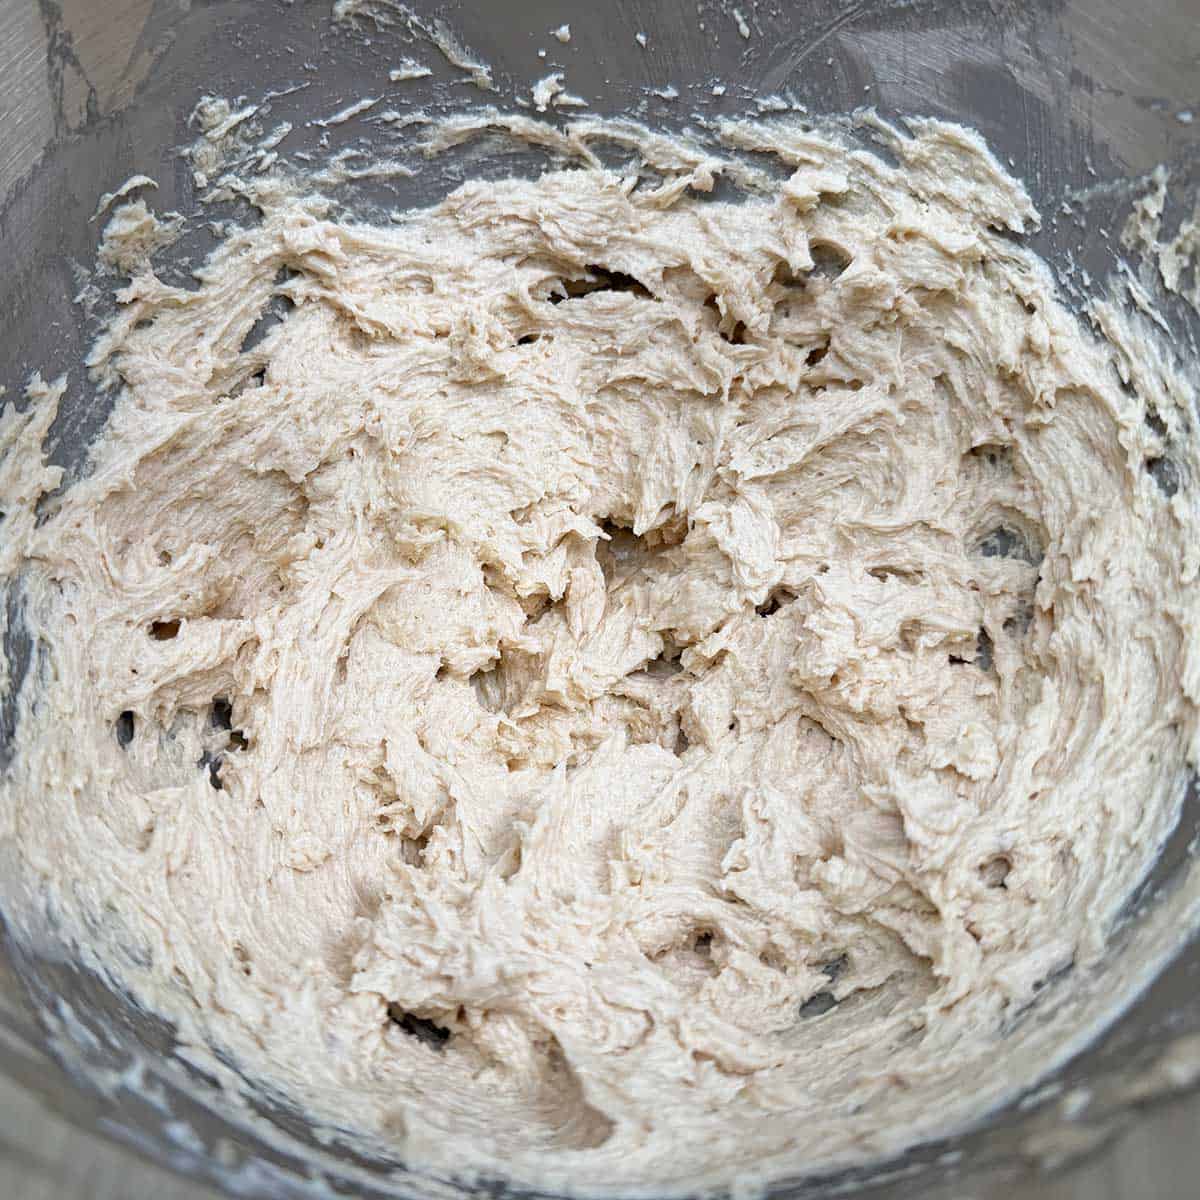
4. Next add the egg, maple syrup, and the maple extract. Mix until combined. Scrape down the bowl sides and on a low mixer speed add the flour mixture about a third at a time. You may see flour bits, but they'll get kneaded into the dough later.
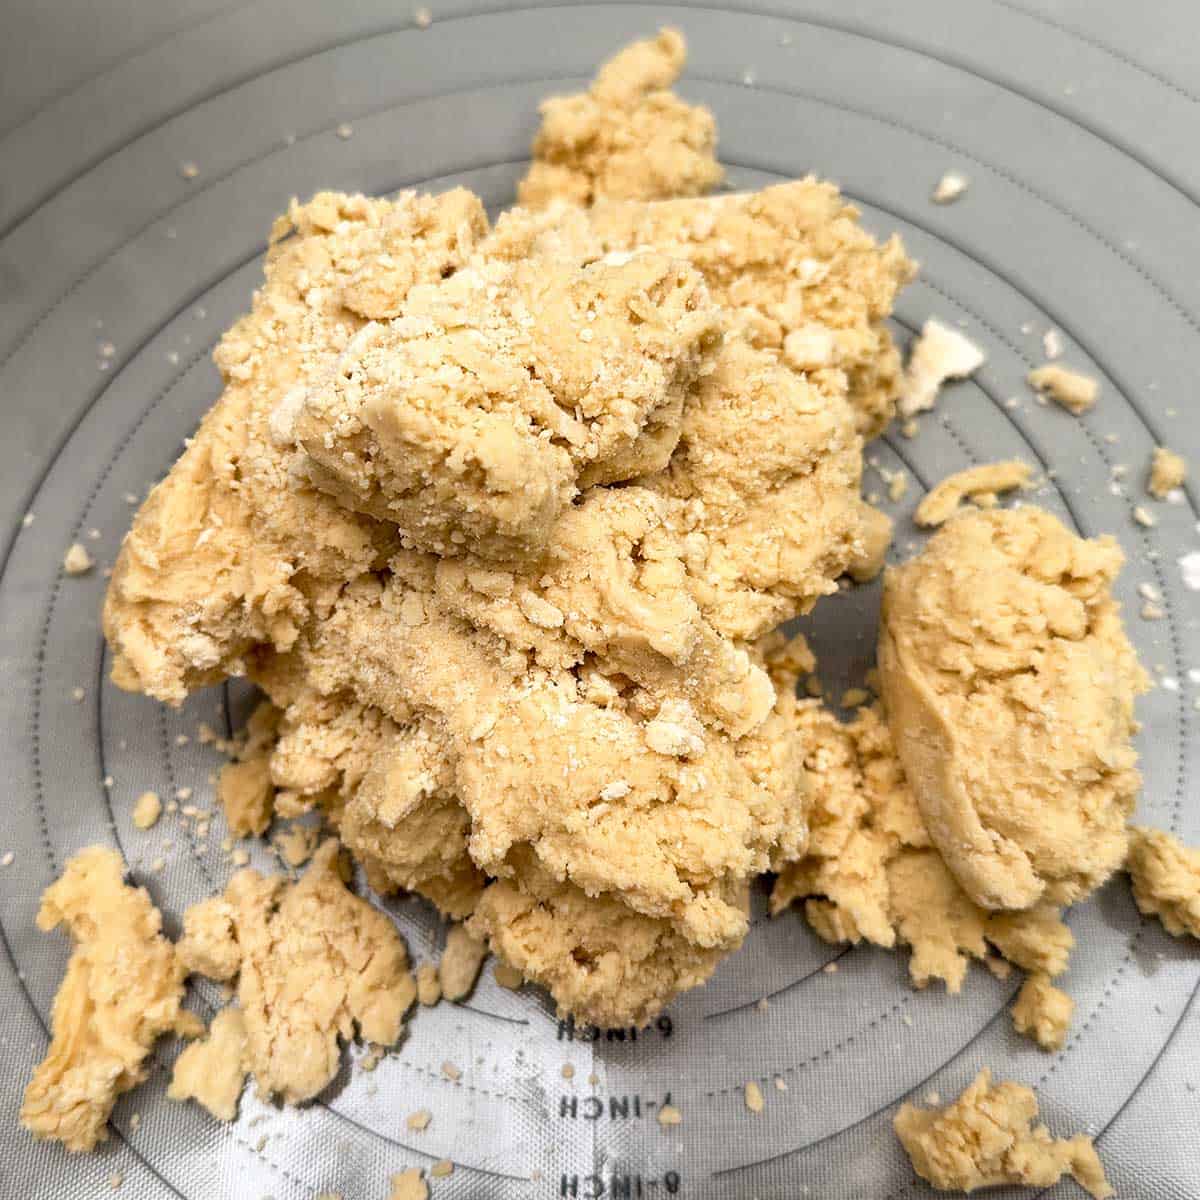
5. Add the cookie dough to a pastry mat. It will look like a lot of dry pieces but no worries. Bring together the cookie dough and knead it until it looks smooth and all the flour bits have been absorbed.
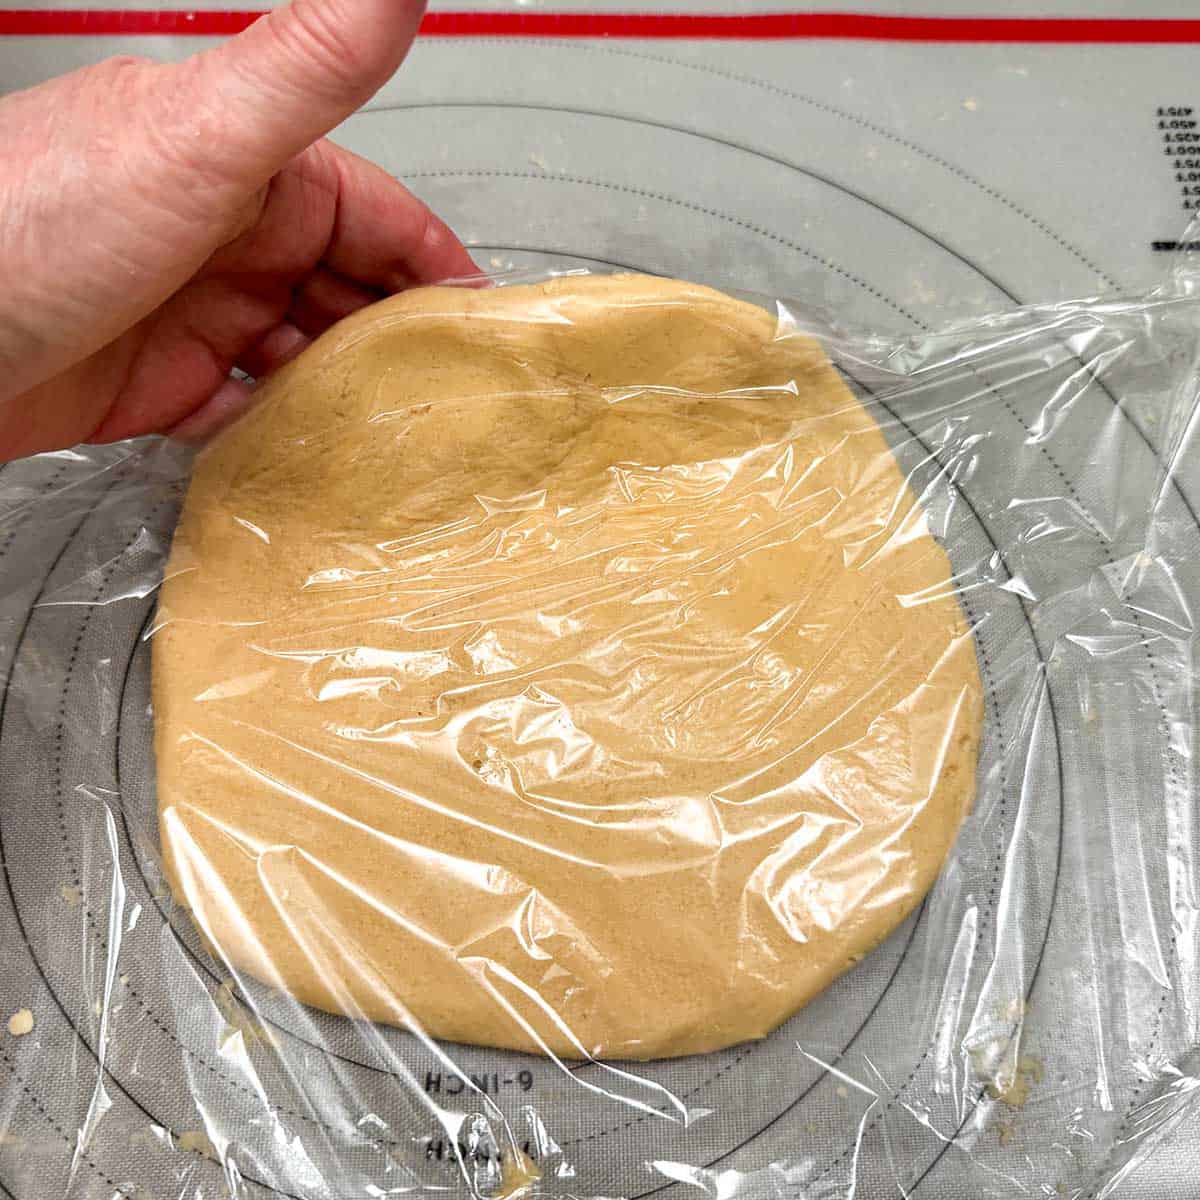
6. Divide the cookie dough in half and flatten down one of the halves. You want to wrap the flat disk shape. I tuck the top part of the plastic wrap under and then pull it up and flip it over to finish wrapping that half. Do the same for the other half.
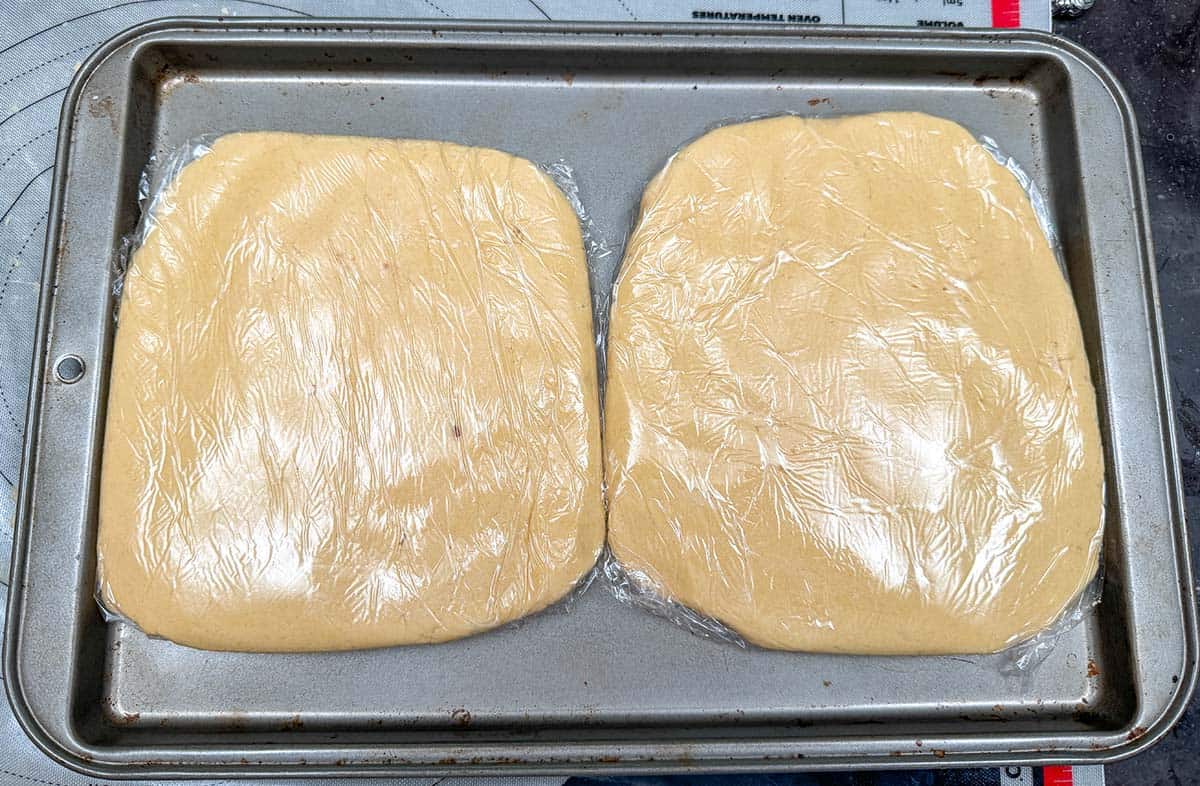
I flatten them a little more and place them on a small sheet pan to chill in the fridge for 30 minutes.
Roll, Cut and Bake
Preheat the oven to 350°F (175°C or 180°C). Also grab 2 cookie sheet pans and line them with parchment paper. I take out the cookie dough about 10 minutes before I am going to start rolling them out.
I get my pastry mat ready by flouring it before I add one of the cookie disks.
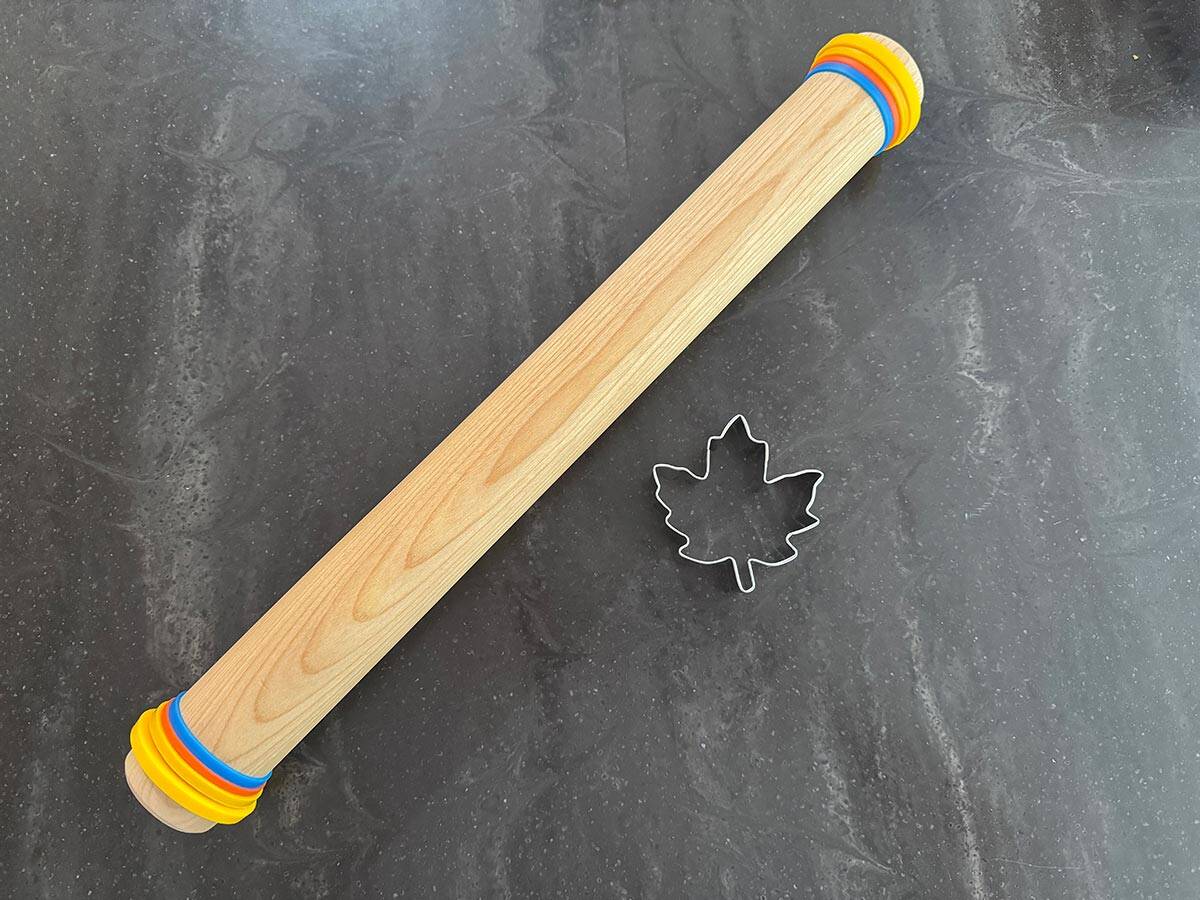
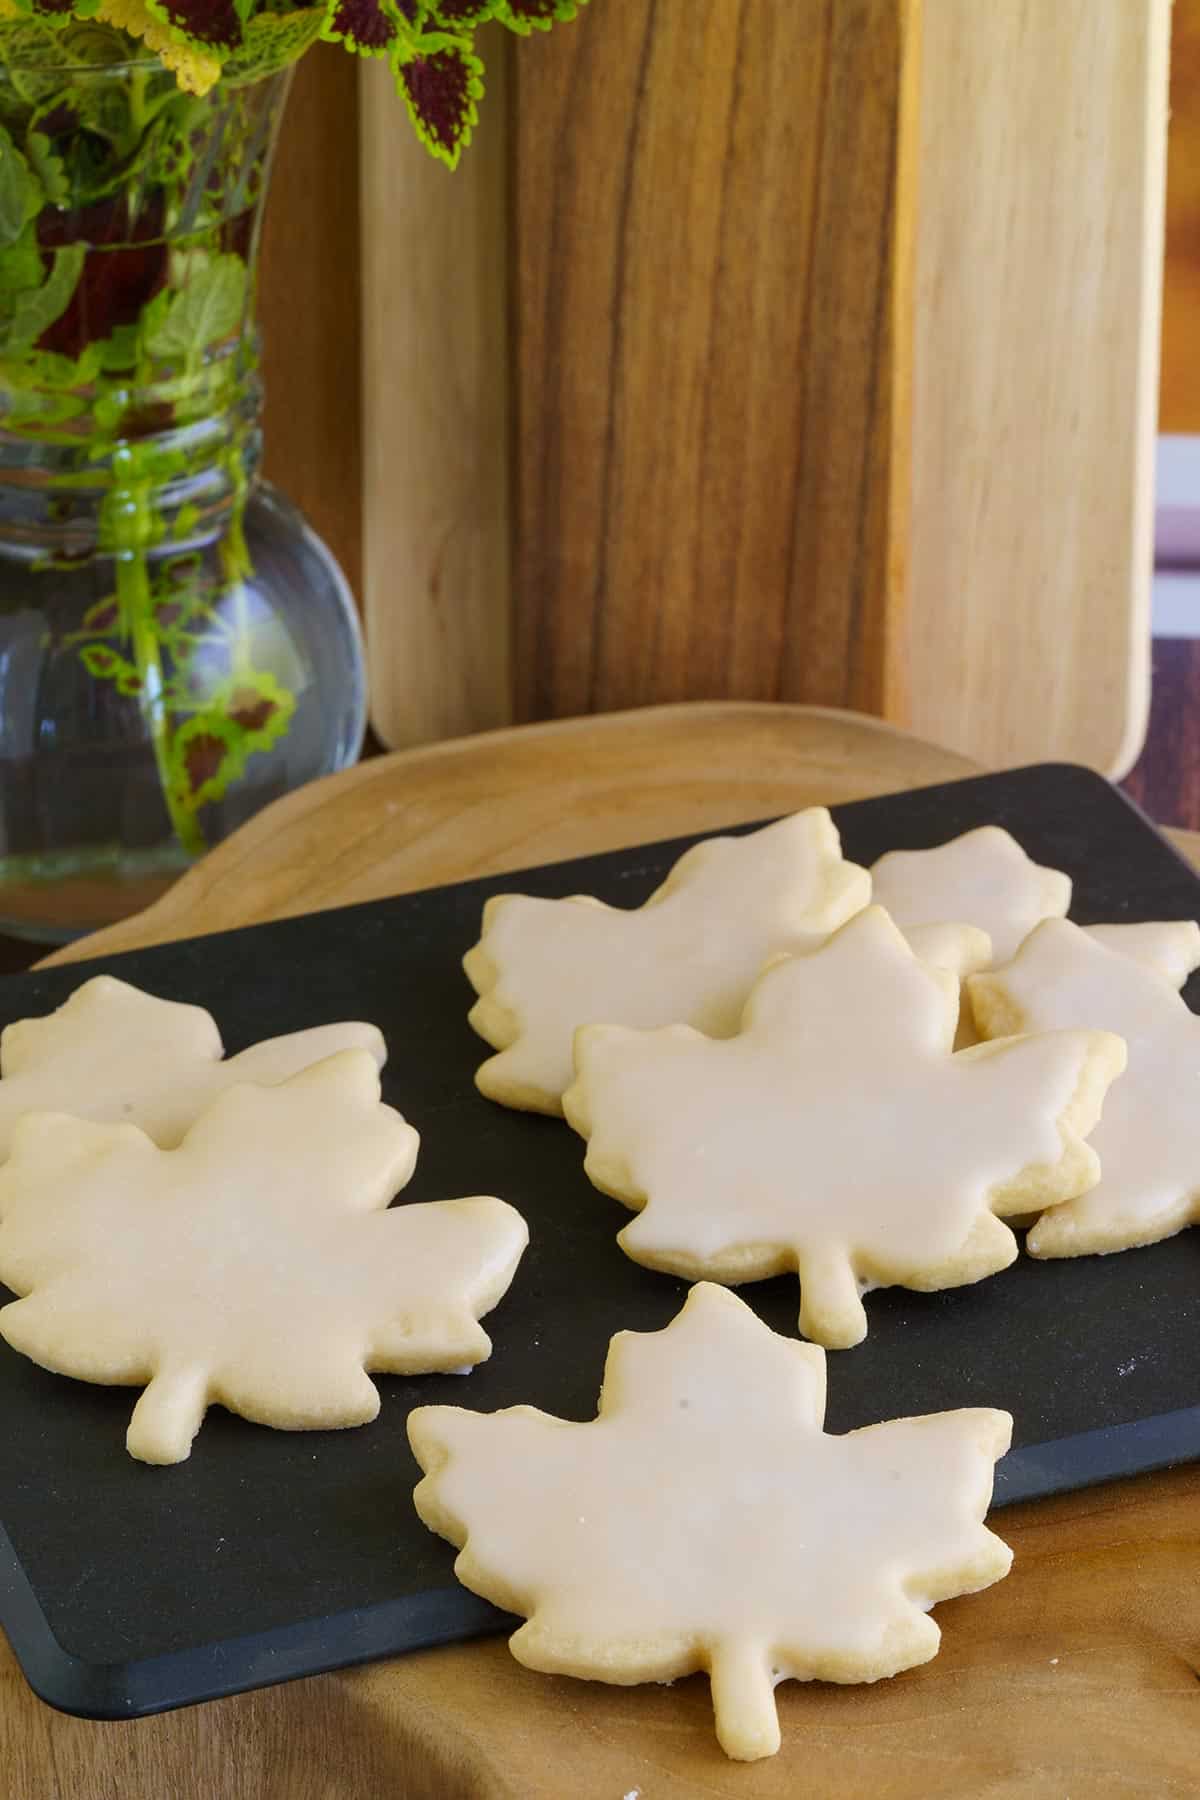
7. I used a maple leaf cookie cutter that is 3 ¼ inches from the top to the bottom of the stem. My rolling pin has bands at the ends and the one I used was the ¼" thick yellow band on the outsides.
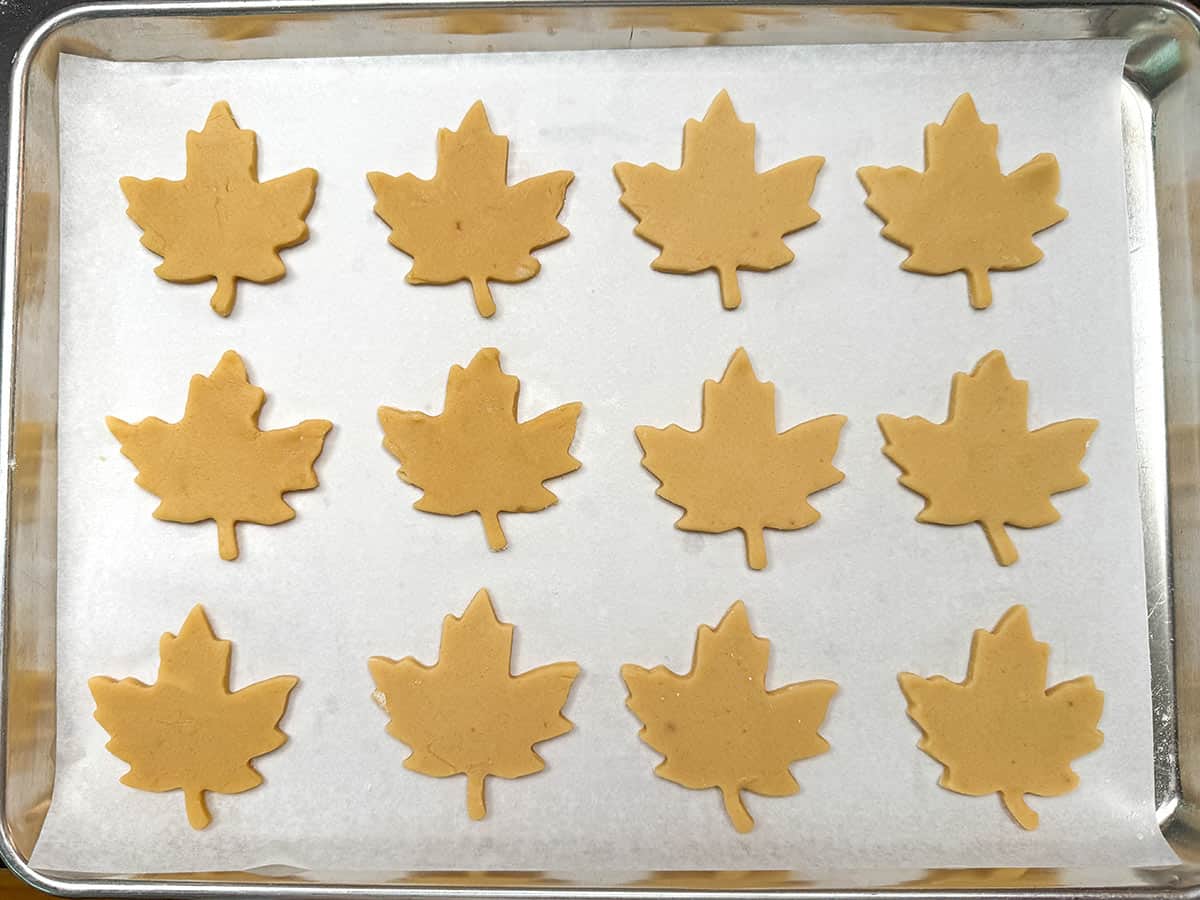
8. Roll out the cookie dough and cut out as many as you can. Then gather up the excess and ball it together and roll out that dough. Roll and cut until you have enough for twelve on a cookie sheet.
Baking Tip!
If your kitchen runs warm, pop the sheet pan of cut-out maple cookies into the fridge for about 10 minutes before baking. It helps the cookies hold their shape in the oven.
9. Bake for 6-8 minutes at 350°F (175°C or 180°C). Once out of the oven leave them on the sheet pan for a minute to firm up then transfer them to a cooling rack.
Making Maple Glaze
Let the cookies cool completely before starting the maple glaze. Weigh the powdered sugar and add it to a bowl. Then add maple syrup, maple extract and the 2 tablespoons of milk. Whisk to blend. Depending on whether you use skim, 1%, 2%, or whole milk, it will affect how thick your glaze turns out
I used all 4 tablespoon of 1% Milk to get the thinness of the glaze I was looking for. I would start with 2 if it is too thick add another tablespoon of milk and so on. The glaze hardens to a nice topping for the cookies. I also put parchment paper under the cooling rack so that any drips fall on it and not on my counter.
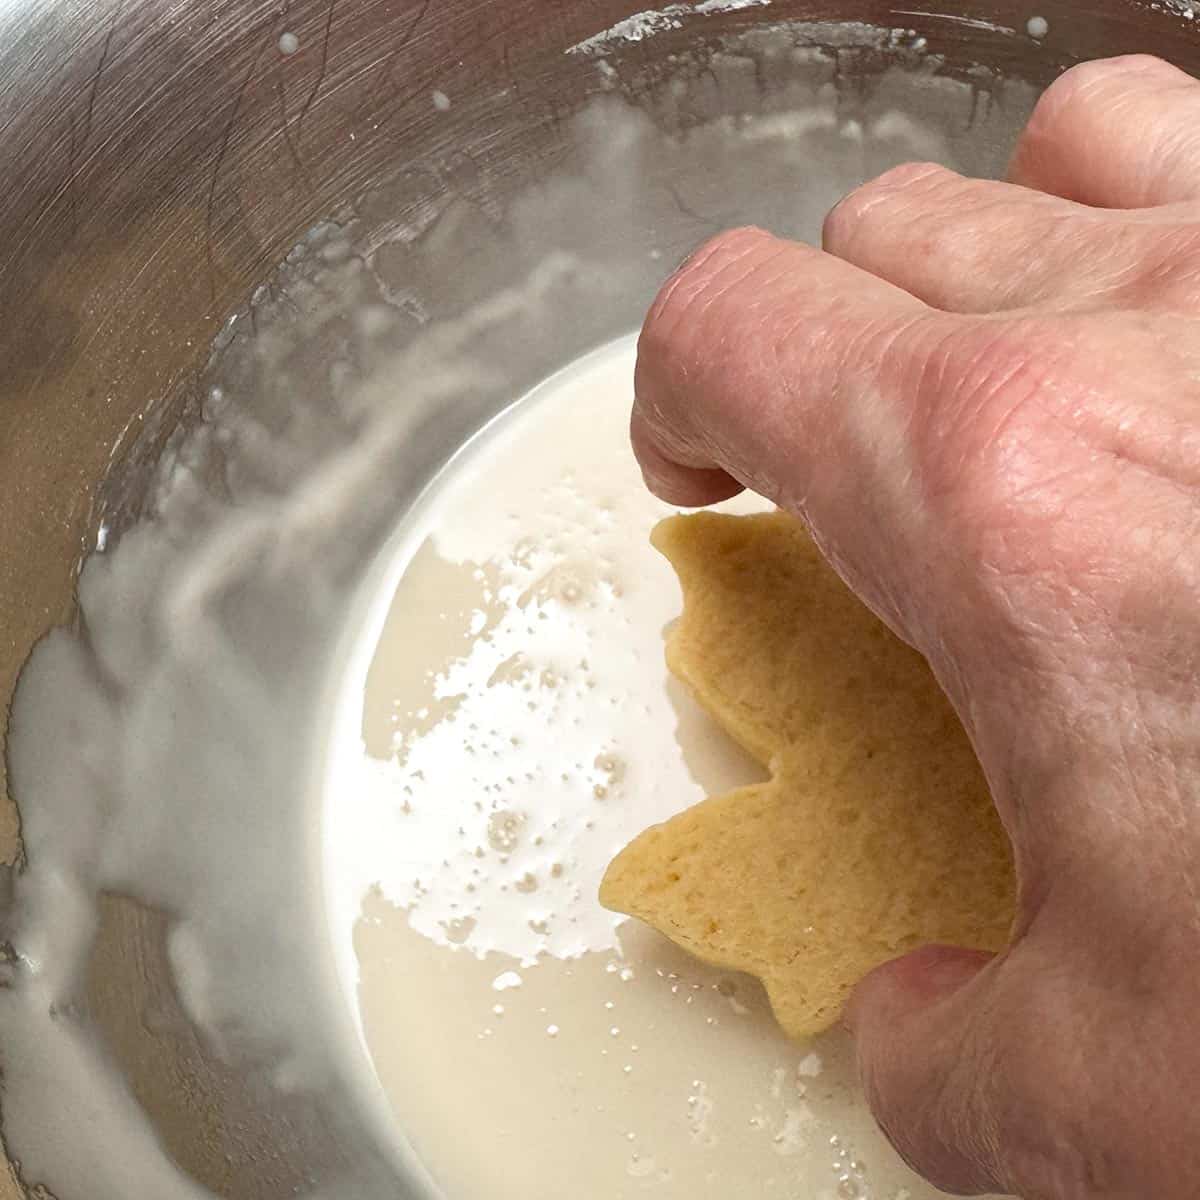
10. You can dip the tops into the glaze and let it drip off the access but I found this cumbersome with ¼" inch cookies.
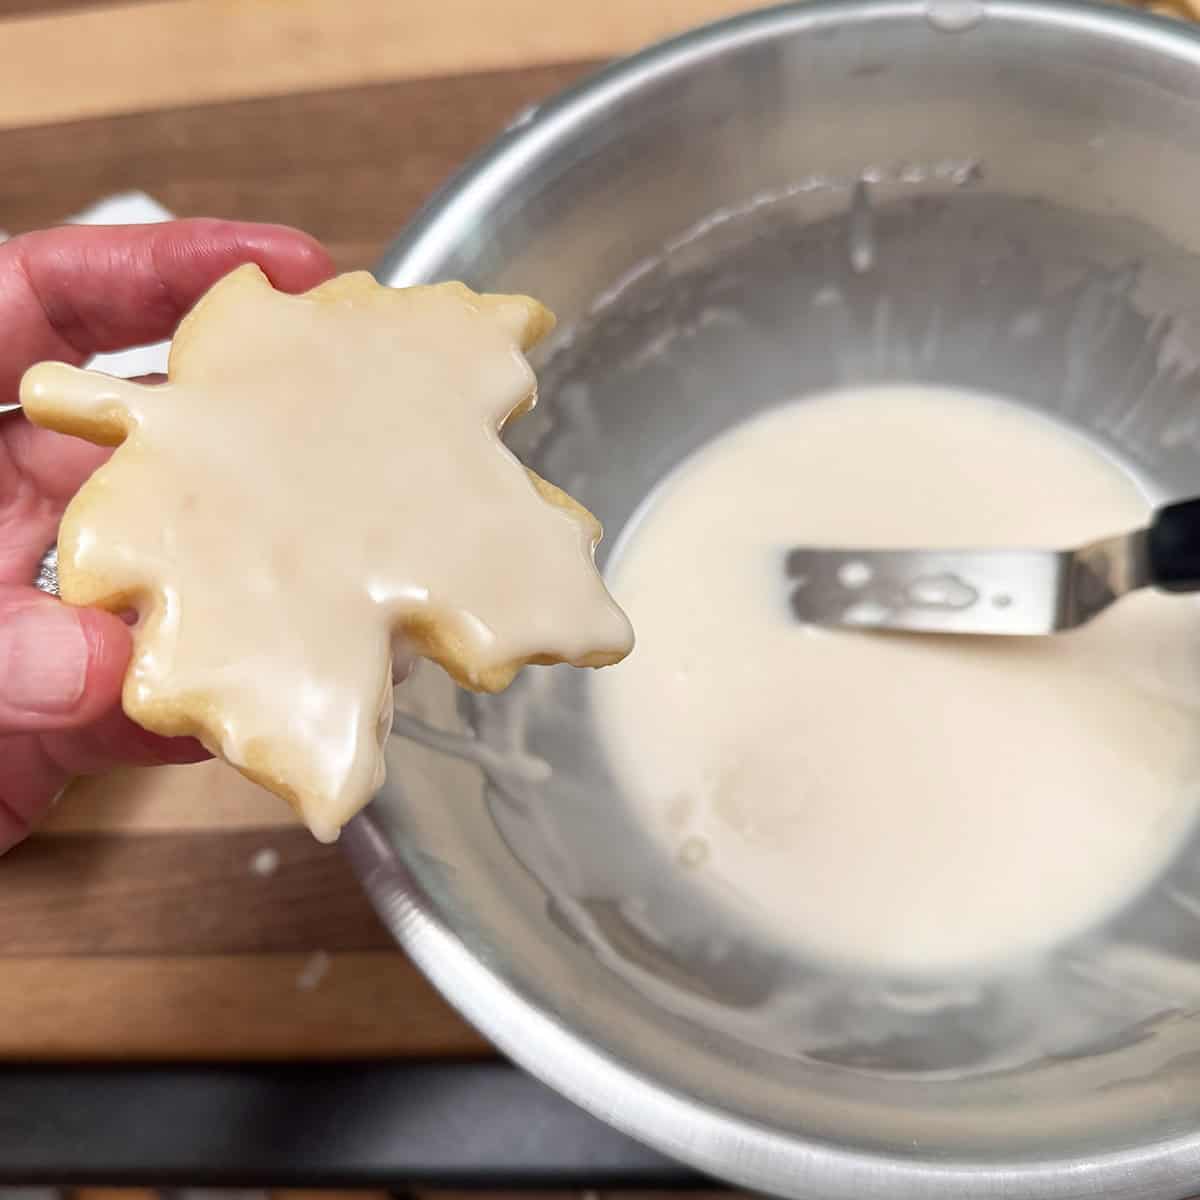
11. I got an icing knife and kind of just painted the glaze onto the cookie. This way, there's much less dripping and mess. I put them back on the cooling rack for the glaze to harden.
The glaze hardens completely in a couple of hours or less.
Enjoy!
FAQs
Maple and brown sugar go together very well and bring a great flavor to this cookie, but you can use all white sugar in a pinch.
OMG yes! For one thing they are easy to make and taste great. Second the glaze sets and can be packaged the next day. They stack well so you can add 4 or 5 to a package.
It may not bring out the full maple taste. I found that the combination of both the syrup and extract work together to give these cookies that deep maple flavor.
After the glaze has hardened, keep the cookies in a single layer or with parchment between stacked layers in a container at room temperature. They'll stay soft and flavorful for 5-7 days.
Looking for More Maple Cookies?
Recipe
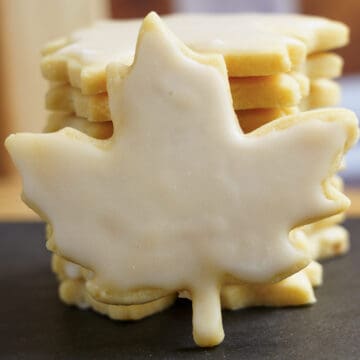
Double Maple Sugar Cookies
Ingredients
MAPLE COOKIES
- 1 cup (227 g) Butter unsalted room temperature
- ½ cup (100 g) Sugar white
- ½ cup (110 g) Light brown sugar
- 1 Egg
- 2 Tablespoons Pure maple syrup
- ½ teaspoon Maple extract
- 3 cups (375 g) All-purpose flour
- 2 teaspoon Baking powder
- ½ teaspoon Kosher Salt
MAPLE GLAZE
- 2 cups (240 g) Powdered sugar
- 2 Tablespoons Pure maple syrup
- ¼ teaspoon Maple extract
- 4 Tablespoons Milk 1%
Instructions
MAPLE COOKIES
- Weigh or measure the white sugar (not the powdered sugar) and light brown sugar into a bowl, then set it aside. In a separate bowl, weigh or measure the flour. Add the baking powder and salt, then whisk to combine.
- Cube the butter into a mixer bowl and cream it for about a minute on medium speed. Add the white and light brown sugars, then mix on medium speed for 3 minutes until the mixture looks fluffy. Add the egg, maple syrup, and maple extract, mixing until well combined. Scrape down the sides of the bowl. With the mixer on low speed, add the flour mixture in thirds. Some dry bits may remain, but don't overmix.
- Transfer the cookie dough to a pastry mat and knead it gently until all the loose flour bits are fully incorporated. Divide the dough into two equal portions, then flatten each into a round disk. Wrap the disks in plastic wrap and chill in the refrigerator for 30 minutes.
- Preheat the oven to 350°F (175°C or 180°C) and line two cookie sheet pans with parchment paper. Remove the cookie dough disks from the fridge and let them sit at room temperature for about 10 minutes to soften slightly. Place one disk on a floured pastry mat and roll it out to ¼ inch thickness. Using a maple leaf cookie cutter (3 ¼" top to bottom of stem), cut out 12 shapes and place them on a prepared baking sheet.
- Bake for 6-8 minutes. Once out of the oven, leave the cookies on the pan for a minute to set before transferring them to a cooling rack. Repeat with the remaining cookie dough.
MAPLE GLAZE
- Once all the cookies have cooled, grab a bowl and a whisk. You can use either a French whisk or a standard one will do. Weigh or measure the powdered sugar and add it to the bowl. Add the maple syrup and maple extract, followed by 2 or 3 tablespoons of milk. Whisk until smooth.
- If the glaze is too thick, add the 4th tablespoon of milk. I ended up using all 4 tablespoons to get the consistency I wanted, but you can adjust based on how thick you'd like your glaze.
- I like to place a sheet of parchment paper under my cooling rack to catch any glaze drips. To glaze the cookies, you have two easy options: you can flip each cookie and dip the top side directly into the glaze, letting the excess drip off before placing it back on the rack. Or, if you prefer, use an icing knife or a regular butter knife to spread the glaze over the top. The glaze will naturally smooth out and begin to set. After a couple of hours, it will firm up into a soft, solid finish. Store the glazed cookies in a container with a lid, they'll stay fresh for 5 to 7 days.
Would you like to save this recipe?
Share this recipe
NUTRITION DISCLAIMER
I am not a certified Dietitian or Nutritionist. The nutrition amounts given below are provided through a program and are only a guideline.
John Mychaluk says
interesting looking recipe. I recently purchased a high quality genuine maple syrup and have been enjoying it with my fage yogurt. where can I purchase the oak leaf cutter?
Barbara says
Hi John, The one I purchased was at my local grocery store. But I added links into the post and recipe for the Maple Leaf Cookie Cutter and here for quick reference. I love maple flavor and I hope you really like these cookies.
Barb says
These cookies have the softness of a sugar cookie, the sweetness of maple syrup, and a glaze that sets for the finishing touch.