A friend who wanted to make her grandmother's key lime pie started my kick-on key limes. She could not find them where she lives in Georgia. It just so happens that here in Lancaster, we have a store named Wegman's which had them for sale. Being a good friend (do not laugh, Susie), I sent her a bag of these limes for her pie.
Of course, I had to get a bag for myself. It only seemed fitting to try and make a creamy key lime cheesecake bar with this tangy citrus flavor.
Jump to:
All About Key Limes
What is a key lime, and what can I do with it? Most people have heard of Key Lime Pie. This pie was made famous by cultivating the key limes in the Florida Keys.
Although the key limes did not originate in the Florida Keys, they became a staple in a lot of the baking and cooking in that region. They are believed to have been introduced to the Florida and Caribbean area by the Spanish in the 16th century.
The biggest reason I hear that people do not like to use them is their size and how many you have to juice to get a half a cup. But I found this helpful hint on the Internet for juicing key limes:
How to Tell if Key Limes are Ripe
There are four ways to tell when to use your key limes or what to look for at the grocery store.
- Color - Key limes are typically yellow when fully ripe. However, they may still have a greenish tint, especially if they have been picked early, or if they have been treated with a color-preserving wax. Look for key limes that have a mostly yellow color. I have left them on my counter for a couple of days when they were half green and half yellow. That seems to help them to ripen to almost all yellow in color
- Texture - Gently squeeze the key lime in your hand. Ripe key limes will have a slight give when pressed, similar to ripe lemons or oranges. If they are hard they are really unripe.
- Smell - Ripe key limes will have a fragrant citrus scent. Give the key lime a sniff close to the stem end. If it has a strong, pleasant citrus aroma, it is likely ripe. Unripe key limes may have a more subtle scent or lack a distinct fragrance.
- Taste Test - If you have the opportunity, you can cut open a key lime and taste a small amount of the juice. Ripe key limes will have a tangy and slightly sweet flavor. Under ripened key limes may taste more acidic and lack the characteristic sweetness.
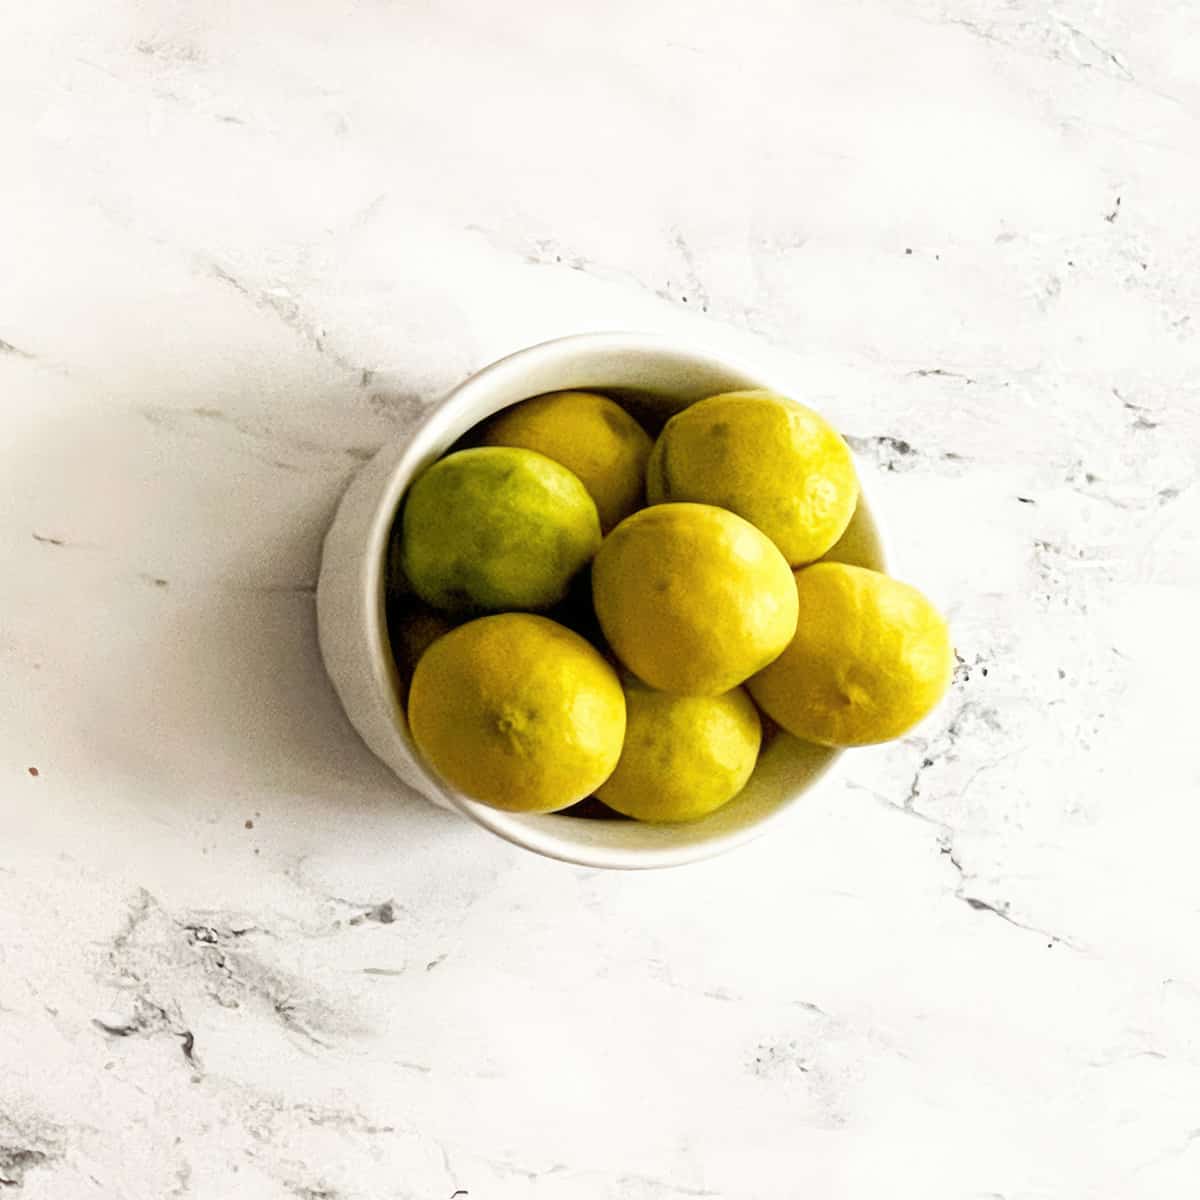
I try to go by color, texture, and smell since I am usually at the grocery store and can't cut one open to taste it. Of course, if you have an in with the produce manager, they might cut one open for you to try. It doesn't hurt to ask.
Ingredients
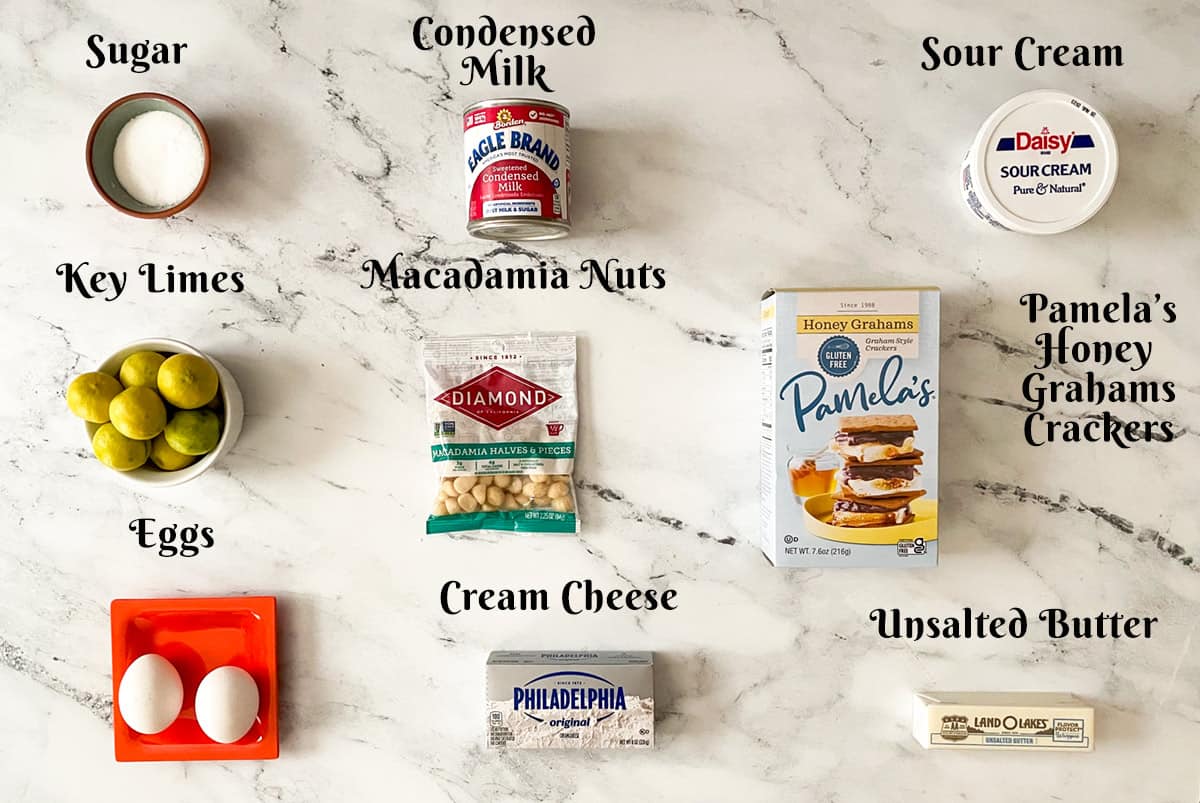
CHEESECAKE FILLING
- Sugar
- Condensed milk
- Key lime juice
- Key lime zest
- Sour cream
- Eggs
- Cream Cheese
CRUST
- Sugar white
- Graham crackers (Pamela's Honey Grahams)
- Macadamia nuts
- Melted butter unsalted
Gluten-Free Option
To make these gluten-free, I love the flavor of Pamela's Honey Grahams. I prefer this graham cracker to any graham cracker whether it is gluten-free or not. They work perfectly for my cheesecake bars!
They are dense and make a great solid base for my cheesecake bars. The honey gives it a slightly sweeter taste to compliment the tartness of the key limes.
One box works perfectly for the 9 X 9 baking dish in which a ¼ cup of the macadamia nuts has been added.
Making Refreshing Key Lime Cheesecake Bars
Cheesecake bars are easy and simple to make if you are in that cheesecake mood but want something other than a big cheesecake. Try cheesecake bars.
Easy Handles for Tin Foil Lined Pan
I start by getting my pan ready. I am using a USA 9 X 9 square pan.
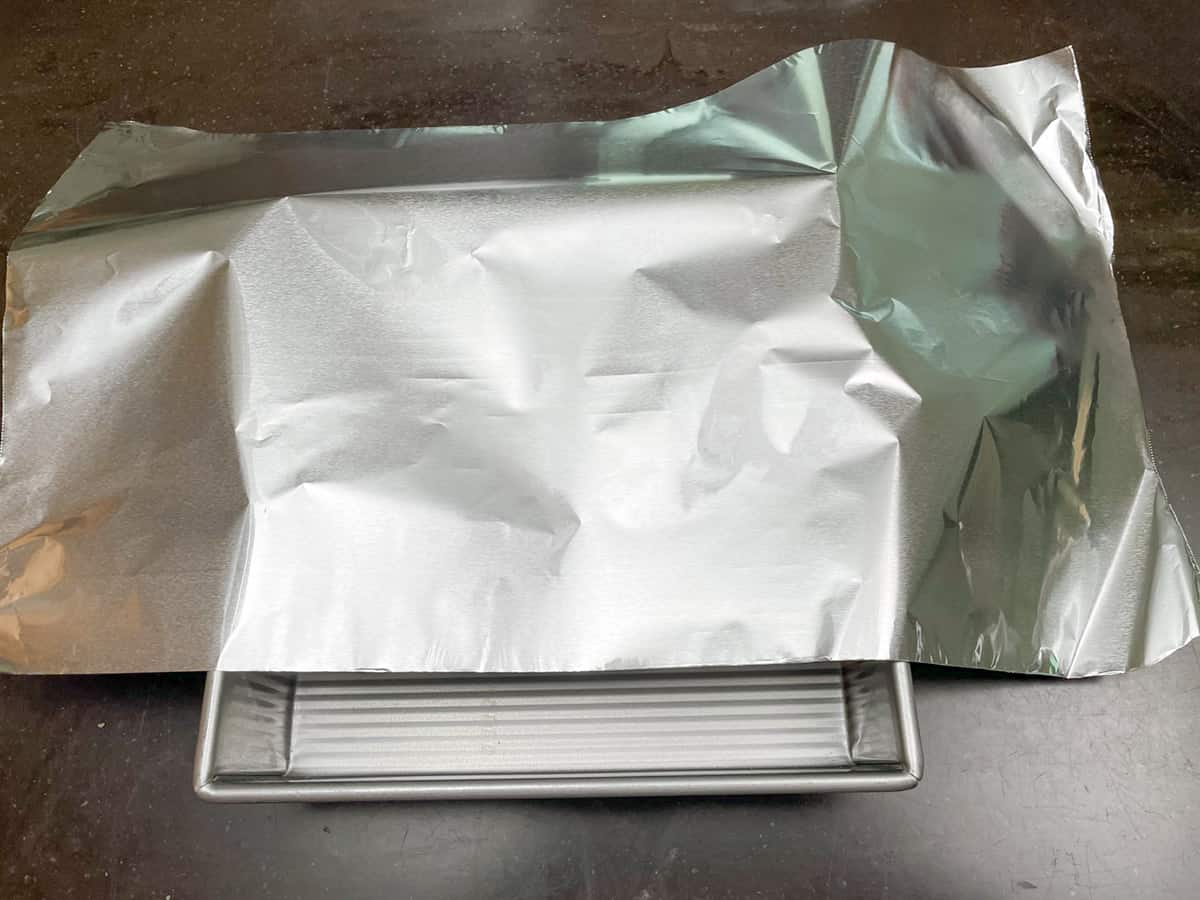
The width fits great for a 9 X 9 pan, so all you need to do is make sure the length of your tin foil is long enough to hang over at least 6 inches on each side.
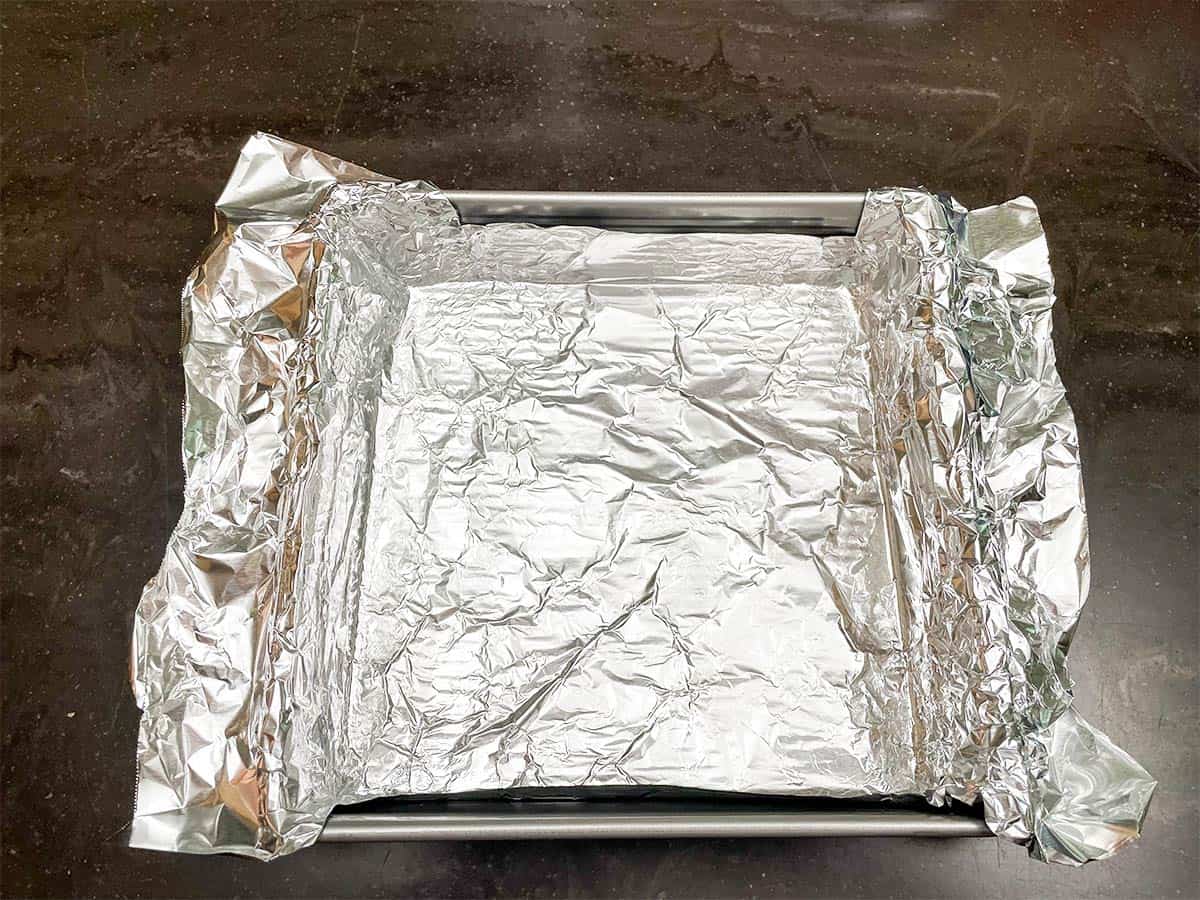
This will give you enough depth for the lining and still have a couple of inches that hang off the two sides. You now have handles to pull the cheesecake out of the pan.
Once the crust becomes solid from spending the night in the refrigerator, pulling it straight up and out of the pan using the tin foil handles is easy.
Prepare the Graham Cracker Crust
A food processor is the easiest way to get the macadamia nuts and the graham crackers to the crumbling state.
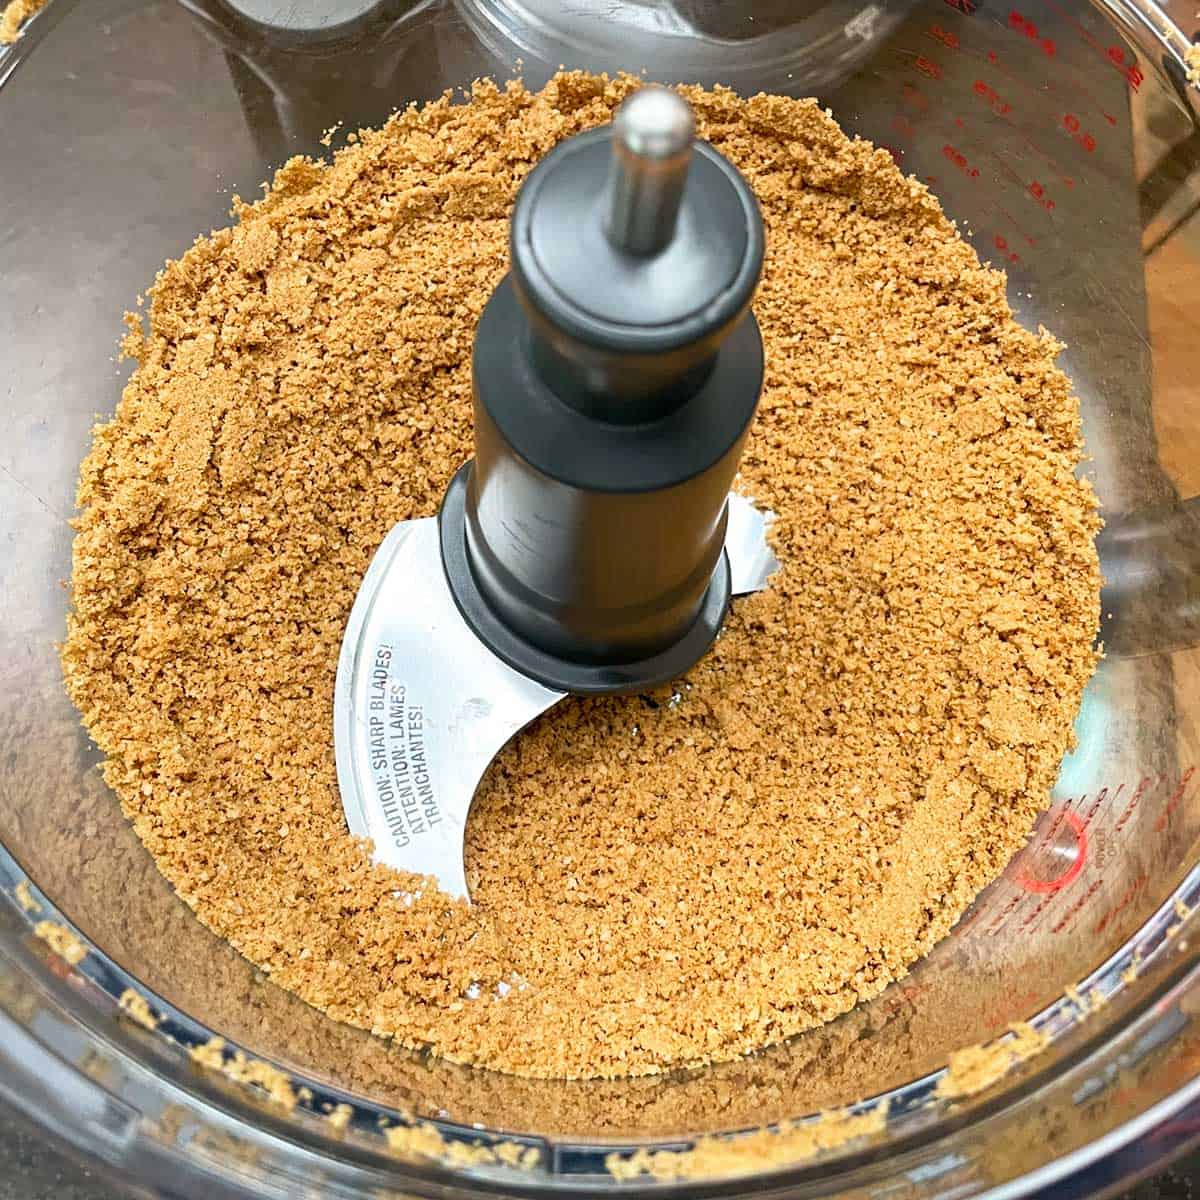
Add the macadamia nuts to the food processor and pulse until small pieces. Next, add the graham cracker and run the processor until it is crumbly.
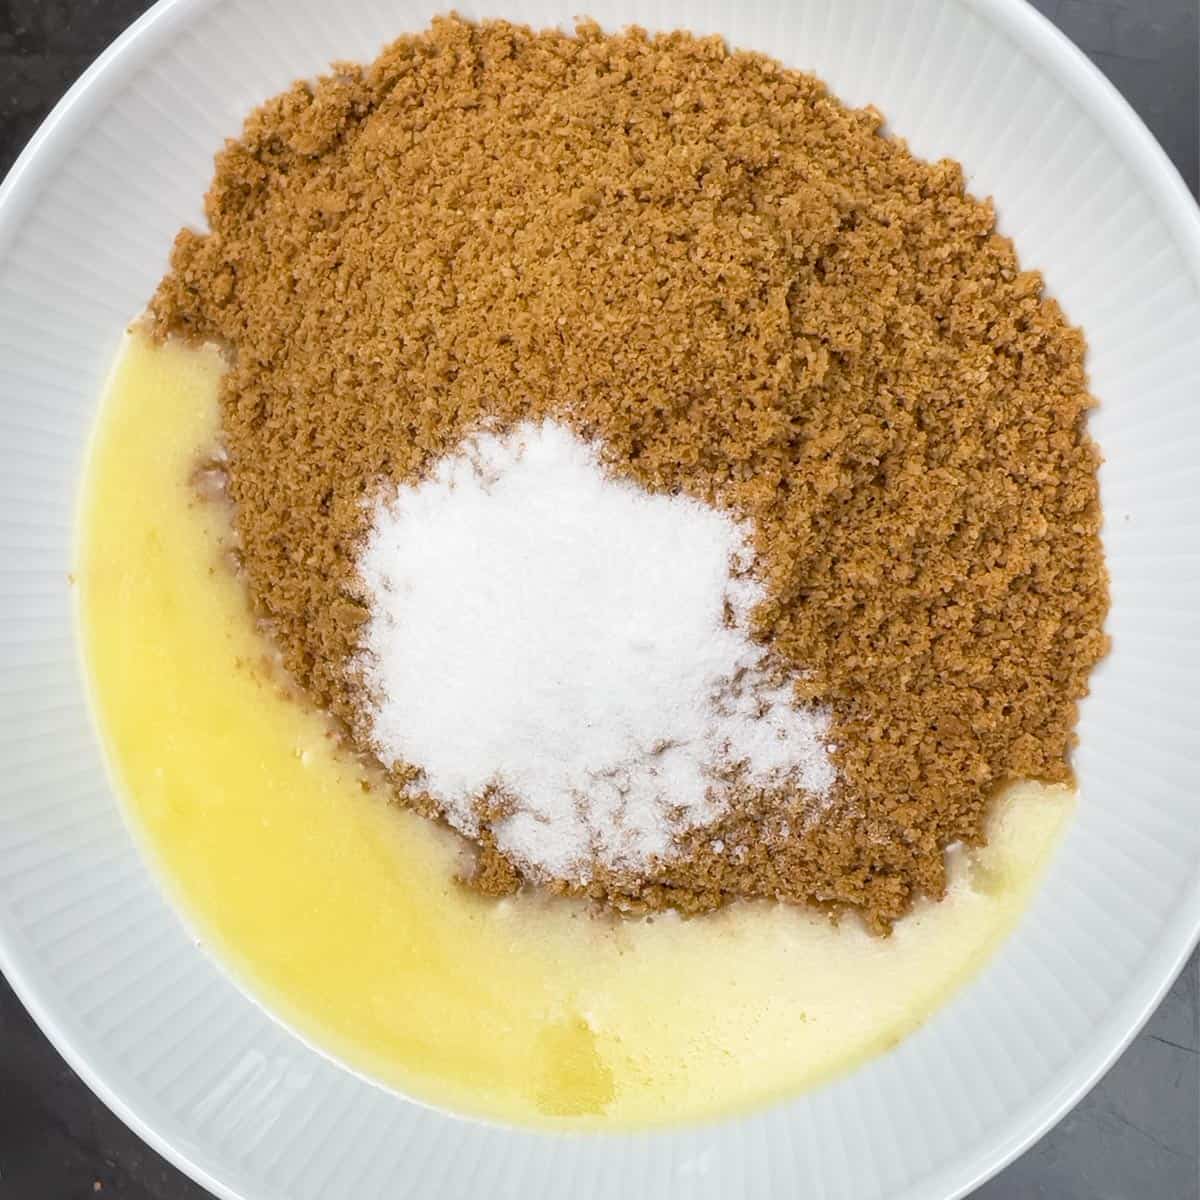
Put the graham cracker crumbs in a bowl along with the butter and sugar.
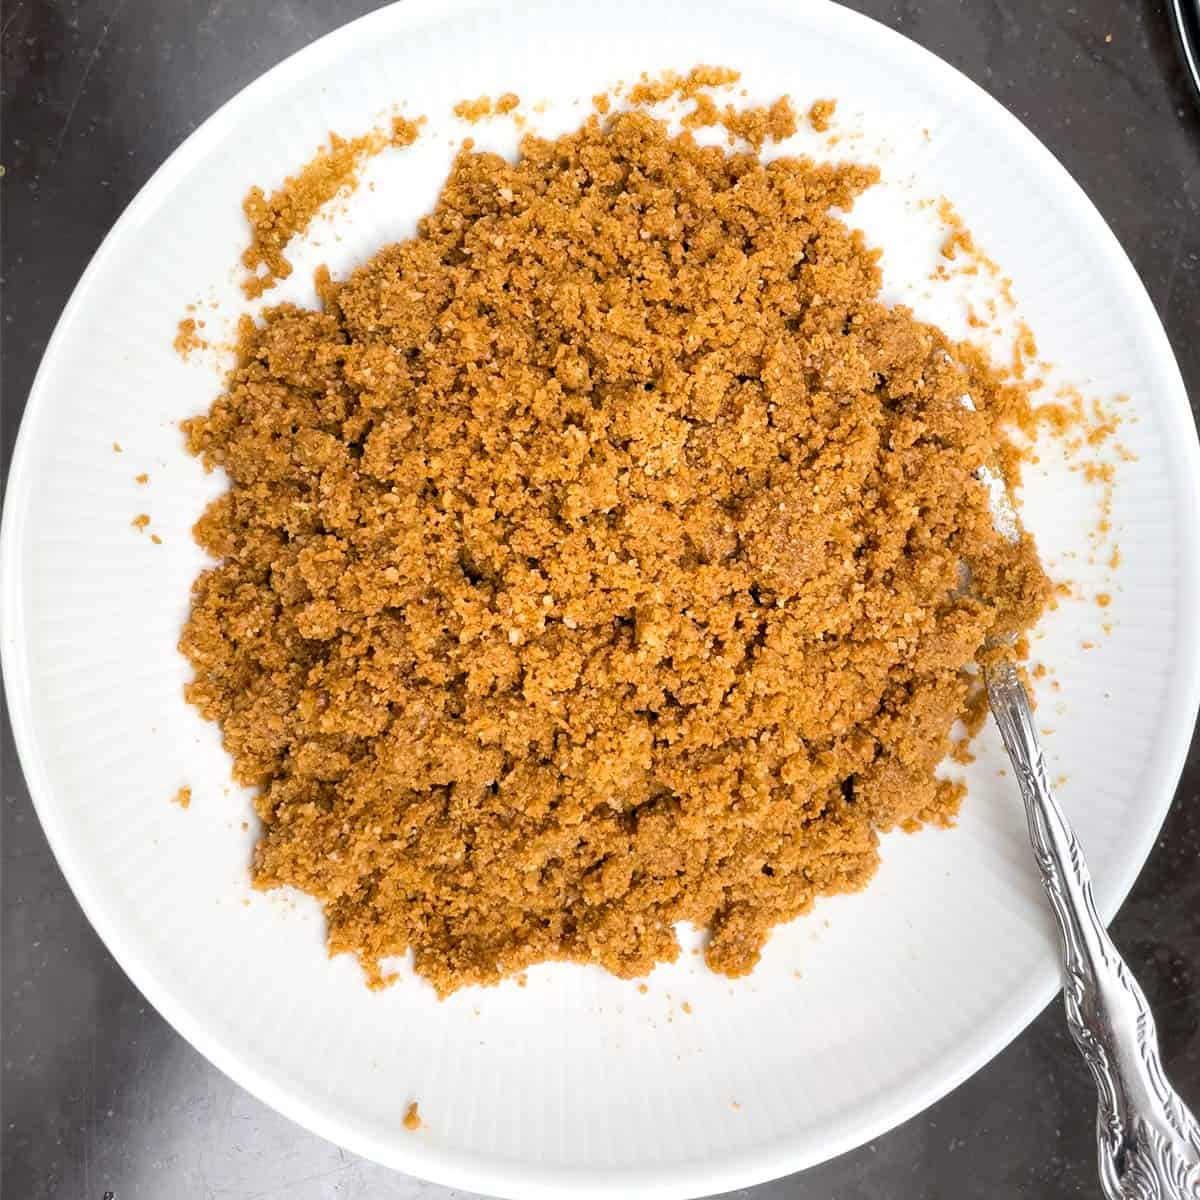
Mix until the cracker crumbs are moist.
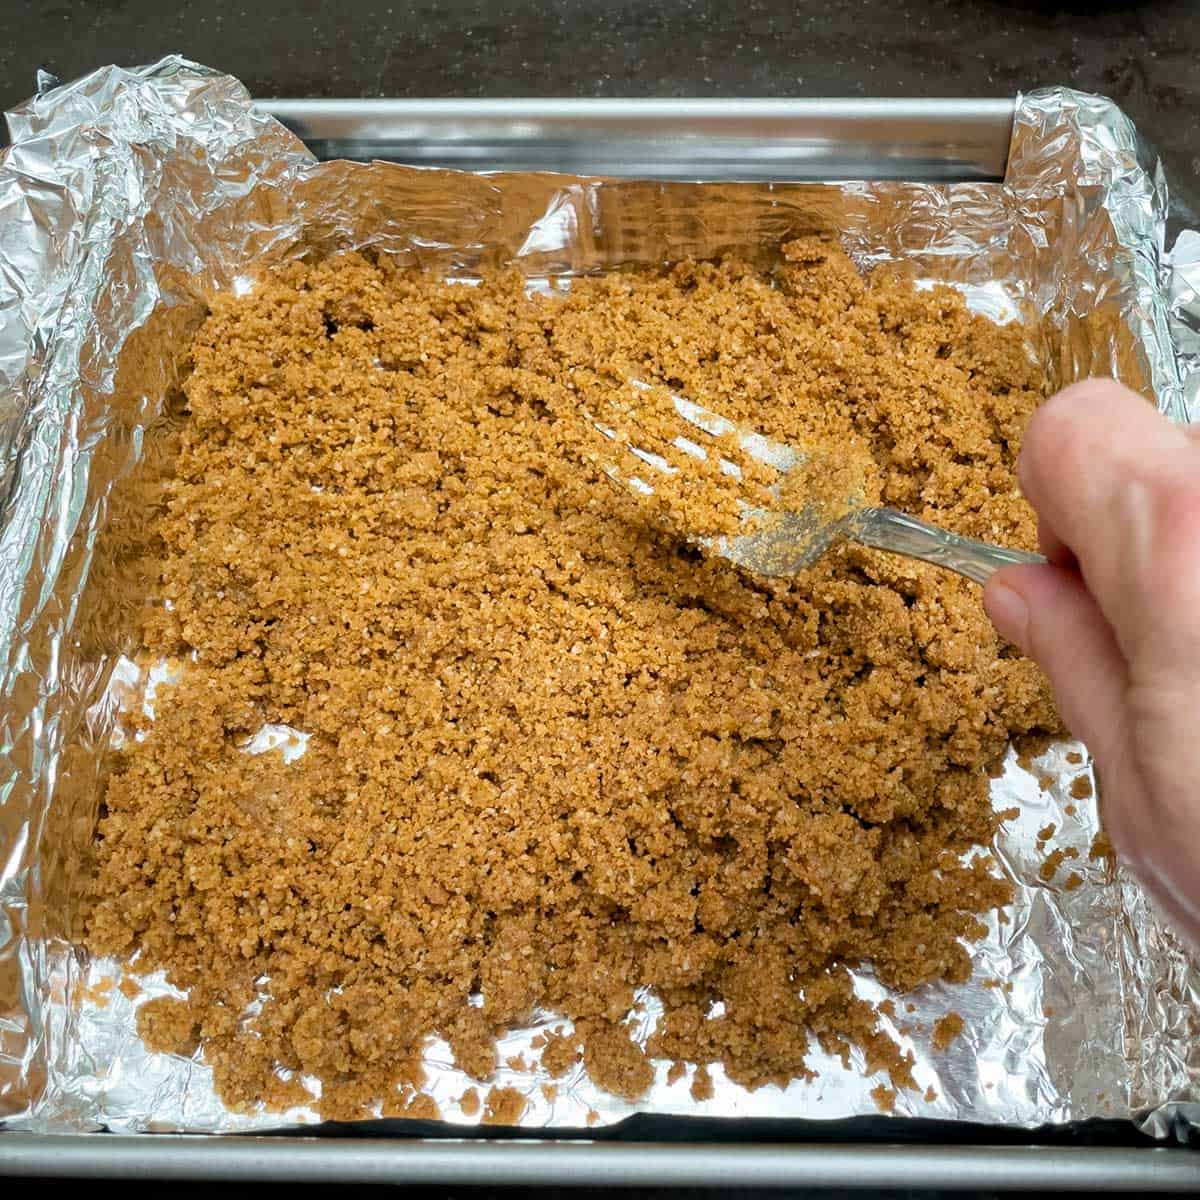
Spread the moist cracker crumbs around the bottom of the pan.
Press the cracker crumbs down using you finger so that the bottom of the pan is covered.
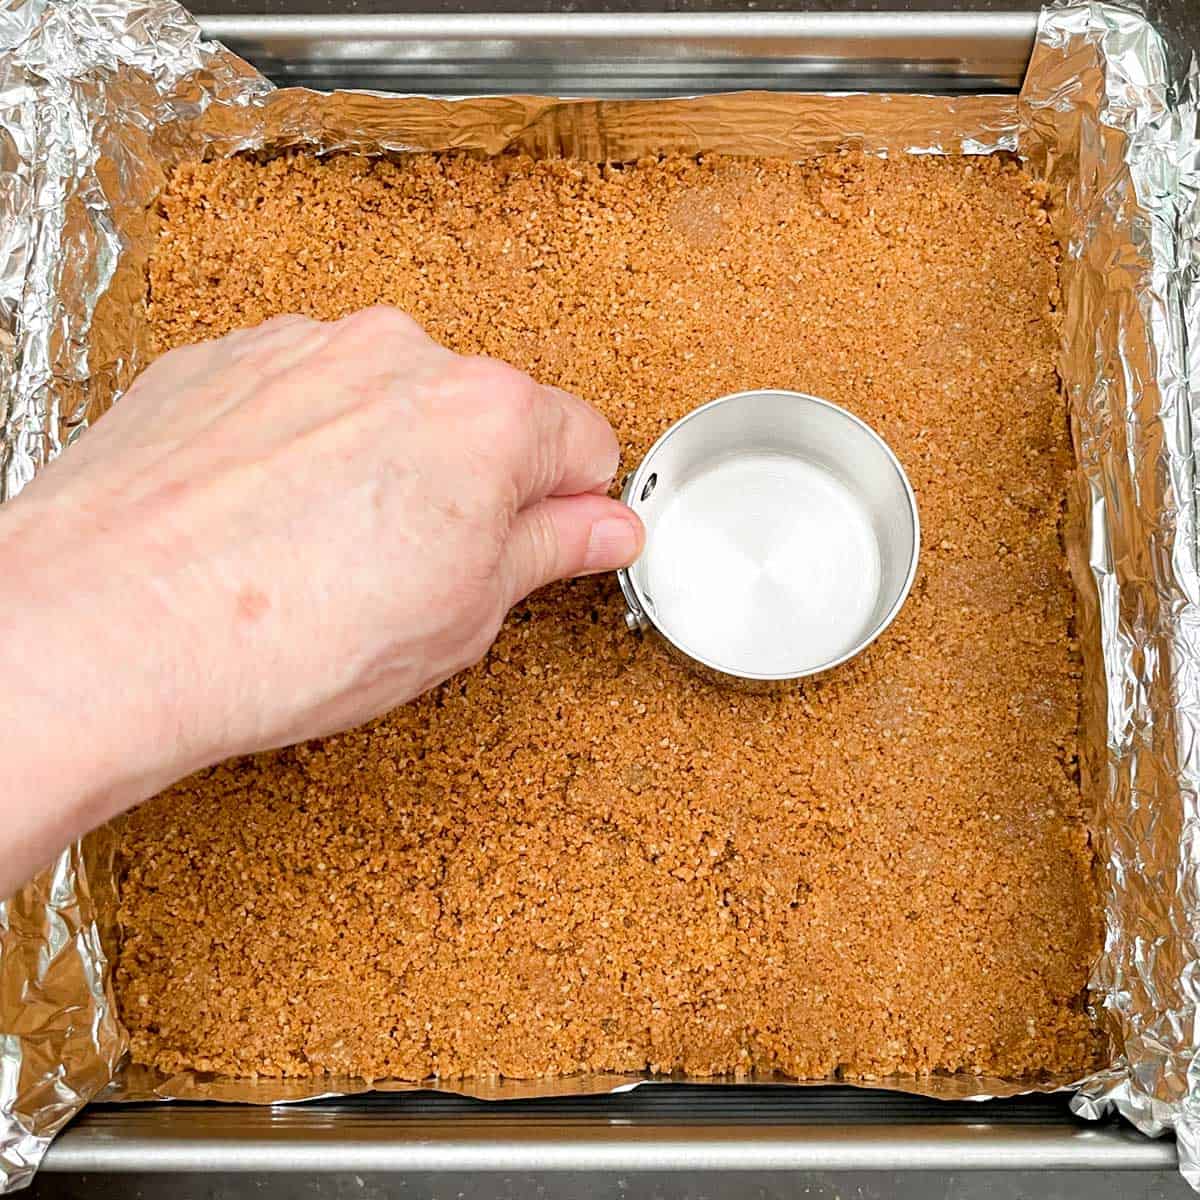
I have a flat-bottom measuring cup that I use to go around the whole bottom to ensure there is no spaces in the graham cracker crust.
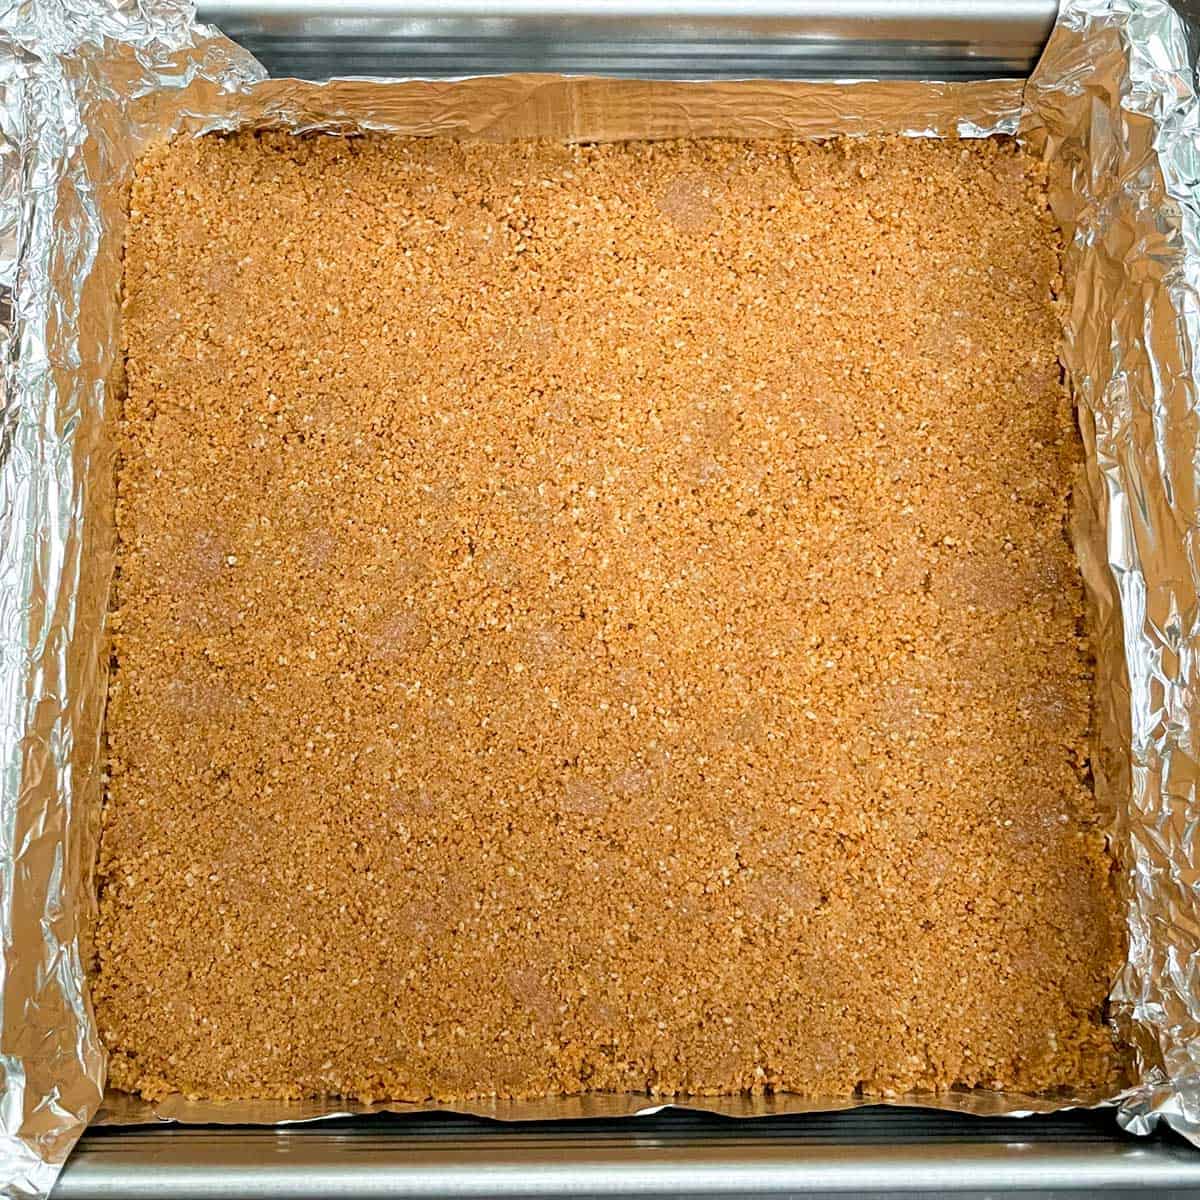
This creates a tight crust for the cheesecake filling.
Set the pan aside and now it is time for the cheesecake filling.
Key Lime Cheesecake Filling
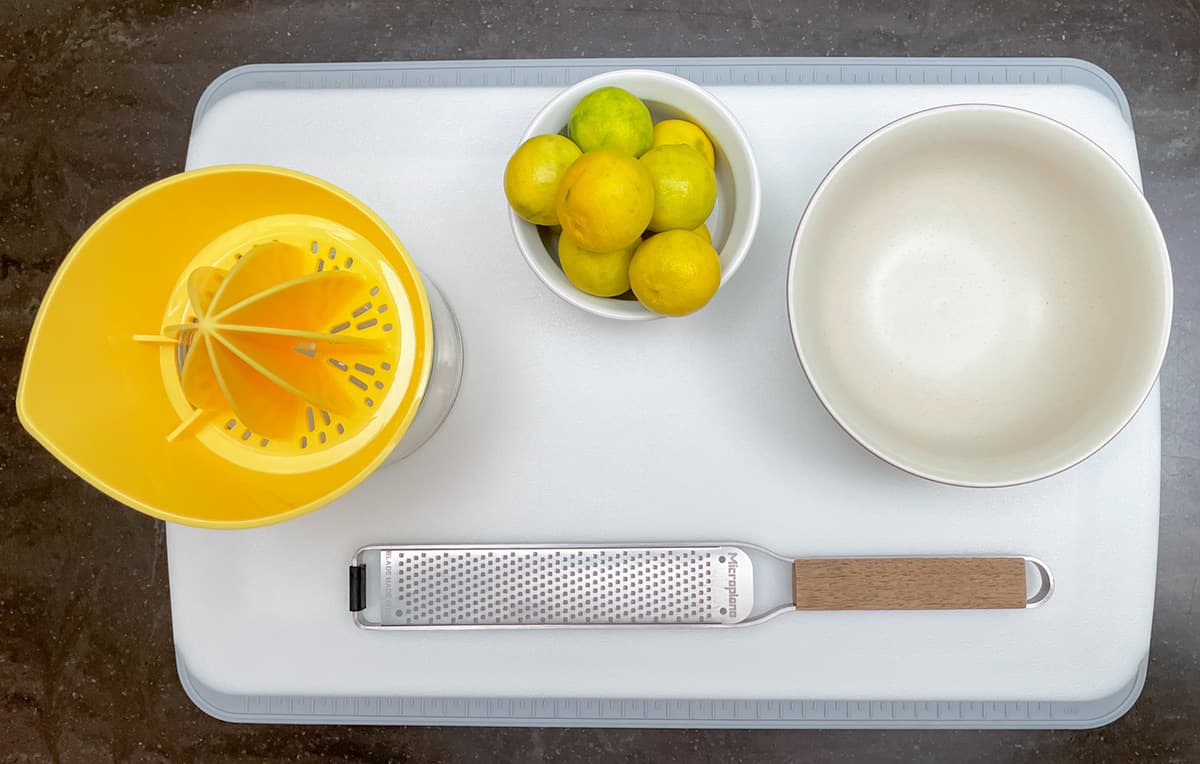
The toughest part is getting the key lime juice. A must is a reamer!!! I really want to try the OXO 2 in 1 citrus juicer which is on Amazon. A trick I learned for zesting and juicing these little gems is that taking off too much of the outer skin makes it harder to juice the key lime.
I zest around the key lime in spots, and it took about 6 to get ½ teaspoon of zest. This way, the integrity of the outside of the key lime does not get soft and makes it hard to juice.
In a stand mixer add the cream cheese and sugar and mix until you get soft peaks around the side of the mixer bowl. This should take 2 to 3 minutes. Next, add one egg at a time and incorporate.
Scrape down the bowl sides and add the key zest, key lime juice, sour cream, condensed milk and mix until it looks blended. I do 2 to 3 minutes on a medium mixer speed.
Heat you oven to 325°F(165°C or 170°C) while you get the cheesecake ready.
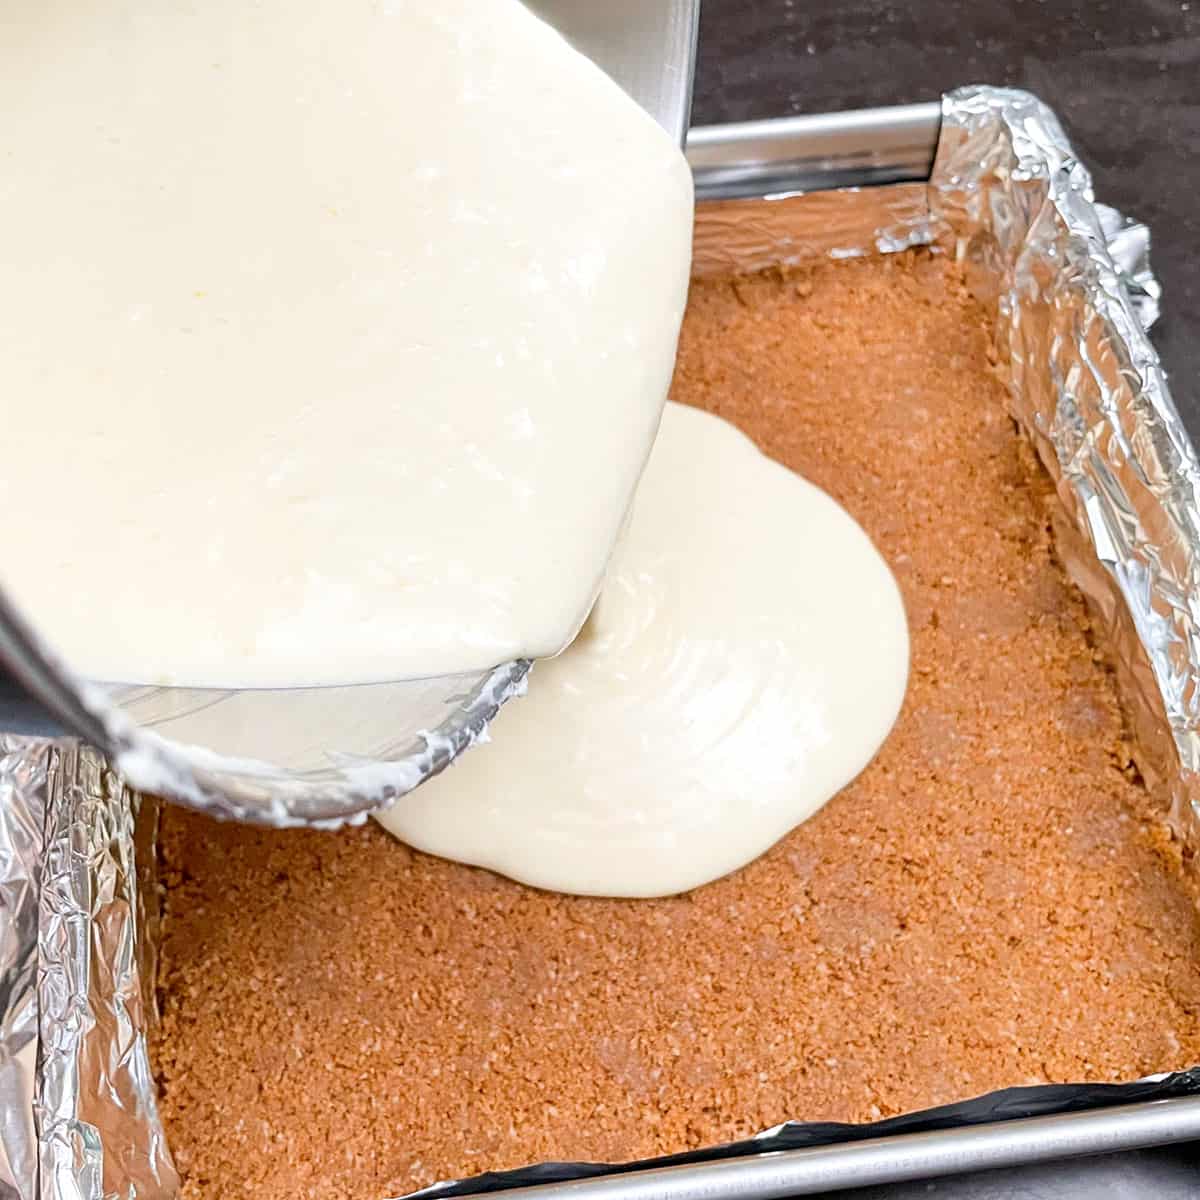
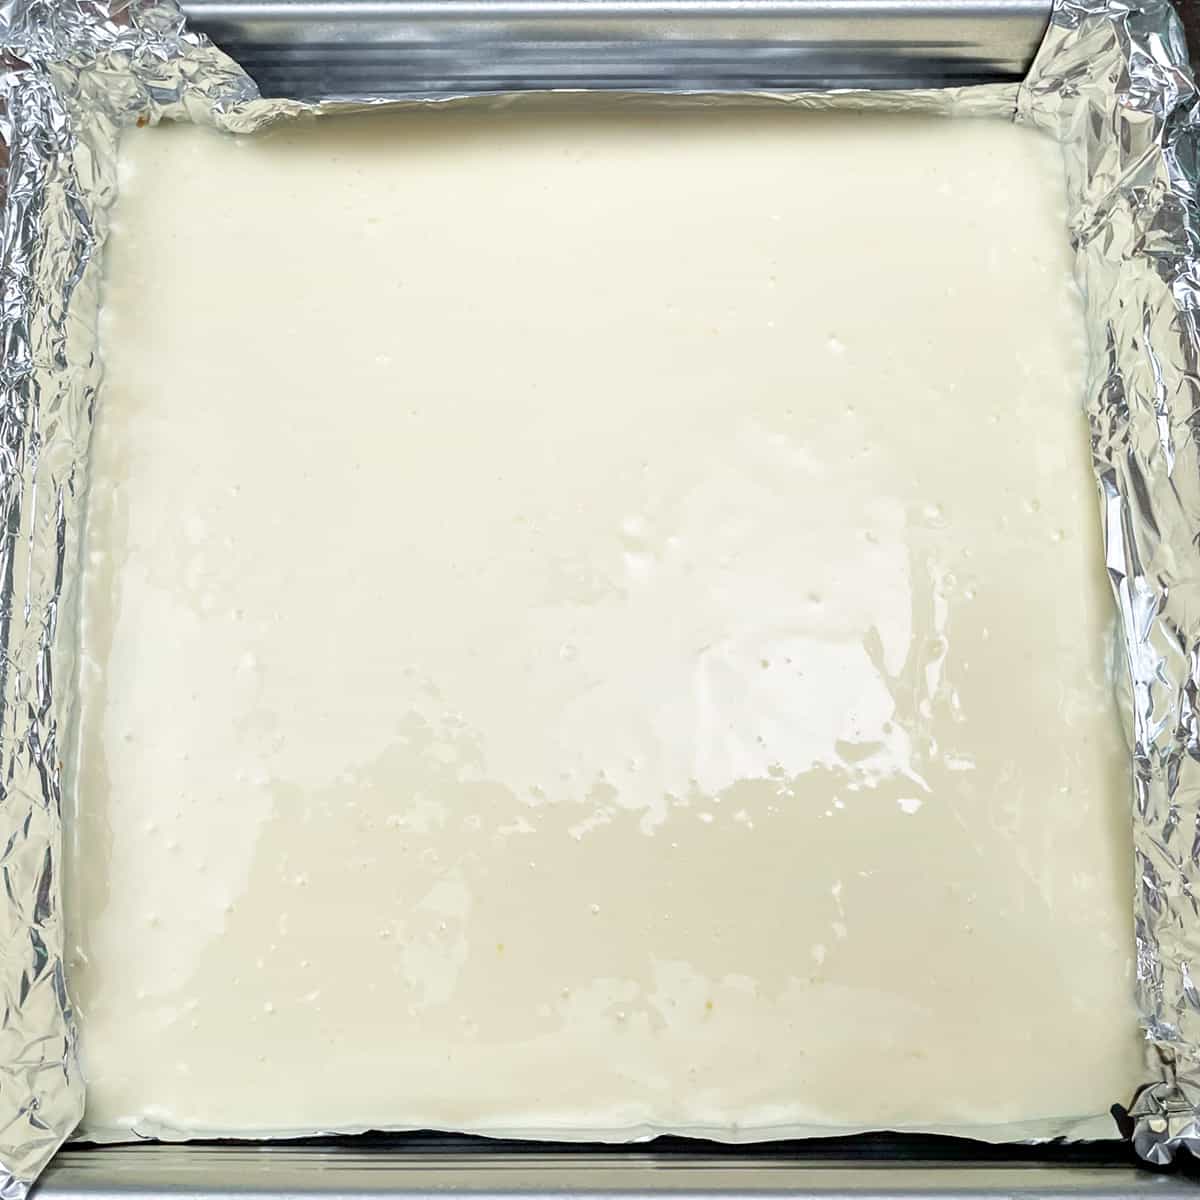
Pour the key lime cheesecake filling on the graham cracker crust. Smooth it around so it has covered the whole crust.
The last thing I do is lift the pan about an inch off the counter and drop it. You want any trapped air bubbles to come to the top.
Baking and Cooling
Place the pan in the heated 325°F(165°C or 170°C) (165°C or 170°C) oven. The cheesecake should take about 40 to 45 minutes.
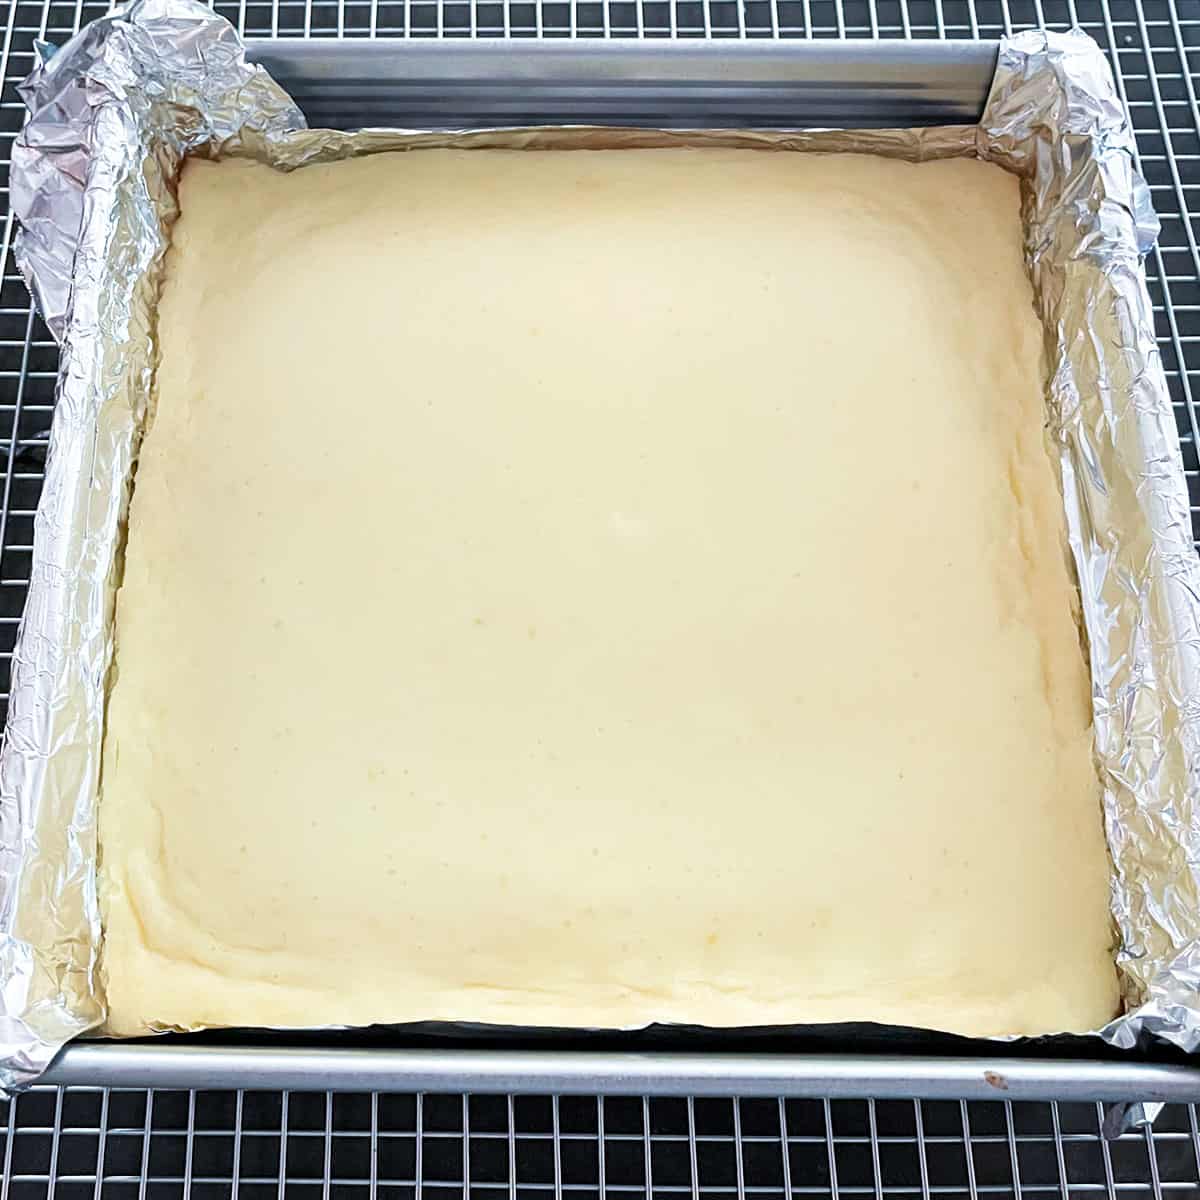
At 40 minutes, give the pan a gentle wiggle, and it should move slightly. Check it again in 2 or 3 minutes if it wiggles too much. It should be a light brown just around the edges, and the top of the cheesecake should be uniform in color, a pale yellow.
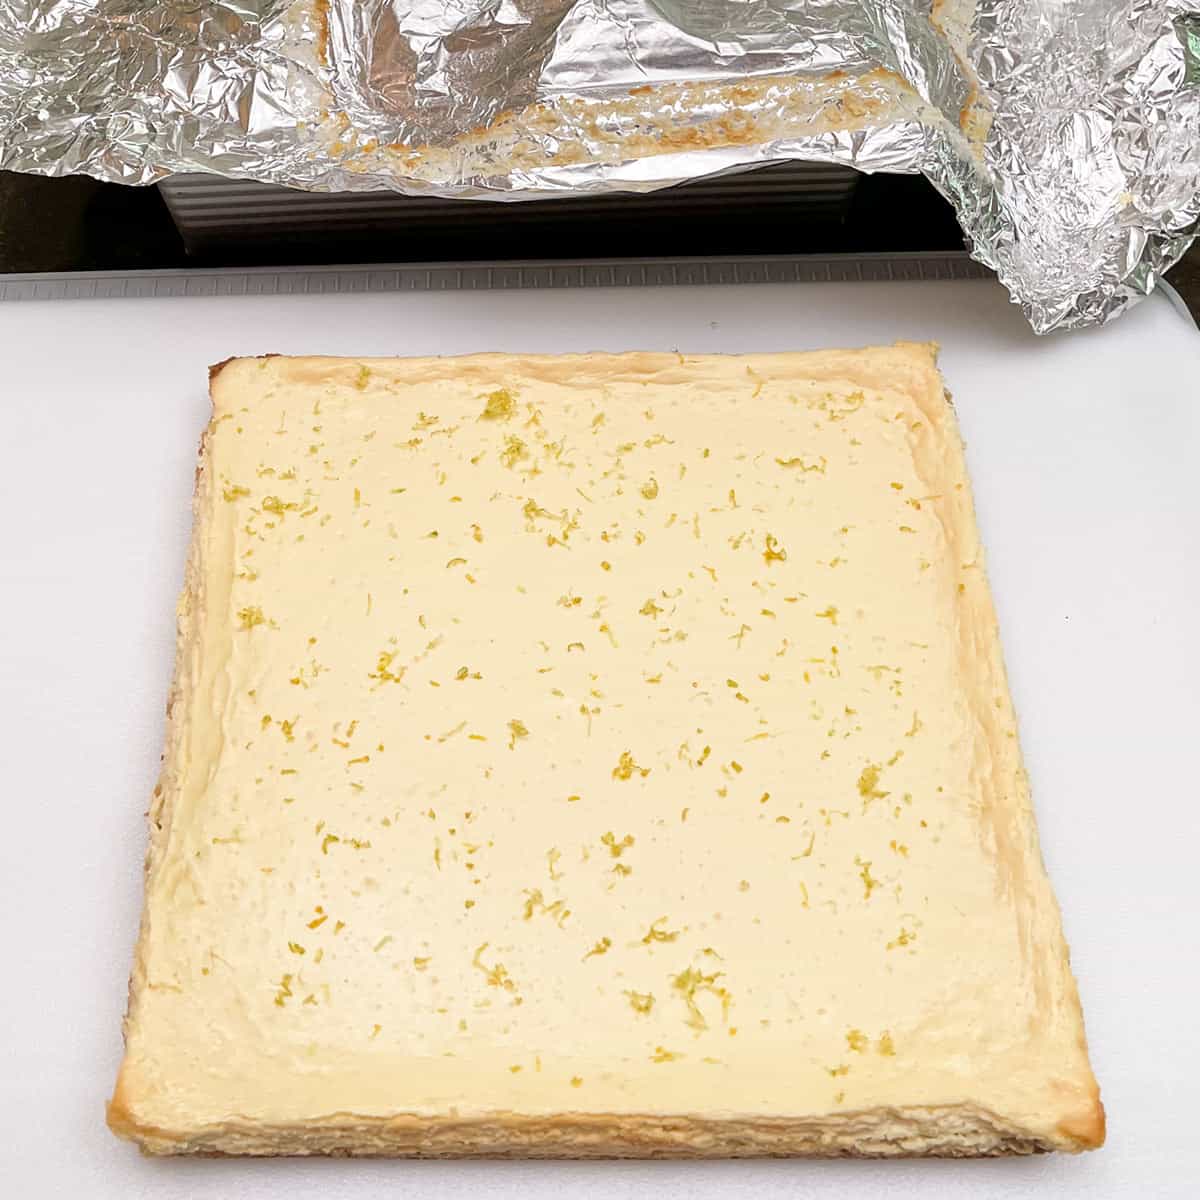
Pull the pan out of the oven and place it on a cooling rack so that the bottom of the pan can also cool.
Chilling and Cutting to Serve
Cover the cheesecake pan with plastic wrap after 30 minutes on the cooling rack. The cheesecake must be in the refrigerator overnight to get everything set. After about 2 hours, moisture collects under the plastic wrap, so it needs to be changed.
At this time I zest a little key lime over the top of the cheese cake and put a fresh plastic wrap on the top of the pan.
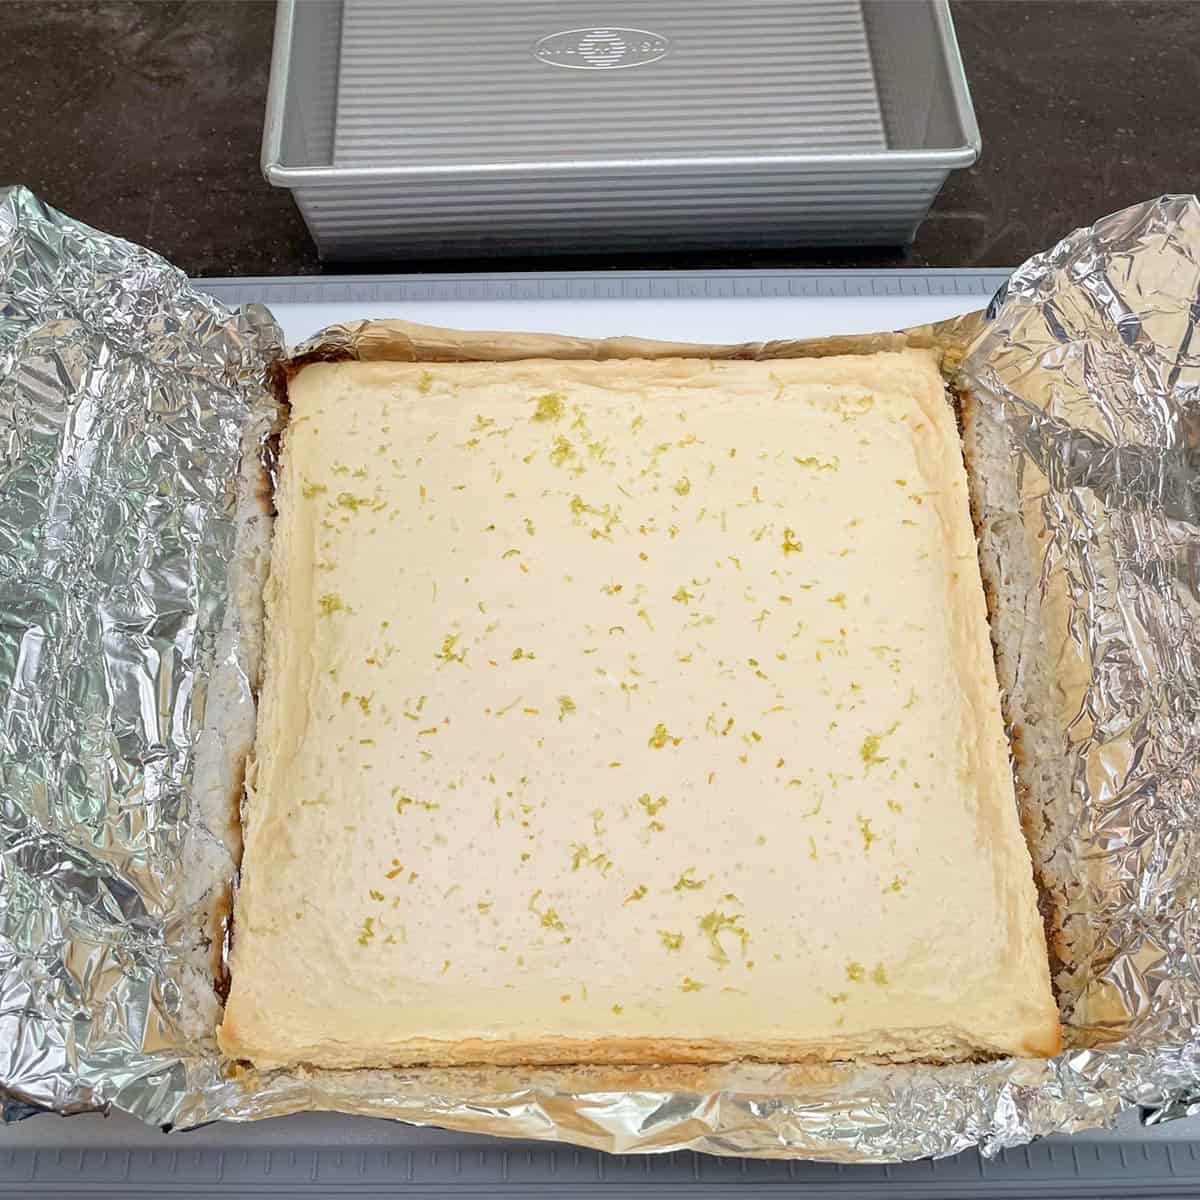
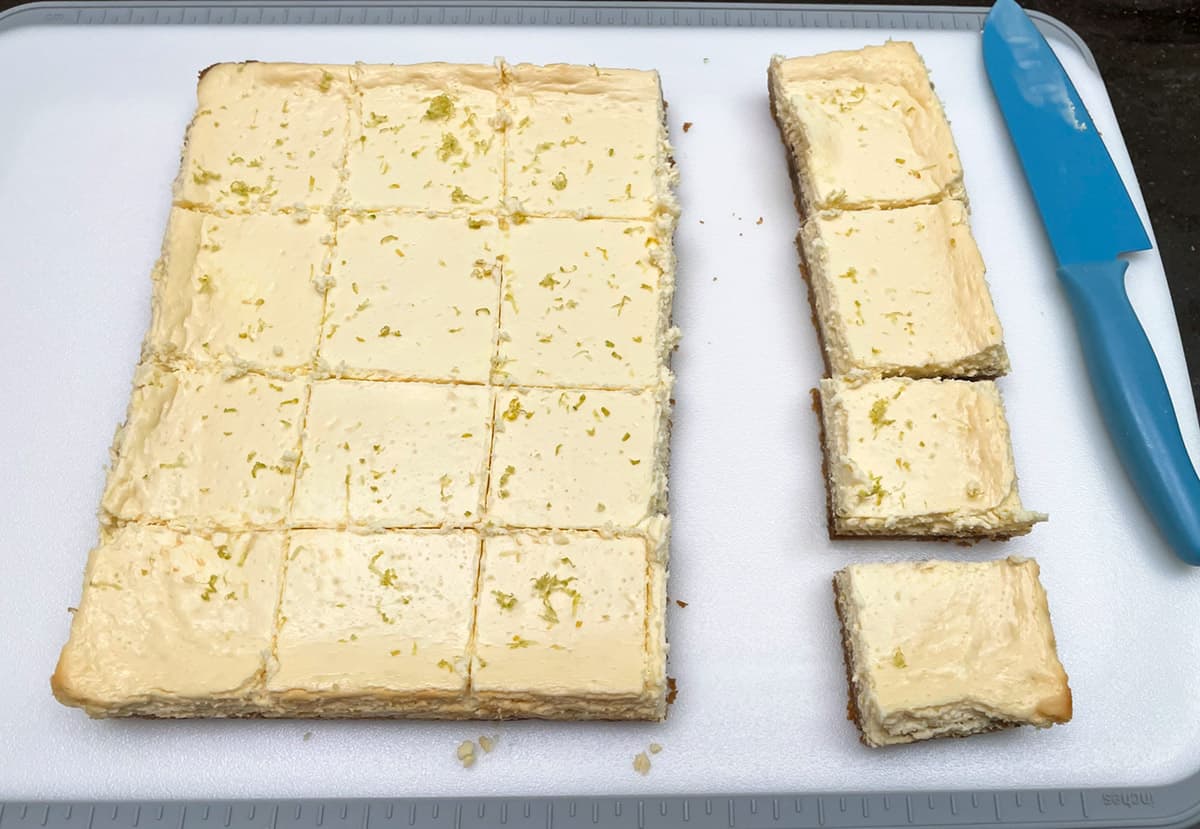
After a night in the fridge, I set the pan on the counter with a cutting board right in front of the pan. Take the tin foil side handles and pull the cheesecake straight up and onto the cutting board.
Start pulling the tin foil away from the sides of the cheesecake. I then put my hand under the cheesecake and pull the tin foil away from the bottom crust. Be gentle, but honestly, the crust is pretty sturdy.
I scored the top of the cheesecake, so I have 16 bars. Then take a sharp knife and cut the bars.
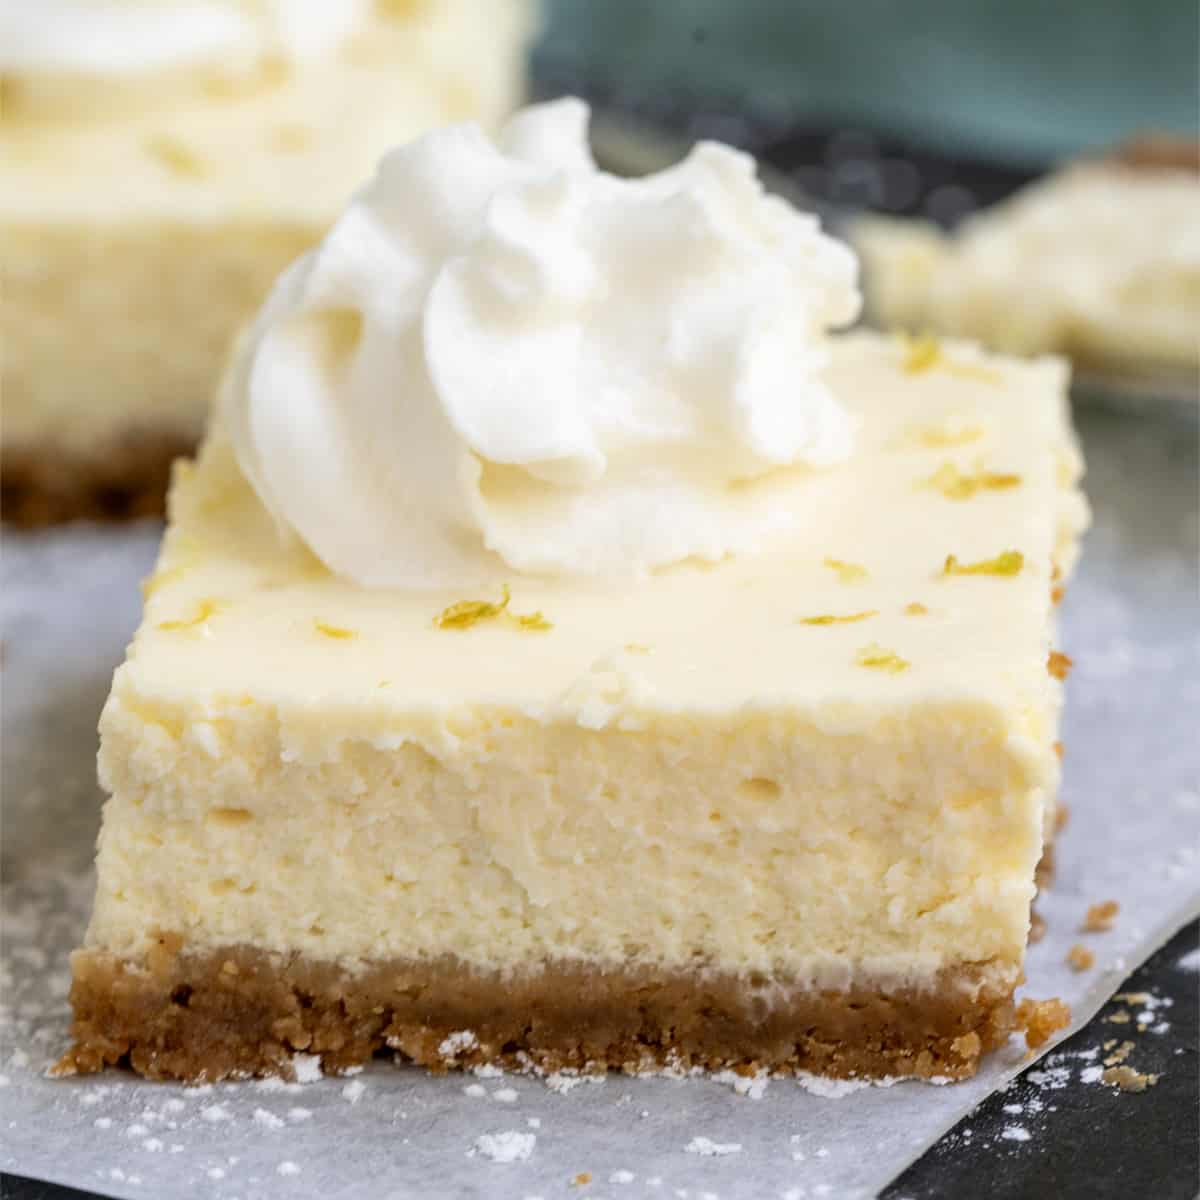
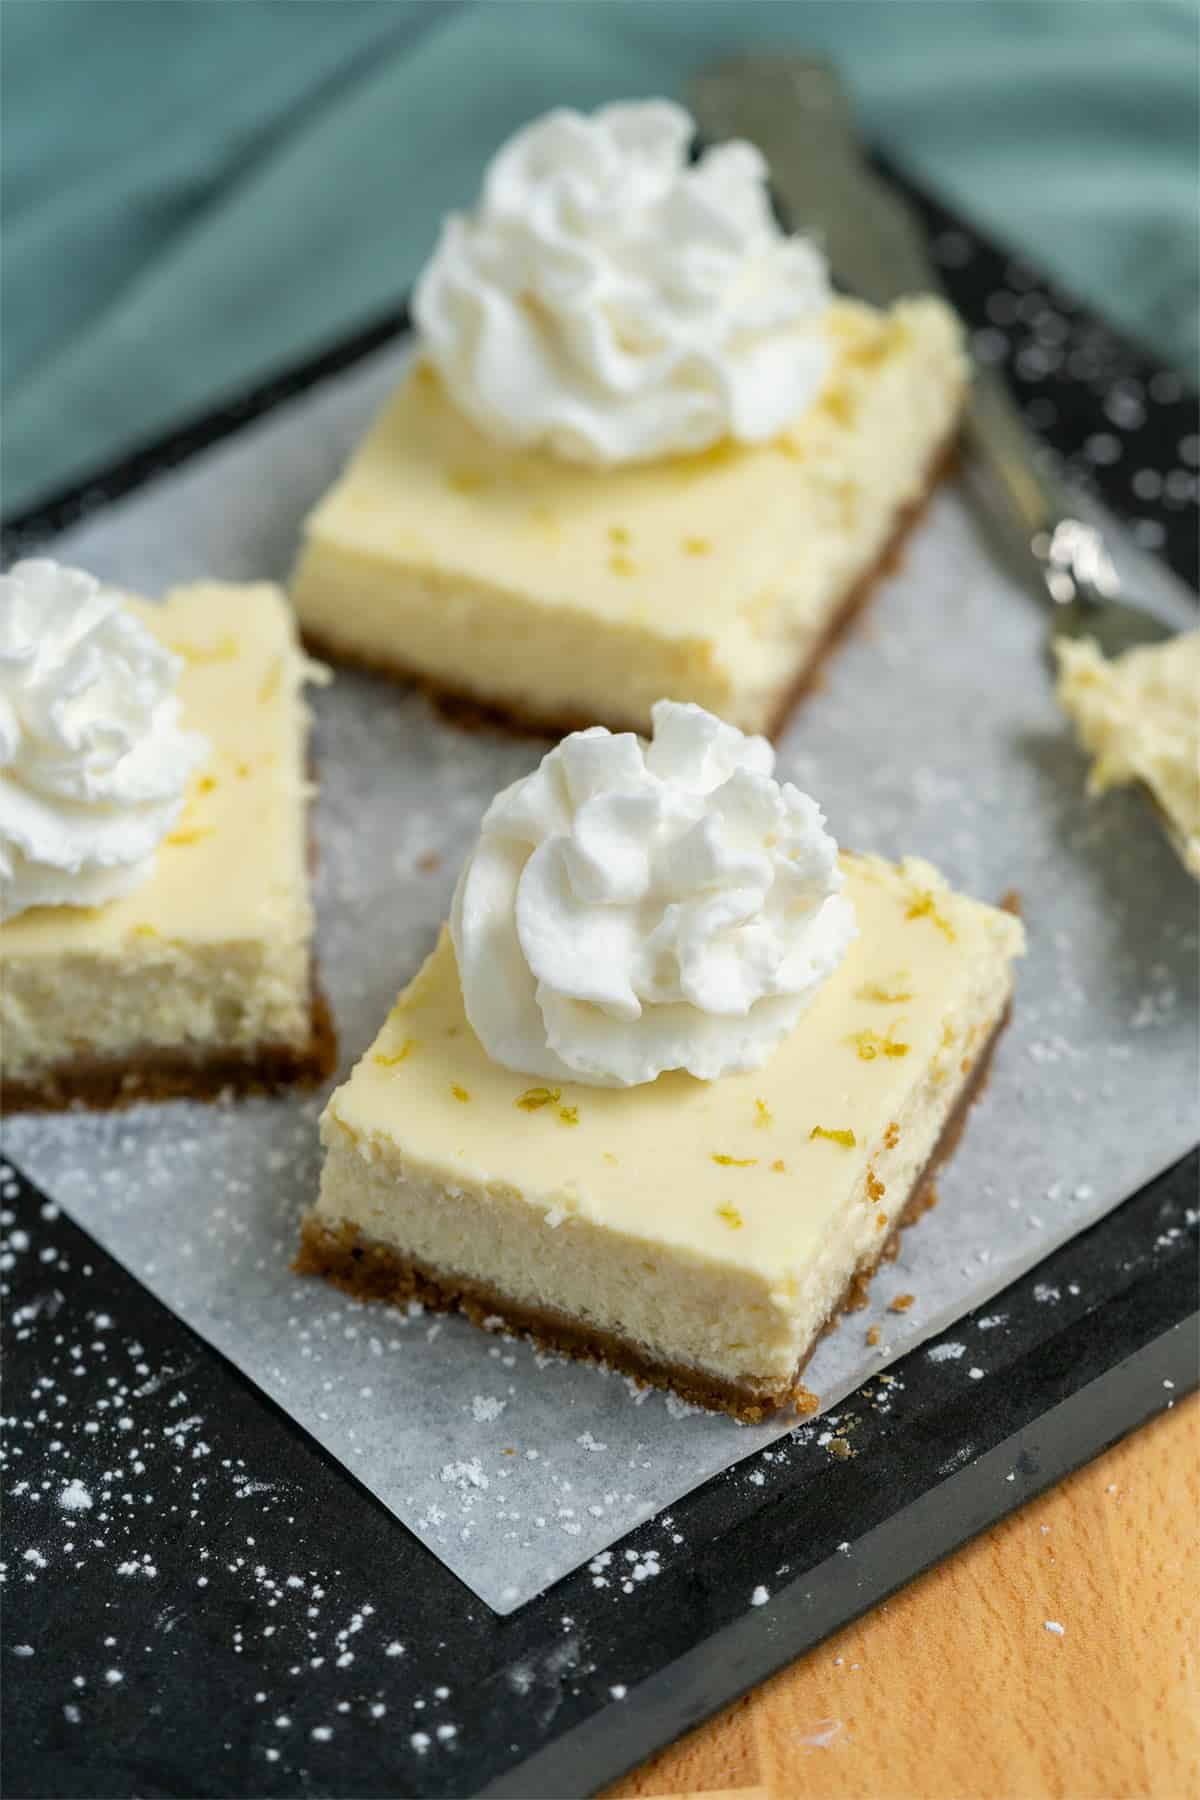
I love my Key Lime Cheesecake Bars with whip cream on top! Enjoy!
FAQs
Yes, you can use regular limes. They will have a slightly different taste but still provide that tangy lime cheesecake.
Yes, as a convenient alternative, but make sure it is 100% real key lime juice and a good brand. If you cannot find it in your grocery store, Amazon carries some. I will not endorse any brand since I have not tried all the brands out there to make a comparison.
Absolutely! This is an area where you can get creative with options. You can make a cookie crust with vanilla wafers, shortbread cookies, or even chocolate cookies. Of course, you can substitute for regular graham crackers. I like Pamela's graham crackers because of the honey and help balance the tartness of the key limes.
Yes, since the main ingredient is cream cheese, they need to be refrigerated in an airtight container or wrapped on a plate with plastic wrap covering them. They are best eaten within 3 or 4 days.
My favorite is whipped cream! But you can also sprinkle key lime zest on top or a key lime glaze made by mixing powdered sugar and key lime juice. You can also add berries (sliced strawberries, raspberries, and blueberries) on top for a refreshing contrast of color and taste to the key limes.
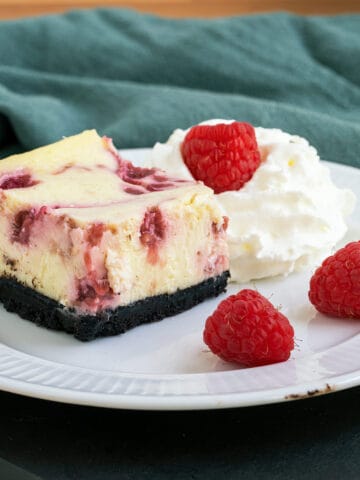
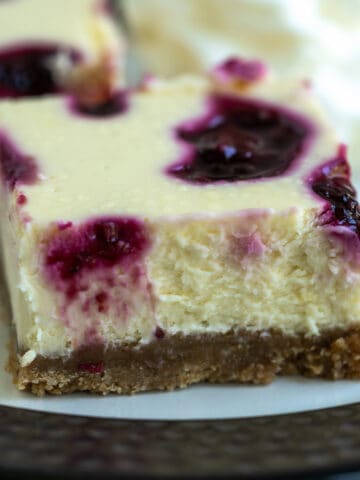
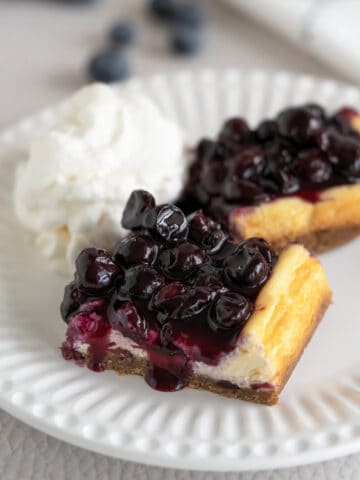
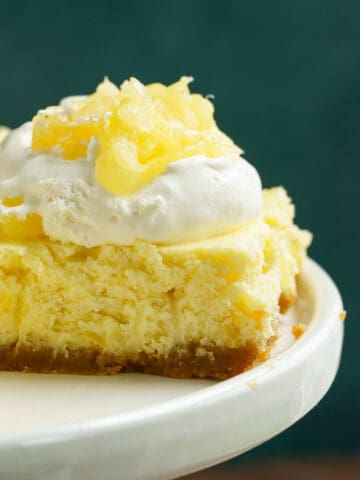
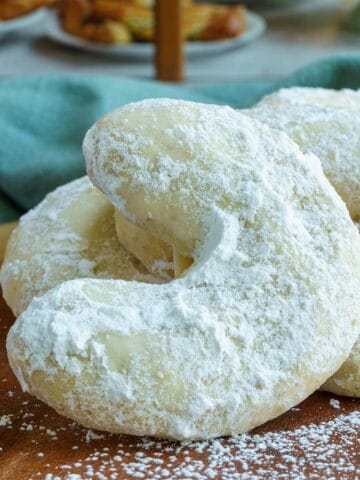
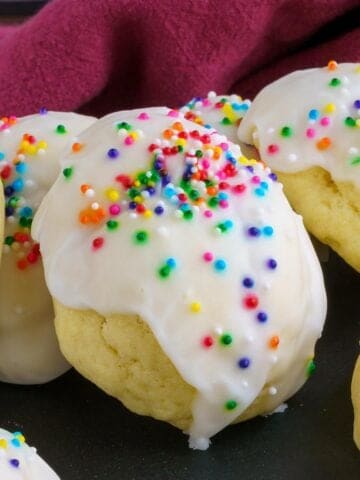
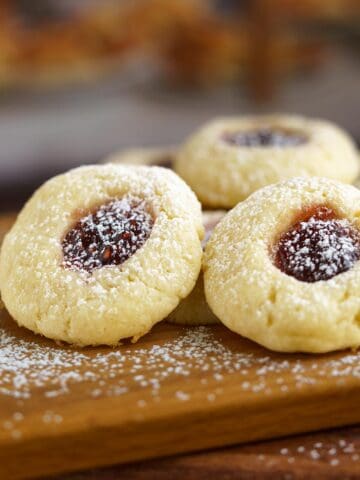
Other Yummy Cheesecakes Bars and Bites
Recipe
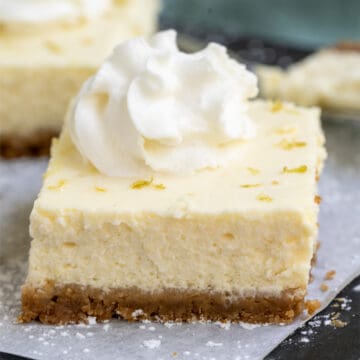

Key Lime Cheesecake Bars
Barbara HallWould you like to save this recipe?
Ingredients
CHEESECAKE FILLING
- ¼ cup (50 g) Sugar white
- ½ cup (153 g) Condensed milk
- ½ cup (121 g) Key lime juice
- ½ teaspoon (0.5 teaspoon) Key lime zest
- ¼ cup (57.5 g) Sour cream
- 2 (2) Eggs
- 16 ounces (16 oz) Cream Cheese
CRUST
- 1 Tablespoon (1 Tablespoon) Sugar white
- 7.6 ounces (7.6 oz) Graham crackers Pamelas Honey Grahams
- ¼ cup (33.5 g) Macadamia nuts
- ⅓ cup (75.67 g) Melted butter unsalted
Instructions
CRUST
- In a food processor (I use the S blade), pour the ¼ cup of macadamia nuts and process them into tiny pieces. Next, add the squares of the Graham crackers until you have added the whole box. Pour this mixture into a bowl. Add the butter to a safe microwave bowl and melt the butter (mine was about 30 seconds). Add the melted butter to the graham cracker mixture along with the sugar. Stir until all the graham crackers are moist and clinging together.
- Take a 9 X 9 baking dish and line it with tin foil. Have enough tinfoil hanging over two opposite sides since these will be used as handles to lift the cheesecake out of the pan. Have the tin foil come up the sides at least ⅔ of the way.
- Pour the graham cracker mixture onto the tinfoil-lined pan and evenly spread it around the bottom of the pan. Press down to have a solid base to pour your cheesecake filling onto. Set the pan aside and start the filling.
CHEESECAKE FILLING
- Preheat oven to 325°F(165°C or 170°C) (165°C or 170°C). Juice and zest the key limes into two separate bowls. Measure the sugar and set it aside.
- Add cream cheese and sugar in a stand or hand-held mixer bowl. Blend until creamy and whipped-looking. I usually have small little peaks around the mixer bowl. Stop the mixer and scrape the sides down. Add eggs one at a time and blend into the cream cheese mixture. Next, mix the key lime zest, sour cream, key lime juice, and condensed milk until all is incorporated.
- Pour the cream cheese mixture over the graham cracker crust; the filling will be thin but don't worry, it will thicken up when it bakes. I pick up the dish a little and let it come back down onto the counter so the air bubbles will come to the top. Just smooth out the filling so it is even in the baking dish. Put into the preheated 325°F(165°C or 170°C) oven for 40-45 min.
- Pull the pan out of the oven when the cheesecake jiggles slightly when gently shaking the pan. Place the pan on a cooling rack for about half an hour before covering and placing it into the refrigerator overnight. About 2 hours after the cheesecake is in the refrigerator, I add a little key lime zest on the top of the cheesecake and add new plastic wrap to cover the pan.
- The next day remove the cheesecake from the refrigerator and lift the tinfoil with the cheesecake out of the pan. The tin foil will easily come off the crust by having your hand under the cheesecake and peeling the tin foil off from one end to the other. On a cutting board, take a sharp knife and cut the cheesecake into whatever size squares you would like. I cut four rows across and four rows down to get 16 bars.
Share this recipe
NUTRITION DISCLAIMER
I am not a certified Dietitian or Nutritionist. The nutrition amounts given below are provided through a program and are only a guideline.

Barb K says
Must try this, however I can't find Macadamia nuts. What other nut might work, or just leave nuts out and use an additional 1/4 cup of Graham Wafer crumbs?
Barbara says
Hi Barb, I have been fortunate that my grocery store in the baking aisle carries the Diamond brand of macadamia nuts. But you have choices; you could use pecans, hazelnuts, or leave the nuts out. The crust has only a 1/4 cup, so it will not hurt anything. The star of the show is the key limes. You do not have to add more of the cracker crumbs. If you are using the Pamelas Honey Grahams, you use the whole box anyway. Happy baking - Barbara
Jodi says
This looks fabulous!!! I can't wait to make it. Thank you!
Barbara says
Hi Jodi, thank you so much and you are welcome! - Barbara